Yesterday, wearing a wetsuit, I experimented with tipping it over and trying to self-rescue. It tipped a little more easily than I’d expected, and I found self-rescue impossible.
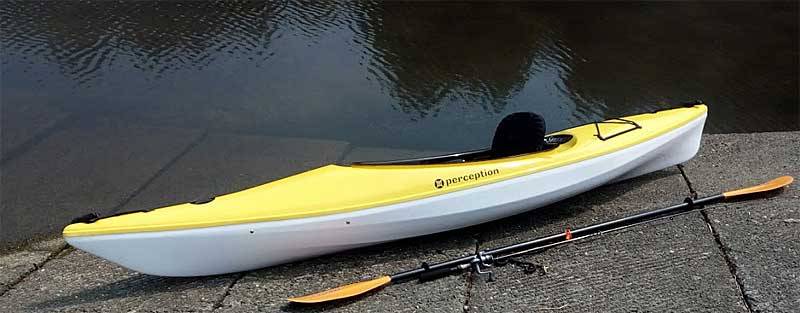
Note that it does not have a bulkhead. It does have blocks of foam (see next post).
To self-rescue, I fell out such that water got into the cockpit. I then got up onto the stern deck (I weigh 162 pounds). I then climbed forward, but my weight caused the kayak to go down in the water such that the edges of the cockpit were submerged. At that point, almost the entire boat was underwater.
If I were in open water, I would have to swim to shore pulling a very full kayak behind me.
Do you think I could learn to self-rescue in this situation?
Is there a cheap way to fill that entire stern compartment with a float bag? Seal it off?
Congrats on even getting up on that boat without perimeter lines. I couldn’t.
But no - self-rescue on the water is not going to be possible unless you displace a whole lot of water. Float bags do that the best if you want to insert flotation. . At your weight, you may need them front and back to keep enough water out of there. If that is enough (later edit) - the next post is correct to question whether you can put enough air into a 10 ft kayak to make it easy for self-rescue by a 162 pound person.
Its a rec boat not made for self rescue. You can try and put float bags in the front and back. Heck maybe it will work. I would just have gotten a real kayak in the first place. I know money is always an issue . My first boat was a perception Conduit. I got it at Dicks sporting on sale at around 500 bucks. The installed perimeter lines. You could do a rescue in that as it had sealed front and rear hatches. Maybe try stuffing pool toy balls into front and rear just to see if its even close. If it is then buy decent float bags. Oh ad some perimeter lines. NRS sells a kit to do it.
Echoing Celia, I must also congratulate you on investigating the self-rescue capability of your kayak. Such recreational kayaks (with no flotation) are typically sold without any mention that they are inherently unsafe unless restricted to shallow water where you can reach shore easily. Even with one bulkhead they will float in the “cleopatra’s needle” configuration and towing them as a swimmer should be an Olympic event. Most users will be unaware of the limitations of this sort of kayak. There are recreational kayaks with bulkheaded flotation at both ends.
The solution mentioned by Celia would be properly fitted float bags at both ends … if the flotation is sufficient for your mass. If so, you must ensure that the float bags are maintained and ready to go for each trip. Another alternative would be to get a kayak with flotation at each end, sufficient for your weight. There are also sit-on-tops which have permanent flotation and are generally easier for self rescues. Note that a swamped sit-inside kayak will be quite unstable, even with flotation, so you need some leeway to pump/bail water from the craft once you reenter.
I occasionally teach rescue classes and find that people with recreational kayaks with no flotation will subsequently decide to upgrade to safer boats. I don’t disparage such boats, merely demonstrate their range of safe use.
While on the topic of self rescue, I recommend this book:
“Sea Kayaking Safety and Rescue: From mild to wild, the essential guide for beginners through experts”
by John Lull, one of the Tsunami Rangers.
While you’re on that website also look into a paddle float and a bilge pump. You can store both under the rear deck bungees and the former makes getting back into the boat a lot easier, while the latter lets you empty the kayak fairly easily.
I’m thinking of getting two NRS flotation bags for the stern, and maybe two smaller ones for the bow (total cost: $170). I’d probably need to install internal padeyes to keep them in place. I’d like to figure out whether that would work before laying out the dough.
If the central foam pillar goes all the way back to the stern, or near it, your kayak is probably better than most rec kayaks.
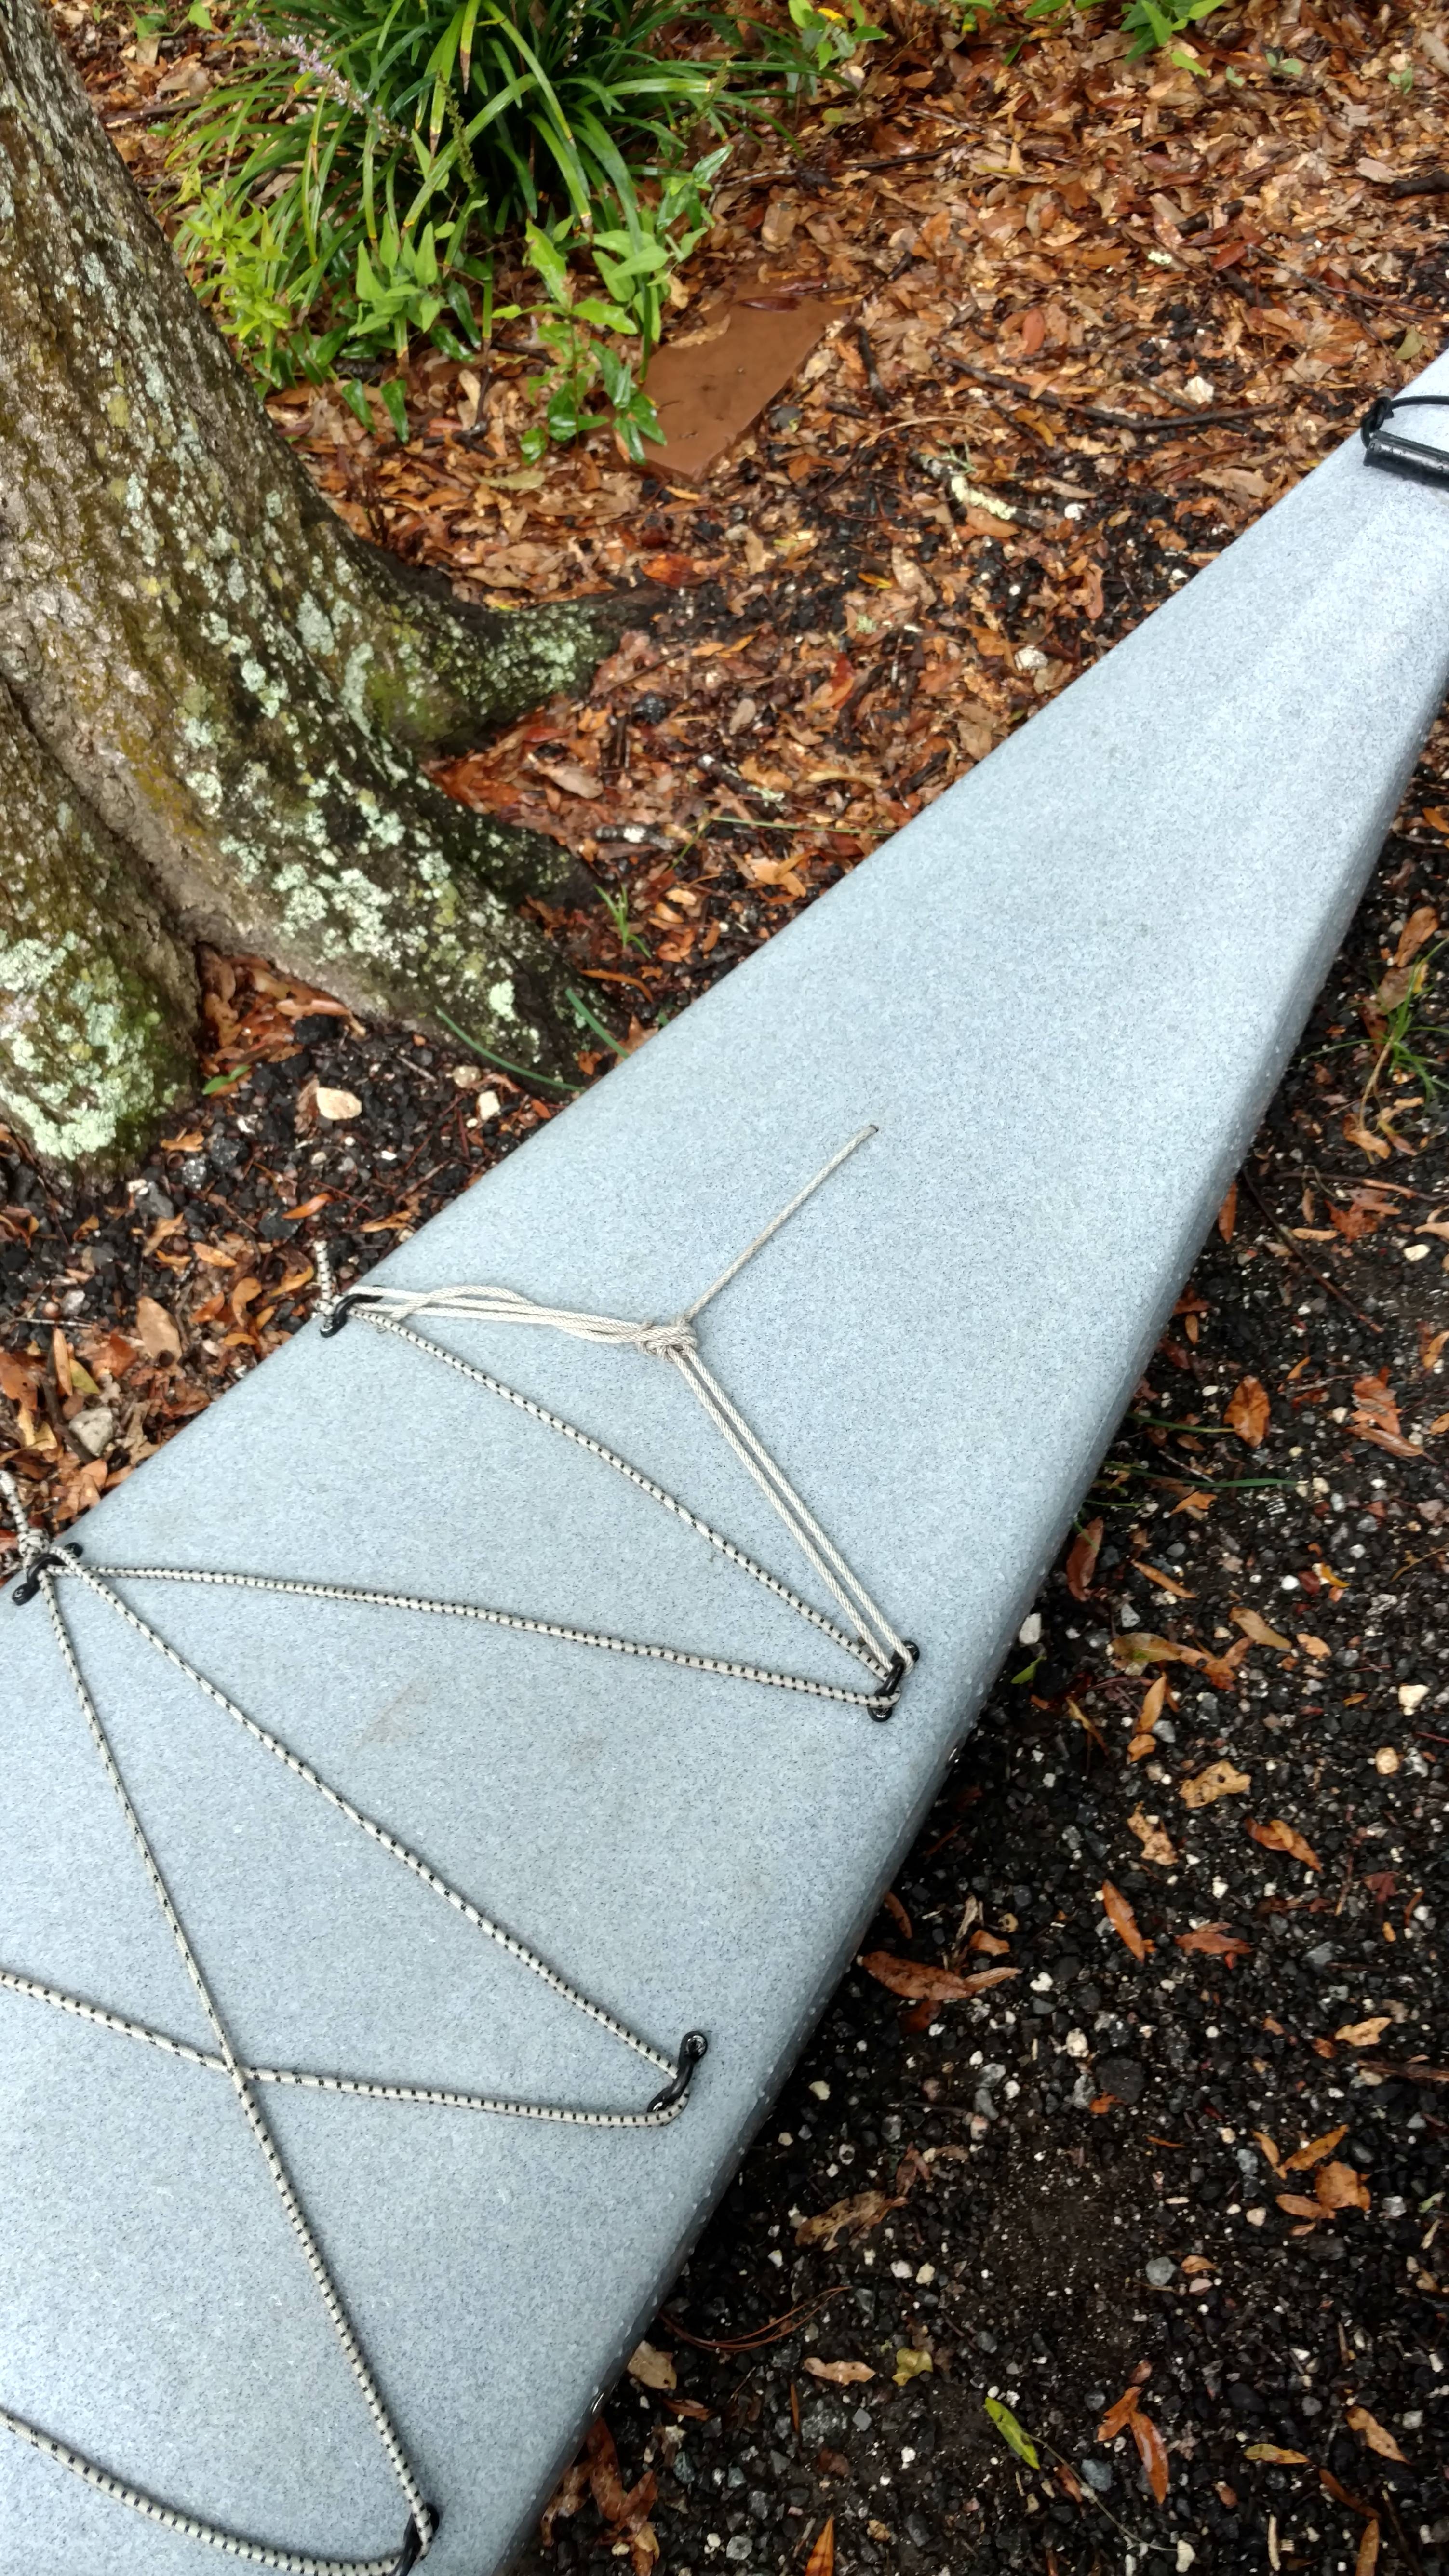
You don’t necessarily need to install hardware on the hull to retain flotation bags. Nearly all float bags have grommets or loops at the angles. Get some 3/4" PVC pipe. You can push a short piece of PVC pipe transversely right through the foam pillar. Thread some paracord or nylon accessory cord through it and tie it off to the corners of your bags and it will keep them in place reasonably well.
For the sake of simplicity, another way to anchor the bags is to drill a pair of holes in the top deck near each end of the boat. Thread some paracord or similar rope through the holes , loop it through a grommet at the “far” end of the float bag, pull the rope tight, and tie it off on the outside. I suggested this as a method a few weeks ago, and another poster here (I can’t recall who) said that’s how he does it.
I’ve found that the blocks end a few inches from stern. So, I could clip the tips of the flotation tubes together at that location. Same for the bow. I might have to hire a skinny contortionist do to the clipping.
That said, ideally whoever first had this boat should have known that was what they were getting.
Right. Well, that wouldn’t have helped me anyway, since I didn’t know that
Recreational = Doesn’t Float
It’s not a big problem, since I’m rarely far from shore. It does mean I’ll change my routes. Yesterday I paddled the red route. In the future, I’ll paddle the green.
If the boat has sliding footrests, you can also usually tie a bow bag to the front ends of the rails. Once the bag is inflated those two tie down points, and the sharper nose of the kayak, will keep the bag in place.
Also, try and get that seat back down as low as it will go. Not only will it make it easier to climb back into the cockpit from the rear deck, but it will also allow for better torso rotation which is the correct paddling method.
@Guideboatguy said:
…and another poster here (I can’t recall who) said that’s how he does it.
It was me, the kayak builder. Here is a picture of the air bag installation on my Old Towne Egret. It is a rec boat with a bulkhead aft of the cockpit.(with leaky hatch) The air bag has “D” rings on each corner. I have bridled the two aft rings and run a line forward to a hole forward of the rings, and my feet, but still within reach. The hole thru the deck is a snug fit for the line. Threading a tight fit at the extreme front would be difficult. I leave the line long and tie it off when the bag is installed and inflated. A long line allows removal for cleaning and reinstallation without having to mess with additional line fishing techniques.
Note most ten foot rec kayaks have a big cockpit . Big hole restricts the ability of the boat to be self rescue capable even after you solve the floatation problem. By all means make it better. Paddling with a assisted rescue trained paddle buddy is the best course.
The air bag has “D” rings on each corner. I have bridled the two aft rings and run a line forward to a hole forward of the rings, and my feet, but still within reach. The hole thru the deck is a snug fit for the line. Threading a tight fit at the extreme front would be difficult. I leave the line long and tie it off when the bag is installed and inflated. A long line allows removal for cleaning and reinstallation without having to mess with additional line fishing techniques.
Okay, I can’t make a partial quote show up, so I’ll put it here:
“The air bag has “D” rings on each corner. I have bridled the two aft rings and run a line forward to a hole forward of the rings, and my feet, but still within reach. The hole thru the deck is a snug fit for the line. Threading a tight fit at the extreme front would be difficult. I leave the line long and tie it off when the bag is installed and inflated. A long line allows removal for cleaning and reinstallation without having to mess with additional line fishing techniques.” (Sure beats including the photos a second time).
That’s good. A picture is worth a thousand words, and in your case you show a method that should be common sense when going about it, even if it’s not what I immediately would have thought of when describing how it might work with no actual boat and bag to work with. Thanks for posting the extra info.
@kfbrady said:
Also, try and get that seat back down as low as it will go. Not only will it make it easier to climb back into the cockpit from the rear deck, but it will also allow for better torso rotation which is the correct paddling method.
Yes, that was a big problem when I was trying to slide up into the cockpit after hoisting myself onto the rear deck. I could tilt it forward, but it was still in the way.