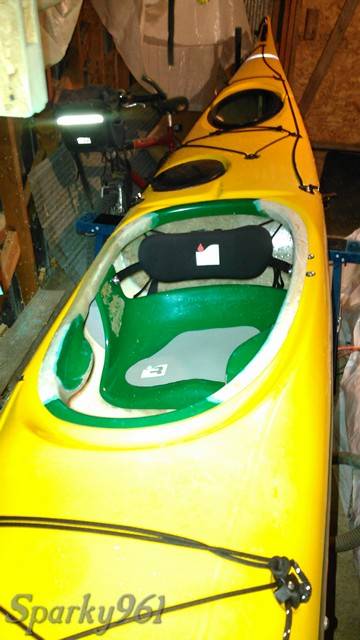
Like many repair projects, this one got a lot bigger than I anticipated. Not to worry though, things are going well; just taking longer than I had hoped. I’ve been spending more time on the coaming because it needed the attention if I wanted to perserve the boat and prevent further damage. I’m still working away at the skeg box too, but while doing the fiberglassing of the coaming I avoided flipping the boat over to work on the bottom.
Here are some pictures since my last update, with descriptions to suit:
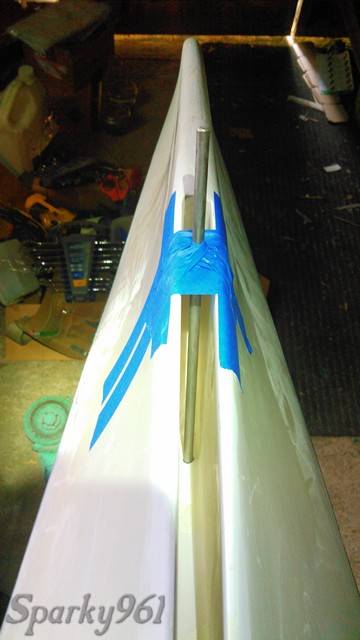
This is the block I’m making that will be glassed to the top of the skeg box. I drilled an oversize hole through the block then cast the fitting and a piece of 1/4" steel rod in the centre of the hole with epoxy resin. I was dreading taking them apart, but the wax I put onto the parts made it come apart easily. I had to do some post-casting filling near the top of the fitting due to the epoxy absorbing into the wood. “Next time” I do this I’ll coat the block first and then do the casting.


I picked up a package of 2oz disposable polypropylene cups at the local Dollar Store. These work great for small amounts of epoxy and gel coat. I’ve been mixing everything by weight to the nearest 0.1g and everything has been curing up nicely. Most of my epoxy batches were 10g of resin and 5g of catalyst. This was enough to wet out everything for one side of the coaming. Stated another way, the cup was about 1/4 full, so about 1/2 fl. oz.

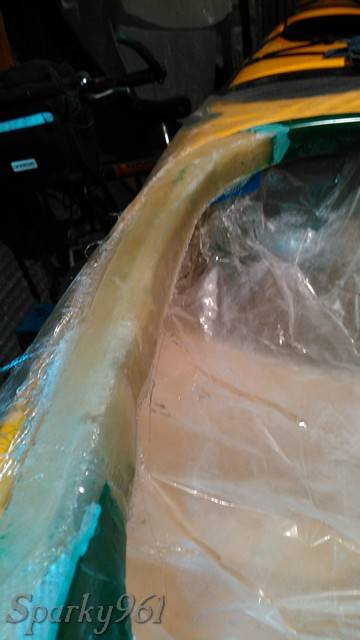
I’ve been alternating between smaller sections that needed built up and large pieces that span the coaming length. Clothes pins hold the strips nicely for marking cutouts and can help position it when setting the long strip into wet epoxy. For each strip, I’ve wet it out with the edges hanging over, then trimmed after the epoxy has cured.
Close up showing the thickness of fiberglass vs. gel coat at the rear of the coaming. Notice how the fiberglass thickness tapers off to the left of where I’ve feathered out the gel coat. This is not the result of me grinding down the fiberglass, rather the thickness transitioned on both sides at this point.

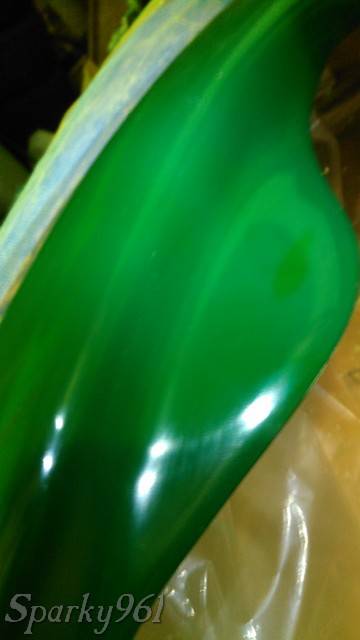
Finished fiberglass work just behind the thigh brace. The old has been feathered into the new to help lay a smooth gel coat layer on top of everything.

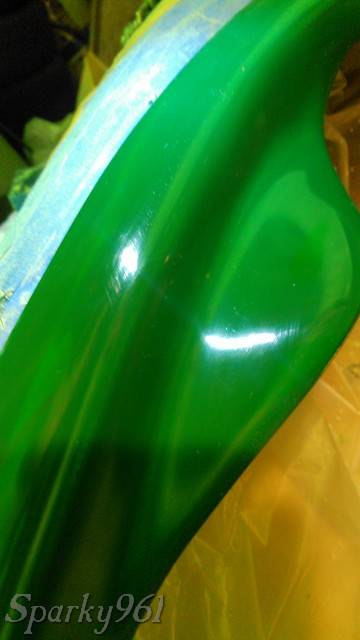
The large vertical crack repair can no longer be seen. It has been properly built up with layers to bring it flush with the rest of the surface.

This is a neat trick I picked up from YouTube. After mixing pigment into the gel coat, put some un-catalyzed product onto the surface that’s being matched. I found I could get very close, but I’m not worried about it being exact because I plan for the final layer to cover the existing gel coat.
Beginning to build up the gel coat in the lowest places. You can see I’ve also taken some time to mask off the boat much better than before. This will protect from errant gel coat, coarse shaping tools, and the slurry wet sanding is going to produce. [Hindsight: I should have done this right at the start!]

After two layers of build up, with sanding and acetone cleaning in between (due to gel coat wax). I’ve been rubbing vigorously with a very wet acetone soaked rag, then wiping off the surface with a separate rag - a clean part of the rag each time. [Hindsight: I’d use unwaxed gelcoat next time to more quickly build layers without the work in between. There are lots of ways to seal off the unwaxed gel coat to get it to cure completely. Perhaps the easiest being to add wax for the final layer.]

Applying the gel coat is like trying to paint on toothpaste and get a nice finish. Working with the epoxy was much more satisfying, but at least this stuff sands down quickly. I’m focusing on just putting it on heavy right now to build some thickness. Then I’ll shape and smooth for as long as my patience holds out.

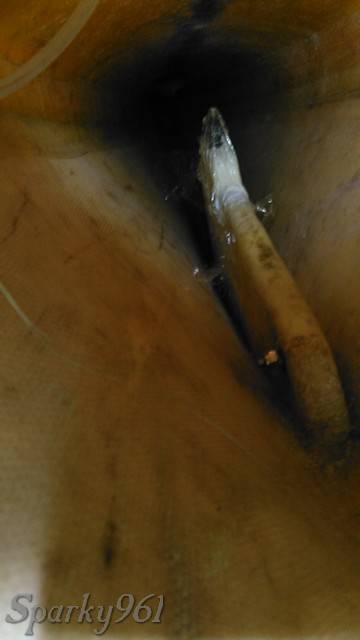
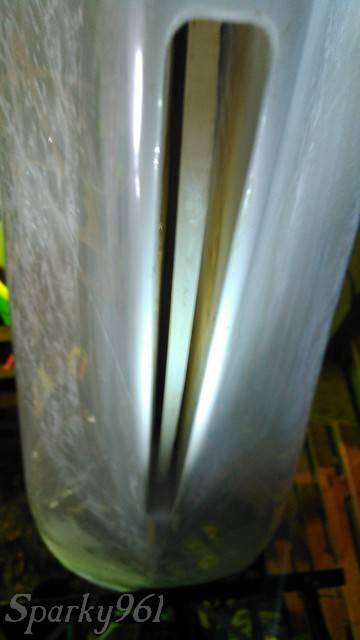
And no, I’ve not forgotten about that skeg box. With a small brush taped to the end of a stick, I carefully dabbed on some gel coat on the patches inside the skeg box. This was painstaking work getting the brush into the slot without smearing the gel coat down the side, but I got it done. I used a sheet of plastic on the end of a larger brush, also attached to a stick, to smooth it out as best I could to minimize sanding… Which, you guessed it, has to be done on the end of a stick. I’ll be completely finishing the bottom repairs smooth then drilling a new hole that’s smaller than the original. After I get this done, I plan on using the hole to locate the block on the inside. Then I’ll glass it in place and the skeg box part of the repairs should be complete.


 I do think I’ll put a small amount of sealant around the base of the compression fitting into the new mounting block. If nothing else, this should help keep it from slowly working it’s way loose. It won’t be much trouble to cut the sealant off there if I do need to take out the fitting at some later point.


