That’s always the bottom line.
wait until you start using your greenland paddle. You’ll get a skirt…
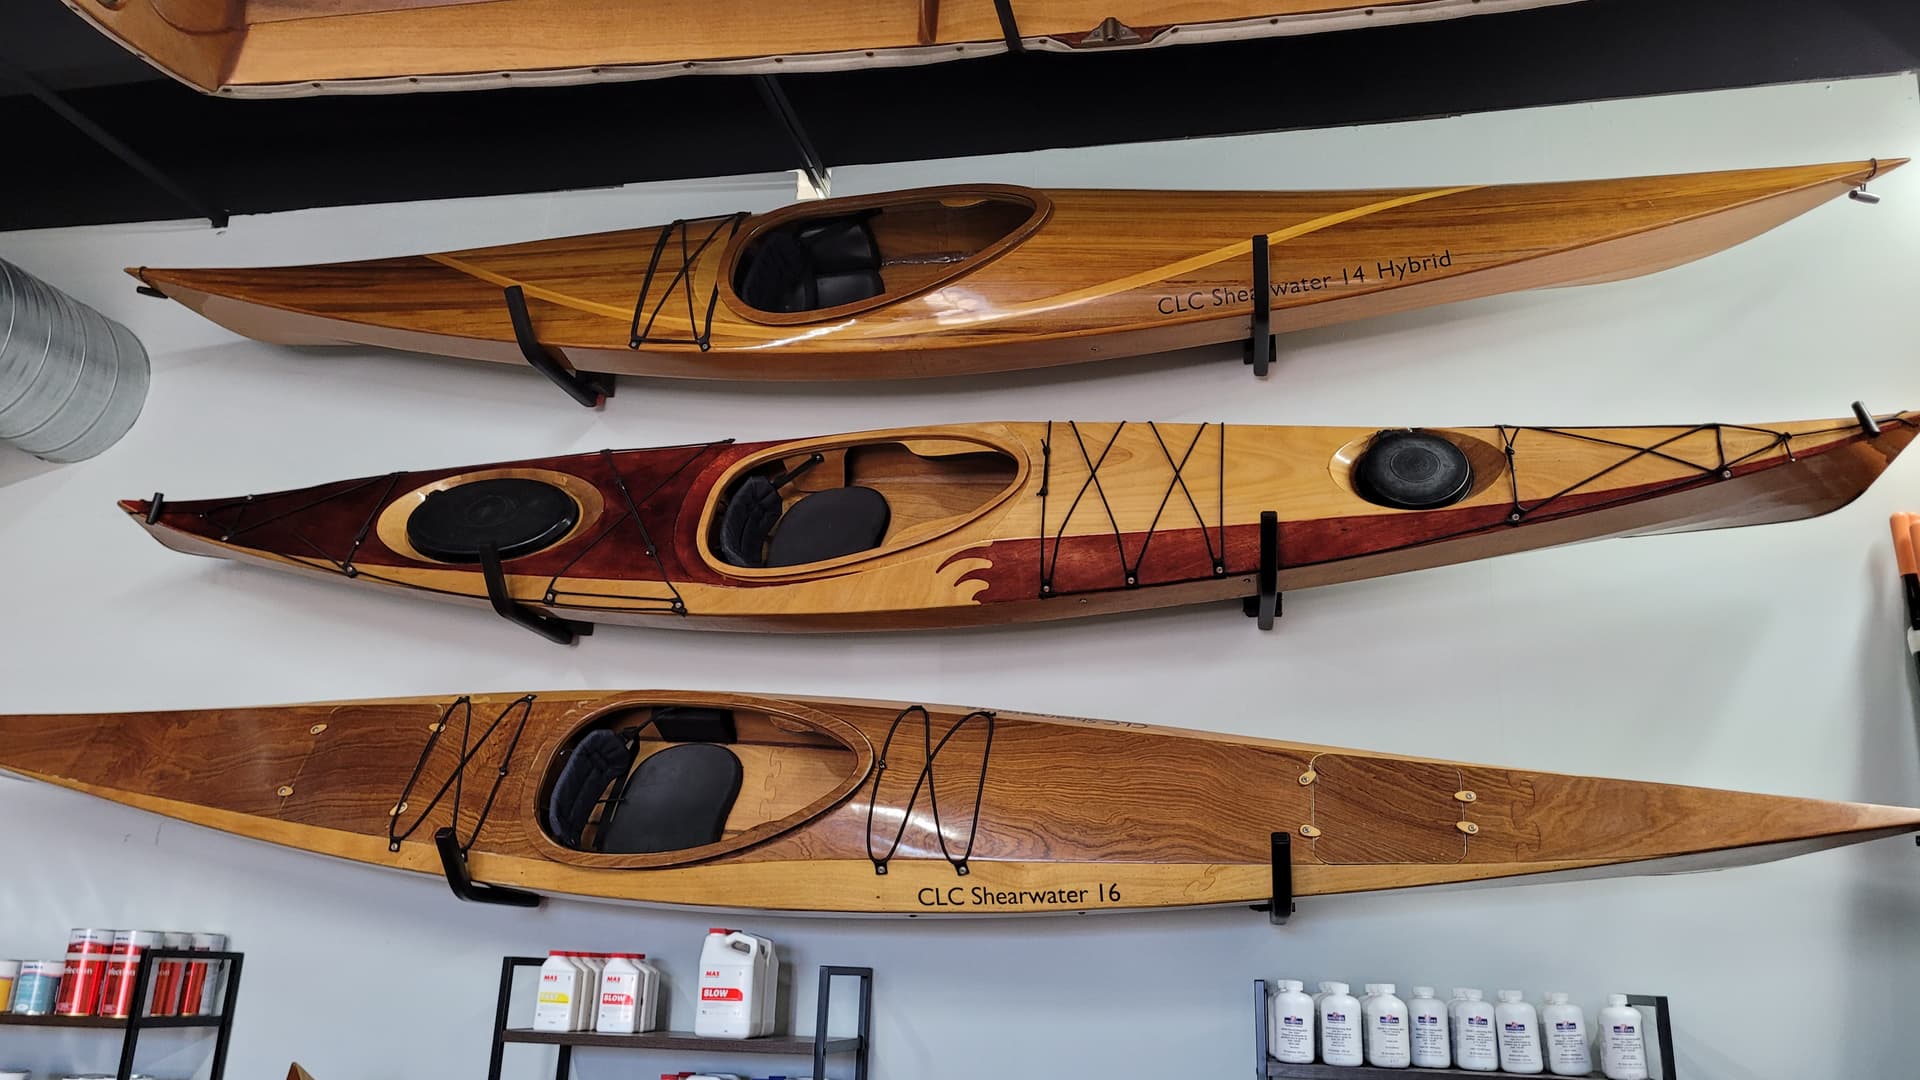
I’ll be building 2 Cape Falcon boats starting soon, the F1 and the West Greenland. I’m surprised nobody noticed the coamings in the video!
Aside from the joy I’ll get doing it, I want a lighter boat. Love my Cetus but man it’s heavy.
I’m jealous! I was eyeing their boats when I discovered skin boats…
Get a skin boat. LOL.
That reminds me of a story. I do a lot of off roading in our Jeeps. One thing I always tell newcomers to the hobby is that they don’t have to worry about the first scratch or dent. Just go out in the driveway and throw a rock at their truck. See? They don’t have to worry anymore.
No. That won’t happen. After a trip, I sponge out water in the hatches, and the temperatures inside the holds feel like the air is at least 110° or more. A member reacted to one of my posts, saying he uses a skirt on the bay all the time and he never had a problem . . . . . .
Part of the problem with the forum is the arrogance of certain members. I come back from a trip and the boat is bone dry except the seat which is full of my own body fluids. My t-shirt and shorts are drenched from sweat. So somebody who has never paddled with me can put on a drysuit, lock the heat in the cockpit and paddle the same environment when I can sit under a tree drinking ice tea and sweat bullets. I’m not sure what he is thinking, or where he’s coming from, but his comments makes me either ignorant, a liar or . . . Clueless. It tell me he goes out on the water to drift in his $3,600 boat and look at ducks. I don’t ever see fancy boats or any paddle boats where I go, but I see people with they’re fine rigs launch all the time. They paddle 3 miles and turn around. The same people laughed and call me a liar when I told them I paddled a Tsunami 38.75 miles at 4.65 mph avg. Now I know why they didn’t believe me, because I was dehydrated without being kitted out with all that crap. I paddle distances. I don’t have time to roll in the surf.
I’m disappointed to hear the Greenland paddle drips water into the cockpit. The Kalliste work perfect well. If I can’t figure out a solution, I’ll hang the Greenland on a wall.
Gotta laugh at your logic Paul, that’s crazy. All good things come to an end. I bought a new truck in 2018 to replace my 1995 model S10 that died a year before. In fact, I destroyed my left shoulder removing stones from the bed of the 2018 truck by holding the stones straight out in front of my body, because I didn’t want to scratch the bed. It got scratches anyway and now I’m a gimp.
My issue with the wood boat is I paddled various models and couldn’t find one that fit my needs. Then I look at my plastic boat, and wonder how a wood boat would “hold up”! I don’t paddle enough now and can’t imagine having to restore the finish occasionally to protect the boat.
Having said that, CLC is having an open paddle day to test their various models. The info is posted on their web page. You’re actions are too influential. I’m going to go and try their boats again. Maybe I’ll build one, use it a while and sell it. Kit prices are reasonable. You can’t help walking into their showroom and wanting to buy some candy.


The free catalogue was delivered to my mail box yesterday.
Obviously feel free to ignore this, but in case you weren’t aware, Wilderness Systems makes their Truefit Spray Skirts in a light gray color. They’re also nylon skirts with a zipper to open.
I asked for one for Christmas because I figured that color wouldn’t get nearly as hot on a sunny day, and I liked the idea of being able to open the zipper and get more airflow while still having the cockpit mostly covered. It’ll still be a couple months before the waters here thaw, so I haven’t had a chance to try it yet though.
I haven’t had a chance to finish my first Greenland paddle yet, let alone try it out, but I still ended up recently buying a shorter cedar 2x4 to try to make a storm paddle.
I used a hand plane for the entire thickness and tapering on the first try, but for my next one I’m thinking I might see if I can find someone with a bandsaw to do some initial cuts a little proud of my final size, then finish taking it down with the plane.
I did enjoy doing it entirely with the plane, but wow, that’s a lot of wood shavings…. Using a band saw, at least I’d have a few small pieces of wood I could keep around.
Not at all 1890, Iappreciate the input. I truely feel dumb for not thinking about that myself, but I bought the skirt before knowing better. I started more serious paddling in a140 Pungo. Since it doesn’t have a bulkhead and the cockpit is open, heat buildup was not an issue. I liked the stability, but it didn’t handle waves approaching 12 to 18 inches. I bought the 125 Tsunami to test a closed cockpit and was so impressed, I bought a 145 Tsunami and the skirt. The 145 was so stable and seaworthy, I never found a need for it. My launch point gives me the opportunity to select options if conditions exceed what I feel like confronting.
I eventually bought a 175 Tsunami. The main drawback is that its heavy and too long for the bed of my truck. The ladder rack went when I sold my old truck, and I haven’t bought a new one for this truck.
When conditions exceed a certain point, I dont go out because I don’t want to wear myself out fighting weather cocking and waves. I spent close to $100 for a skirt, bought a paddle float and a pump. Never used them.
Wow. Lot of work to make a paddle entirely with a block plane, but I’m sure it was therapeutic. Nothing like making plane shavings which are excellent fires starters if you have a fireplace. I like doing layout with powered bench tool, because it’s the easiest ways to create a square, flat blank. You can do it with shooting sticks, an accurate square (all squares are not square), a straight edge or string and a plane. It’s so much easier with a jointer, a thickness planer, and a jigsaw or a bandsaw. Then I set the table saw fence at around 32" to define the blade/loom, make 4 defining cuts with a miter gauge to set the rough width of the loom. Cut out the loom waste with a bandsaw and use the scraps to expand the blade width. Then I offset the fence on a table router to trim the loom to an accurate width. Having stopped cuts let’s you mark the remaining layouti lines to definite locations. Bandsaw the blade profile and true to the line with a block plane. Taper blades to the high ridge profile of the blade centerline using a jointer. The rest is all layout and handwork. The advantage is a centered axis which makes balancing the weigh an easy task.
You got to share the pictures. Brian enjoyed his new tools so much, he went too far and ended up with a bowl and a spoon. They looked really good though.
Mark Rogers could blank to finish a greenland paddle in 50 minutes all with hand tools. Ten a day.
Mans a legend…
Peace J
1 Like
Excellent.
check out this then!
It looks like they make a storm paddle from the off cuts. I’ve read through it twice and am having trouble following it.
I can’t make much sense of it, either. The tiny pictures don’t help.
I’ve seen other articles about building a paddle using small stock and it’s commendable from a resource usage standpoint. However, it makes it harder to shape it with edged tools (planes, spokeshaves), as the grain in the various pieces will be different. Rasping and lots of sanding will be the order of the day.
Lee Valley in Canada. I bought a few japanese saws when I worked up there, i thought they were pretty reasonable
I’m buying the epoxy etc… right now. Are the syringes reusable or do I just buy a bunch of them? And how do you get at the stuff in the bottom of the can? Pour into a cup, syringe it out, then pour the rest back in?
Any recommendations on the epoxy? Man, that stuff isn’t cheap!
Why are you using syringes? and…What stuff do you have in the bottom of a can?
These questions need clarifying, my weegie board is not handy at the moment.
Are you talking about resin separation? If so just put the resin container in some warm water for a bit and it will return to one resin . {doesn’t hurt anything} Still no clue what you are using syringes for.
Forgot to answer the second question. Yes , if cleaned, syringes are reusable.
Page 36 of Brian’s book shows two syringes, one for resin and one for hardener.
But it turns out the West Systems resin and hardener comes with metered pumps, so I wouldn’t need syringes. I figured I had to stick the syringe into the can of resin and hardener and suck it out. I guess I don’t need to with the pumps.
This stuff is pricey, how much would one need for, say, 4 or 5 paddle tips?
I do all my mixing in small {30 ML for what you are doing} marked mixing cups.} Then I clean the container {measure cup} after. I pour to the lines to measure. Then mix thoroughly…add color , cabosil …etc Syringes would be very messy . It will take about 15 ml of epoxy to do each coat you plan on doing. 15 ml will do both sides of two tips.
{Pumps waste a lot of epoxy when working with small amounts}
2 Likes
West Systems Epoxy is very good, and expensive. The metered pumps work well, but you do waste a fair amount for small jobs, so I often turn to other epoxies for small jobs. But can last for a long time on the shelf.
Another epoxy I use a lot is this one:
PC-7® Paste Epoxy – Protective Coating Company (pcepoxy.com)
It is very thick, both a good thing and bad, depending upon the situation.
Like roym, I use the small plastic cups for mixing West System Epoxy. And the West System mixing sticks. I have about four of each, in case I need several coats. That way, I just leave the partially filled cup and stirring stick alone until the epoxy hardens, then pop the epoxy out of the cup and off the stick. It does not stick to that plastic. the disk of hardened epoxy at the bottom always looks like it could be useful, smile, but so far I have not found a use for them.
I find the metal paint brushes, often used to apply flux to pipes, useful for spreading the epoxy over parts. I just throw them away after use. They also have a spreader, which I have not used yet, but expect I will at some point, for wider areas, as the brush is quite small.