Thank you very much @pblanc. A few more questions regarding the inside repair, which I’ll do first.
What’s a good tool for beveling the edges? File? Chisel? There aren’t any leaks.
Why use thickened rather than unthickened G/Flex for filling the cracks? Wouldn’t unthickened G/Flex penetrate the cracks better?
You suggest that I apply both patches together, rather than waiting till the first patch cures to a green state before applying the second. Is that related to getting smooth aramid edges?
The most convenient tool for beveling the edges is a rotary tool like a Dremel with a small, tapered grinding bit. If you don’t have one but have an old “church key” beer can opener, or can find one, you can sharpen the edges on that or look for an inexpensive wood carving tool with a V shaped tip. I have never used a chisel for that purpose, but with care I’m pretty sure a narrow wood chisel would work. Once you get an approximate V shaped gully started, you can use some sandpaper and a small, wooden sanding block.
All of the epoxy manufacturers recommend thickening their epoxy with a filler when using it to bridge gaps or fillet. Here is an article from West Systems on the use of various fillers. I can only assume that they have done tests of the bond strength with and without fillers:
I use the colloidal silica powder (West 406) and thicken the epoxy to approximately a “mayonnaise” consistency. If the thickened epoxy seems to be having trouble settling, warm it a bit by wafting a hair drier or heat gun over it to reduce its viscosity (and accelerate cure rate). You can also warm the cracked surface up a little before you apply the epoxy. Be careful not to overdo it.
If you apply an aramid patch and wait until the epoxy stiffens, the fibers at the edge of the patch will soak up resin and stand proud. I would apply the second patch while the epoxy on the first is still quite malleable. The second patch will act like peel ply for the first. You will probably also get a somewhat better chemical bond between the two patches the less cured the epoxy on the first patch is.
I have used a lot of the style 500 5 ounce/square yard plain weave Kevlar sold by Sweet composites. It is what I would recommend for your repair. Just makes sure that it is thoroughly wet out. As for cutting that variety of Kevlar, I find it is quite possible to do so with ordinary scissors. In fact, I would buy the cheapest pair I could find since you will definitely make them dull. Mark out your fabric cut and cut only one or two strands at a time. I find that pulling back very slightly on the scissors as you close them seems to help.
Is it a good idea to drill small holes at the end of the cracks? ezwater recommended that over on www.songofthepaddle.com and I’ve heard of that before in non-canoe contexts.
@melenas said:
Is it a good idea to drill small holes at the end of the cracks? ezwater recommended that over on www.songofthepaddle.com and I’ve heard of that before in non-canoe contexts.
You can do so if you want. It certainly won’t hurt anything. The rationale is to reduce the tendency for the crack to grow lengthwise. I really don’t think it is necessary if you gutter out the full length of the existing cracks, bond them with good epoxy, and cover them inside and out, with cloth that overlaps the cracks on each end.
My repair has stalled. Using a Dremel tool with a grinding attachment, I have been guttering out the inside cracks well into the foam core, but the cracks continue. I also noticed that the outside cracks, which I’m currently not even working on, have left a crease in the inside vinyl.
This is discouraging. Are the cracks going all the way through? Should I continue to grind the inside cracks deeper until I’m all the way through the hull? Or use a saw instead?
The G/flex instructions suggest to saw through the crack with a saber saw or hacksaw blade and then bevel and round both sides of the crack and hull, as in this picture:
You may have to remove the creased vinyl to see if the ABS is cracked all the way through. If it is, I would just gutter out the cracks on both sides until the defect has an hour-glass configuration, then fill them in from both sides. That should provide plenty of bonding surface for the epoxy. The depth of the crack only has to be open enough for the epoxy to settle into.
If you felt the need to open up the crack more, I would get a small diamond burr for the Dremel and use that rather than a saw.
I removed some creased vinyl on the inside, opposite the outside crack. The green ABS behind the creased vinyl is not cracked, but shows “white” on the inside when lit up from the outside of this red canoe:
Why does it show white? Microcracks? Like bending plastic? Is it advisable to gutter out this area on the inside just as if the crack went all the way through, or should I leave it alone? The white area is compromised, but I don’t know to what extent.
That makes me want to look under the outside vinyl opposite my existing inside cracks. No creased vinyl is showing on the outside, but we know that doesn’t mean the ABS under the vinyl is in good condition!
I suspect that the inside solid ABS layer has been stressed and the foam core has cracked all the way through accounting for the appearance. I think if the inside solid layer is still intact, I would leave it alone and just gutter out the outside of the crack down through any broken inner core and fill it in from the outside with thickened epoxy.
The cracks more towards the center guttered out fine, although it’s not easy to see the crack once you’re in the foam core with all it’s lines, bubbles and shadows.
However, a portion of the single crack that extends from the extreme bow “sits up” on the right, then on the left, for about 5 inches total. After dremeling a spot all the way down to my skid plate (but not through it) I see a hairline crack where the Royalex has lifted from the skid plate, and probably for the entire 5 inches. The skid plate itself is not cracked there.
Yes, it is a bit tricky to follow the cracks through the foam core. Sometimes, forcibly flexing the hull helps temporarily open them up.
I assume the hairline crack in the Royalex you are seeing is from the inside of the hull? If it appears the skid plate has de-laminated from the Royalex, I would open up the area enough to ensure that you can get epoxy down into the void between the two without leaving significant air gaps. You might want to use unthickened epoxy for that purpose and warm the area judiciously with a heat gun after application to ensure that the epoxy gets to where it needs to go.
I don’t know whether I would do that “opening up” from the inside or through the skid plate. Probably the former but I would have to actually see it to decide. In general, I would try to disrupt structures that are still intact to the least extent possible.
@anon64780766 said:
I assume the hairline crack in the Royalex you are seeing is from the inside of the hull?
Yes
I don’t know whether I would do that “opening up” from the inside or through the skid plate. Probably the former but I would have to actually see it to decide. In general, I would try to disrupt structures that are still intact to the least extent possible.
I was wondering about that. The horizontal delamination crack is at the extreme end and it’s way too narrow to open it up at that horizontal angle from the inside with the Dremel, or any other tool I can think of. My first thought was to remove the portion of the skid plate where it has delaminated from the outside, fill with thickened G/flex from the outside, and put cloth over it. However, I was reluctant precisely because I did not want to destroy the mostly intact skid plate. I currently don’t see any other way, though.
Here’s a photo. You can see the delamination crack between the black (skid plate) and sliver of green below the purple. I believe this crack extends for 5 inches but I have not guttered it out to that extent yet.
I would probably continue to gutter out the crack lengthwise until you reach a point at which the skid plate seems to remain strongly attached to the ABS. You might be able to judge the width of the area from which the skid plate has delaminated by inserting something thin under the ABS and using it like a feeler gauge. If the delamination does not extend to far laterally you may be able to get epoxy in there by using a dental syringe with a thin, drawn-out tip.
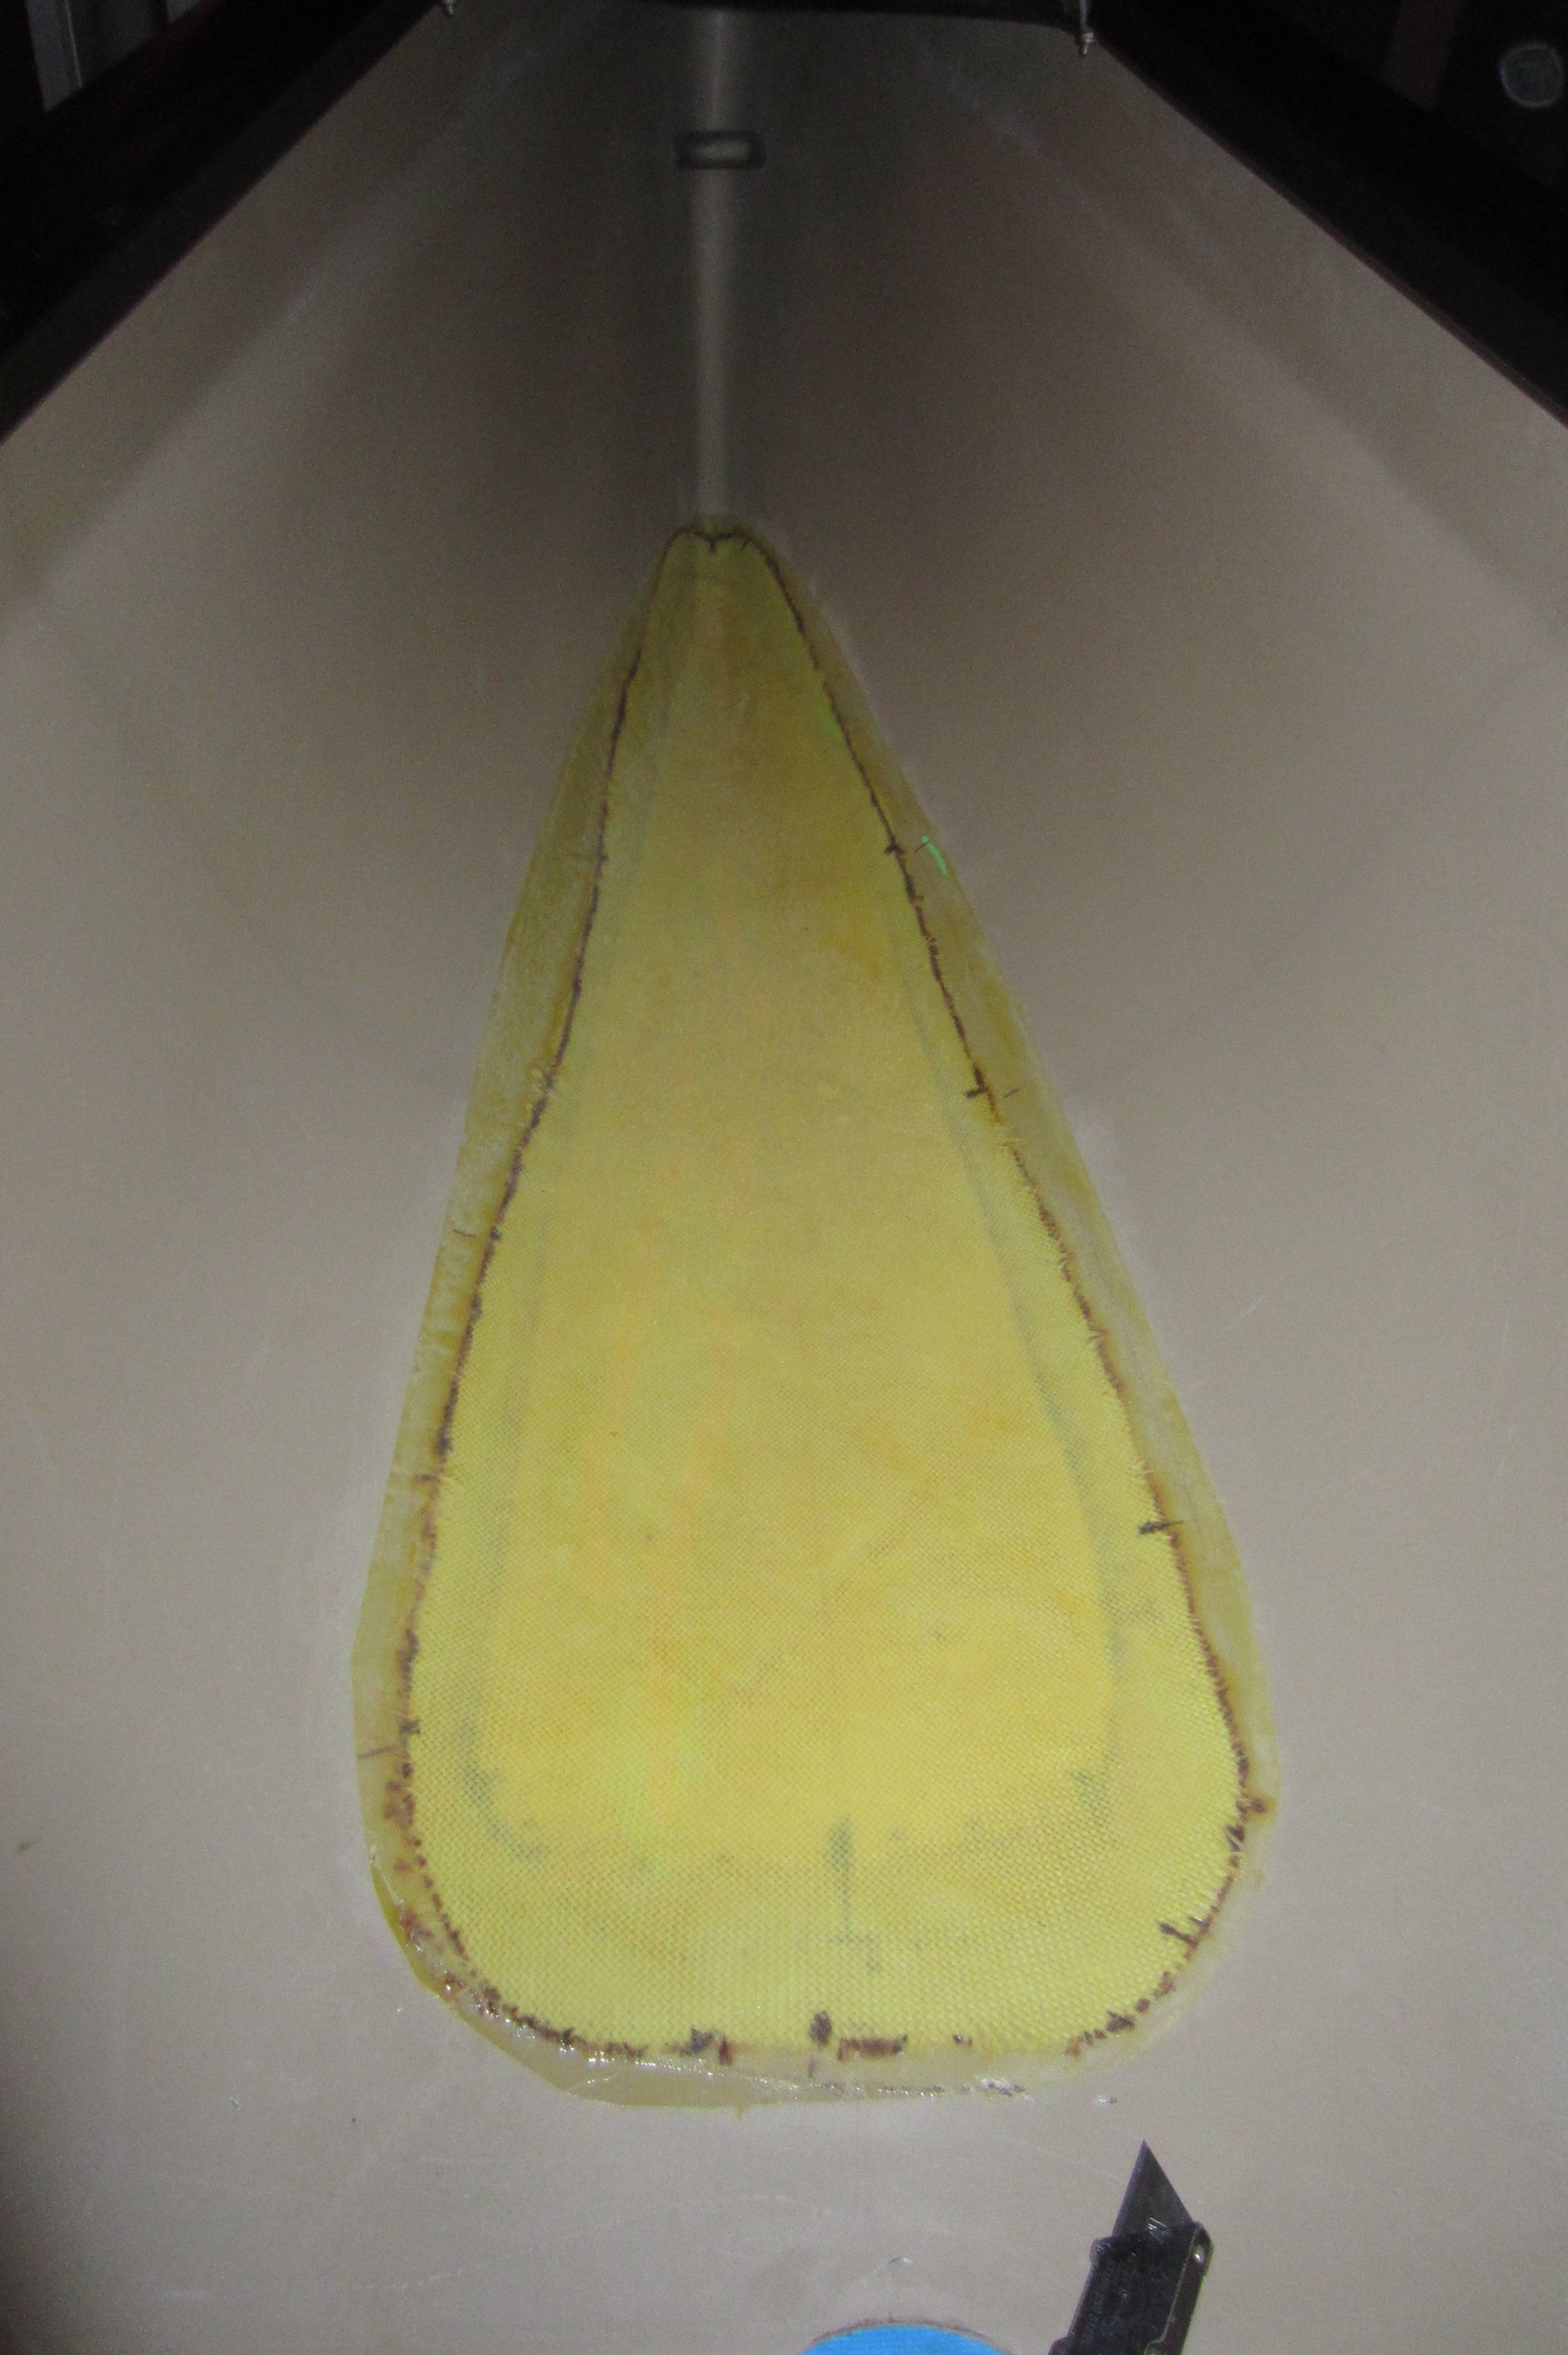
The inside repair turned out pretty nicely and with only minor hiccups: Despite the fact that I carefully measured out my aramid patches, after cutting them they grew by 2 inches and became somewhat narrow. I tried again with the same result and was out of aramid at that point.
I also could not get rid of all air bubbles between the peel ply and resin in the extreme end of the canoe, as trying to push the air up the vertical walls from the horizontal center line with a squeegee always resulted in the peel ply getting lifted up again at the center line.
Here are some pictures. I still need to paint.
Guttered out cracks filled with resin, with plastic patch template placed:
,Plain open weave fabrics, in which the fibers of the weft and warp are not fixed to each other in any way, will act like those Chinese finger traps that some might have played with as a kid. The cut patches will tend to distort by elongating and narrowing, or vice verse. I use whatever template I am using to cut out the patches to mark an outline on the hull and then try to work the fibers of the patch out to the correct width as I wet out the cloth in order to minimize distortion.
Applying patches in a concavity is a bit tricky. I usually use two implements such as two squeeges, or a sgueege and a stir stick, holding the patch down on the hull in the concavity while using the other to wet out the cloth. If you are using peel ply, it is more important to avoid air voids between the patch and hull than it is to get out all the air bubbles from under the peel ply.
@pblanc said:
How does the outside of the damaged hull look?
I’m in the process of guttering out the cracks but am once again having trouble detecting the maximum depth of the cracks. From time to time, I push both sides of the hull inward a little to find the hairline again, but of course squeezing too much could propagate the crack!
I dremeled the outside cracks down to what I believe is the foam core (white) and can still see a crack. I took a photo. Note that this boat’s outside ABS layer is half green and half red (!), with the green on the outside, touching the vinyl and the red on the inside, touching the foam core. As you can see, there’s still a hairline crack visible in the middle of the white foam core.
Should I continue to dig deeper (I must be at 50% of wall thickness)? Or should I just leave it alone at this point, fill with G/flex and cover with cloth?
I did one a few months ago and never went that deep. I filled it with several coats of G-flex and then used glass tape over that with a few more coats of G-flex.
I painted it with Krylon Fusion. It passed sea trials and you would never know it had been cracked. One of them was four feet long with another three footer joining it.
@JackL, were you able to completely gutter out your crack? Or did you gutter out some with the crack still visible when you filled it with G/flex?
The honey consistency of G/flex means it can’t really penetrate tiny hairline cracks, but if some deeper portion of the crack is left unguttered, wouldn’t the crack propagate next time you hit a rock? Maybe it doesn’t matter…
I would open up just the center of the cracked core enough to make sure that your epoxy gets down into the crack and has a good bonding surface. You might be able to best do that using a small, angled pick. Have you already repaired the hull on the other side opposite that crack?