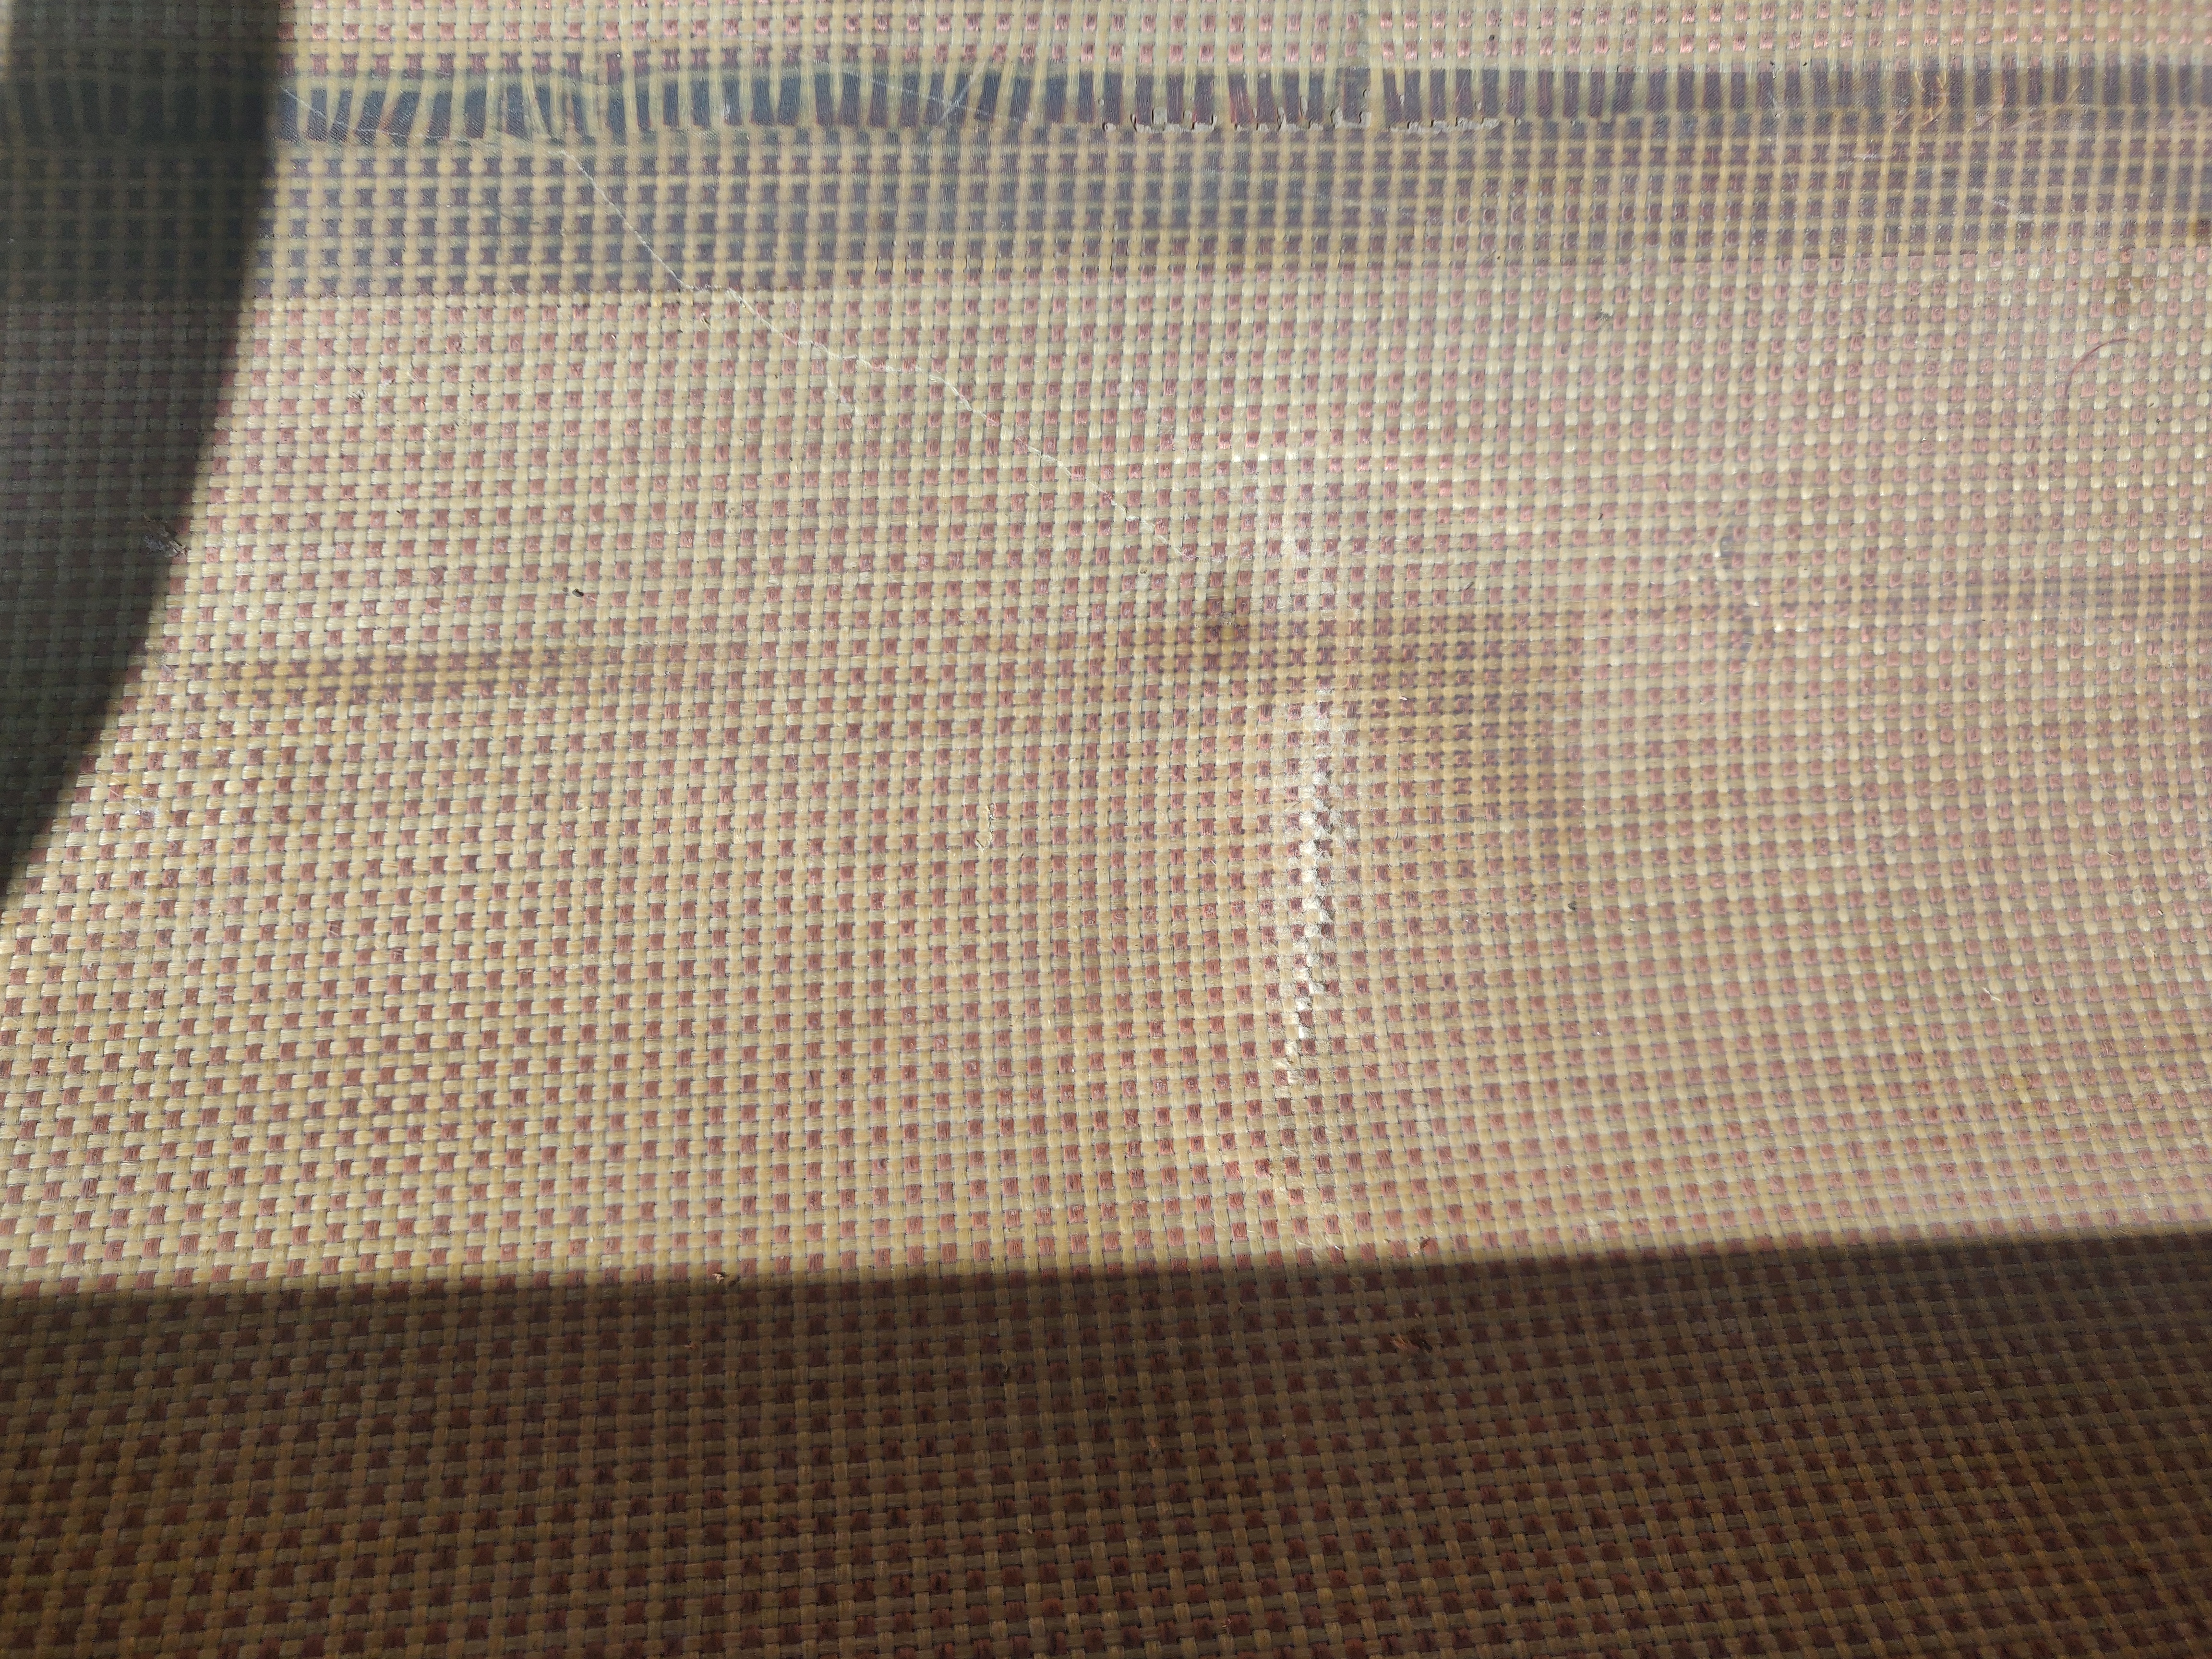
One potential problem. It looks like the layup was stressed and there is a compromised part. I’d rather not do any unnecessary patches, but if necessary…
Advice?
One potential problem. It looks like the layup was stressed and there is a compromised part. I’d rather not do any unnecessary patches, but if necessary…
Advice?
The “white line” on the aramid interior is characteristic of a lateral impact that caused dissociation of some of the fibers from the resin matrix. Aramid fibers have great tensile strength but do not bond to resins as well as fiberglass or some other materials. So instead of fracturing they usually just pull out of the resin that they were enclosed in.
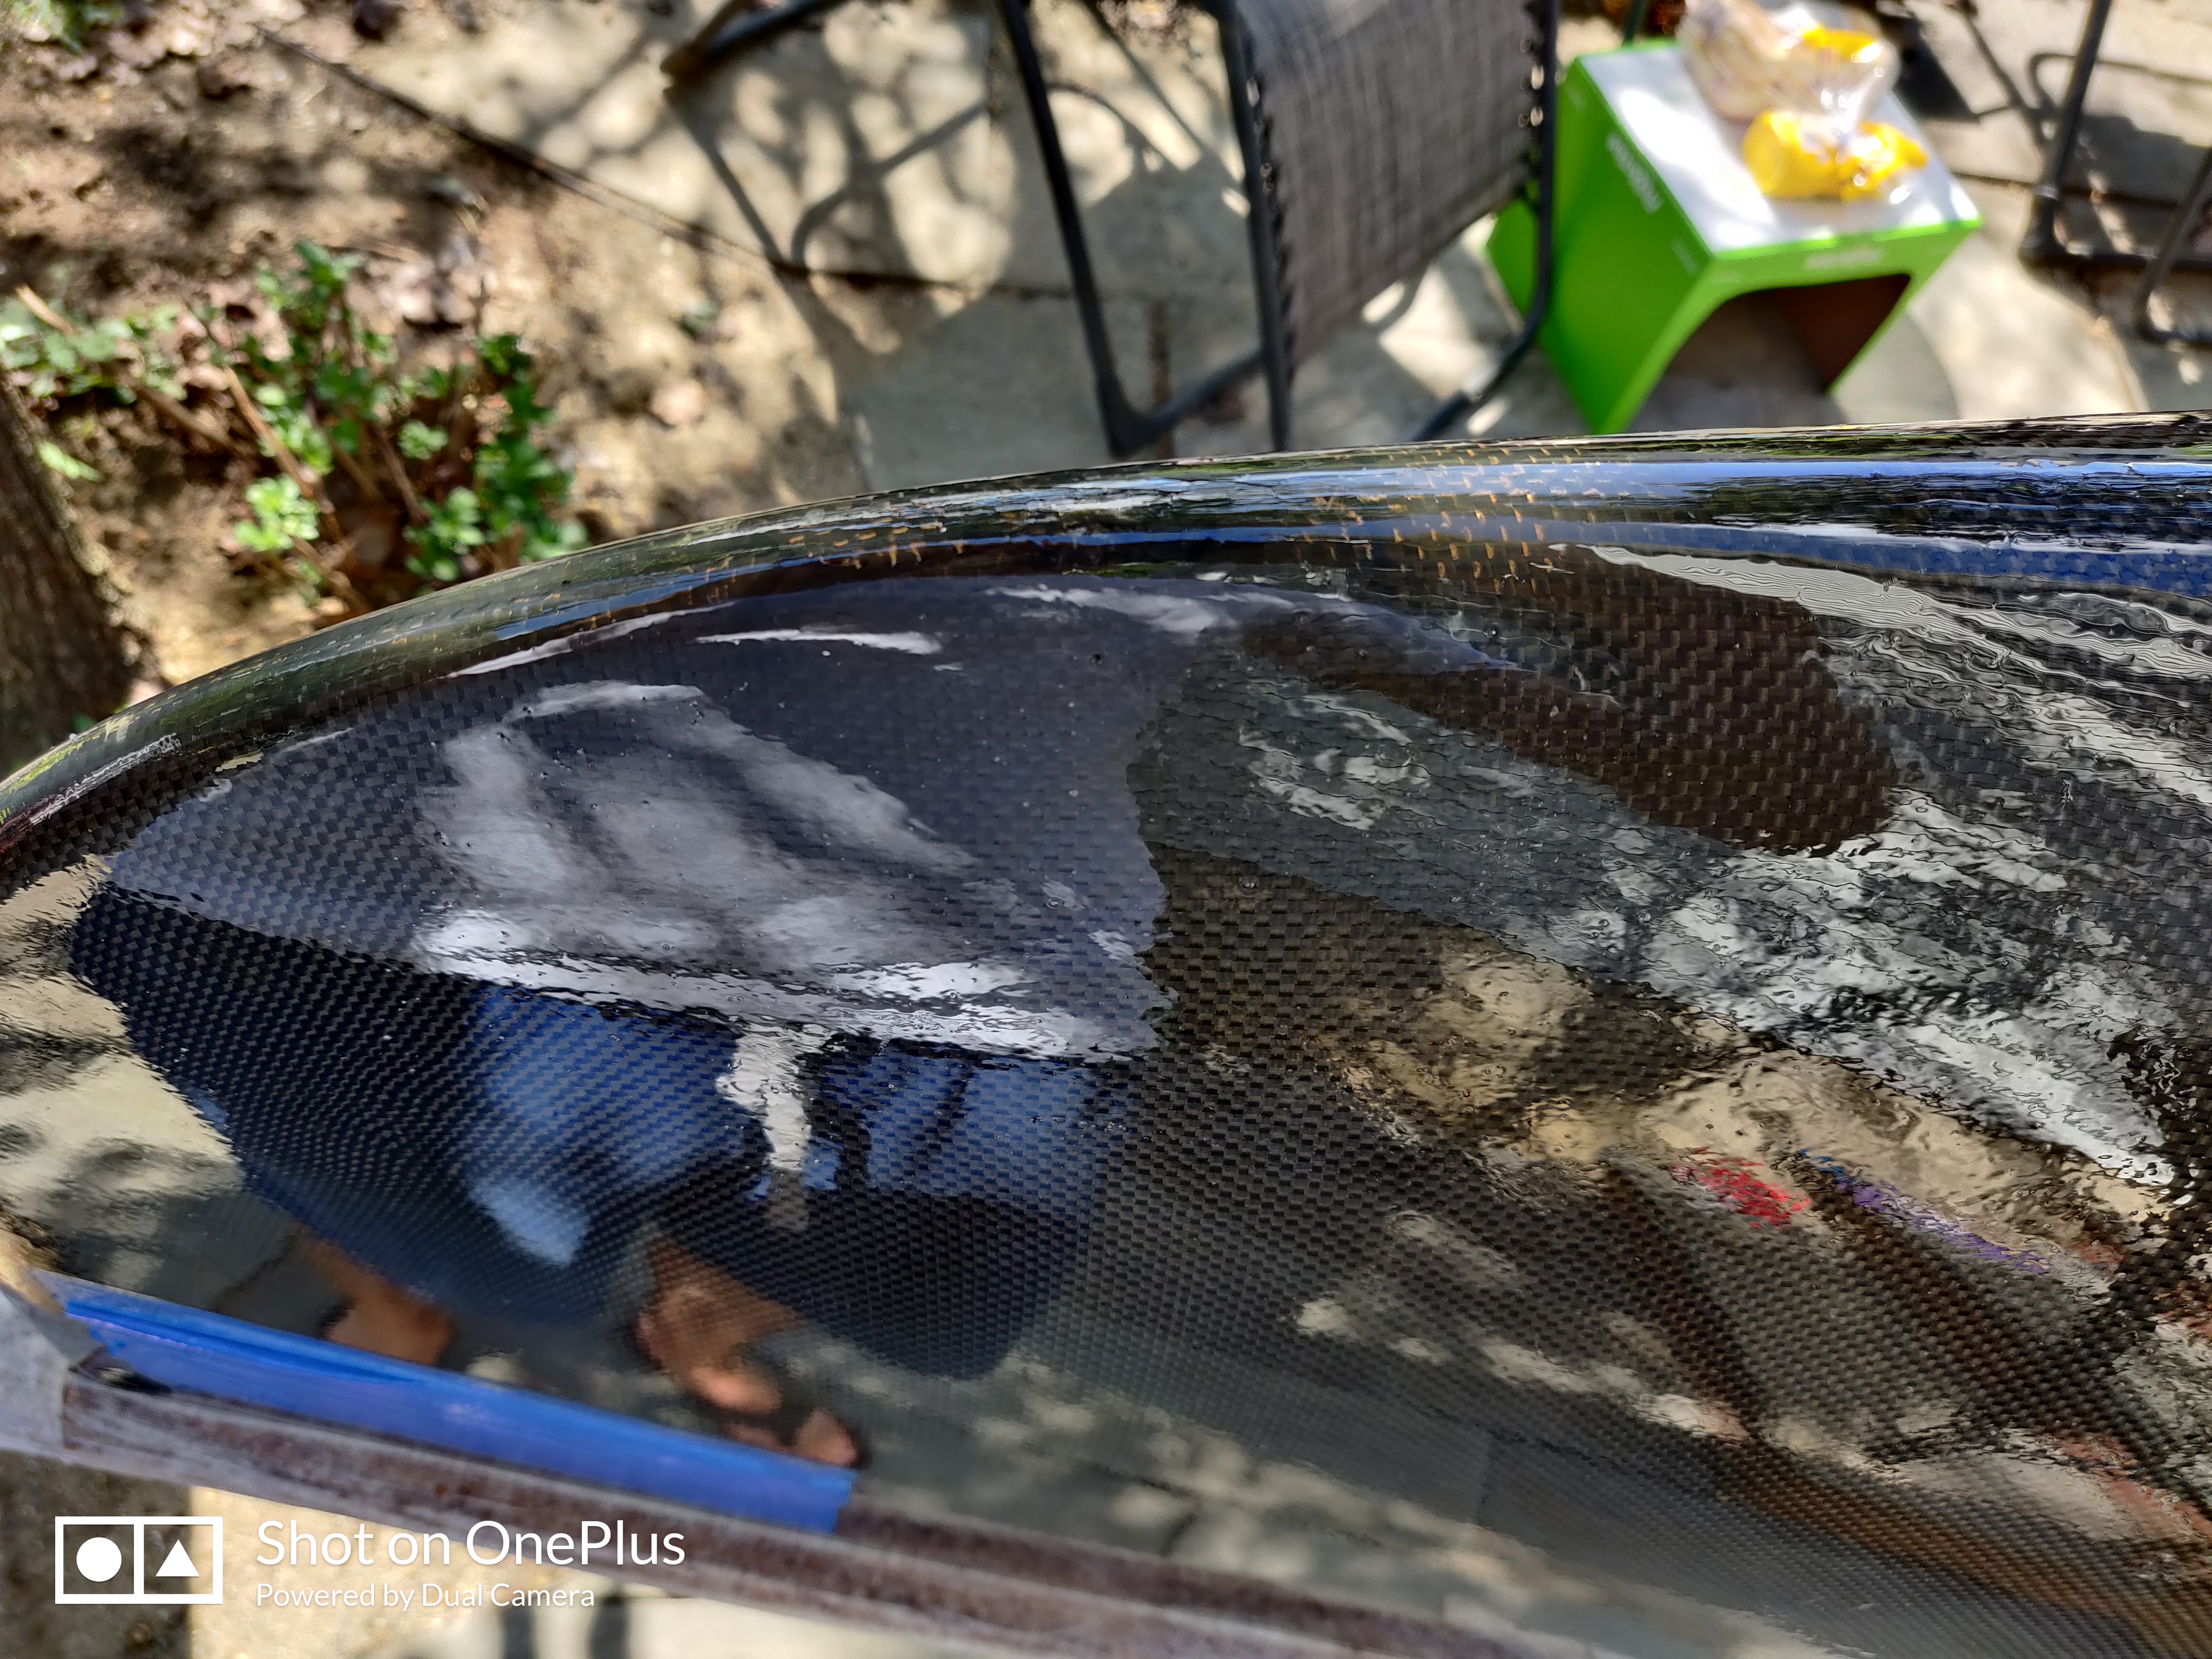
I assume the lower photo is of the carbon fiber exterior. It appears there are some fractured fibers there. Strength has been compromised somewhat. You might get away with just leaving it but I would be inclined to apply a patch of fiberglass to the interior and exterior. If you use a single layer of plain weave fiberglass cloth no heavier than 6 ounce/square yard and use a clear epoxy completely filling the weave of the cloth and then feathering the edges of the patch on the exterior, the end result will not be very noticeable since the fiberglass will be nearly transparent. You will, however, see a line where the carbon fibers have broken through the clear patch, so disrupt that break in the carbon fiber as little as possible when you patch over it. If you want as inconspicuous as possible you could use 4 ounce/square yard fabric.
On the interior I would use peel-ply (mold release fabric) over the patch to eliminate the need to feather the edges since aramid does not take too well to sanding abrasion. If you do acquire some peel-ply use it on the outside as well as it will reduce the amount of feathering you need to do.
If you remove the clear gel coat from the exact area of where you plan to apply the external patch you will create a slightly shallowed out area that will compensate for the thickness of the patch so that the final result will not stand “proud” of the surrounding hull, or won’t very much.
Yep pblanc’s approach would make it stronger than new. Personally I’d probably decide based mostly on how soft that spot feels when you push on it. It’s probably fine unless it takes another big rock impact in the same spot and if that happens you can always patch it later.
Thanks to you both. Decisions.
Since it’s a nice day here I want to fishing most of the wood work. My mohogany gunwales and deck plates are much lighter (even when stained) than the walnut kneeling thwart, and replacement ash seats from Ed’s.
Can I stain and use watco oil? I was thinking I would stain with what I have, then finish with oil. Is this possible? Should I wait before applications? Can I just mix the two?
Thanks
Dave Curtis at Hemlock Canoe sells Watco with stain mixed in although I’m not sure what specific brands he uses. I think you’ll be fine whether you stain first or mix. In my experience the Watco takes a while to dry/cure so I typically let it dry overnight after a couple of light coats and then repeat a couple more times. The final coat may not feel dry to the touch for a week (talking about the green and white label stuff, the Watco teak oil seems to cure faster). Although it takes a while to cure it does seem to give a tough finish that wears well.
Thanks. I ended up just using oil as the color of the “mohagany” (meranti) is a nice dark color.
I’m about to install the seats. Am I right in assuming that the wider of the two seat “bars” goes at the back, to account for greater weight distribution?
No. If the seat frames are patterned after the stock Bell seats, the wider (looking from the top) seat frame, which has a bit of radiused chamfer at the front edge, is intended to go in the front.
Thanks!!!
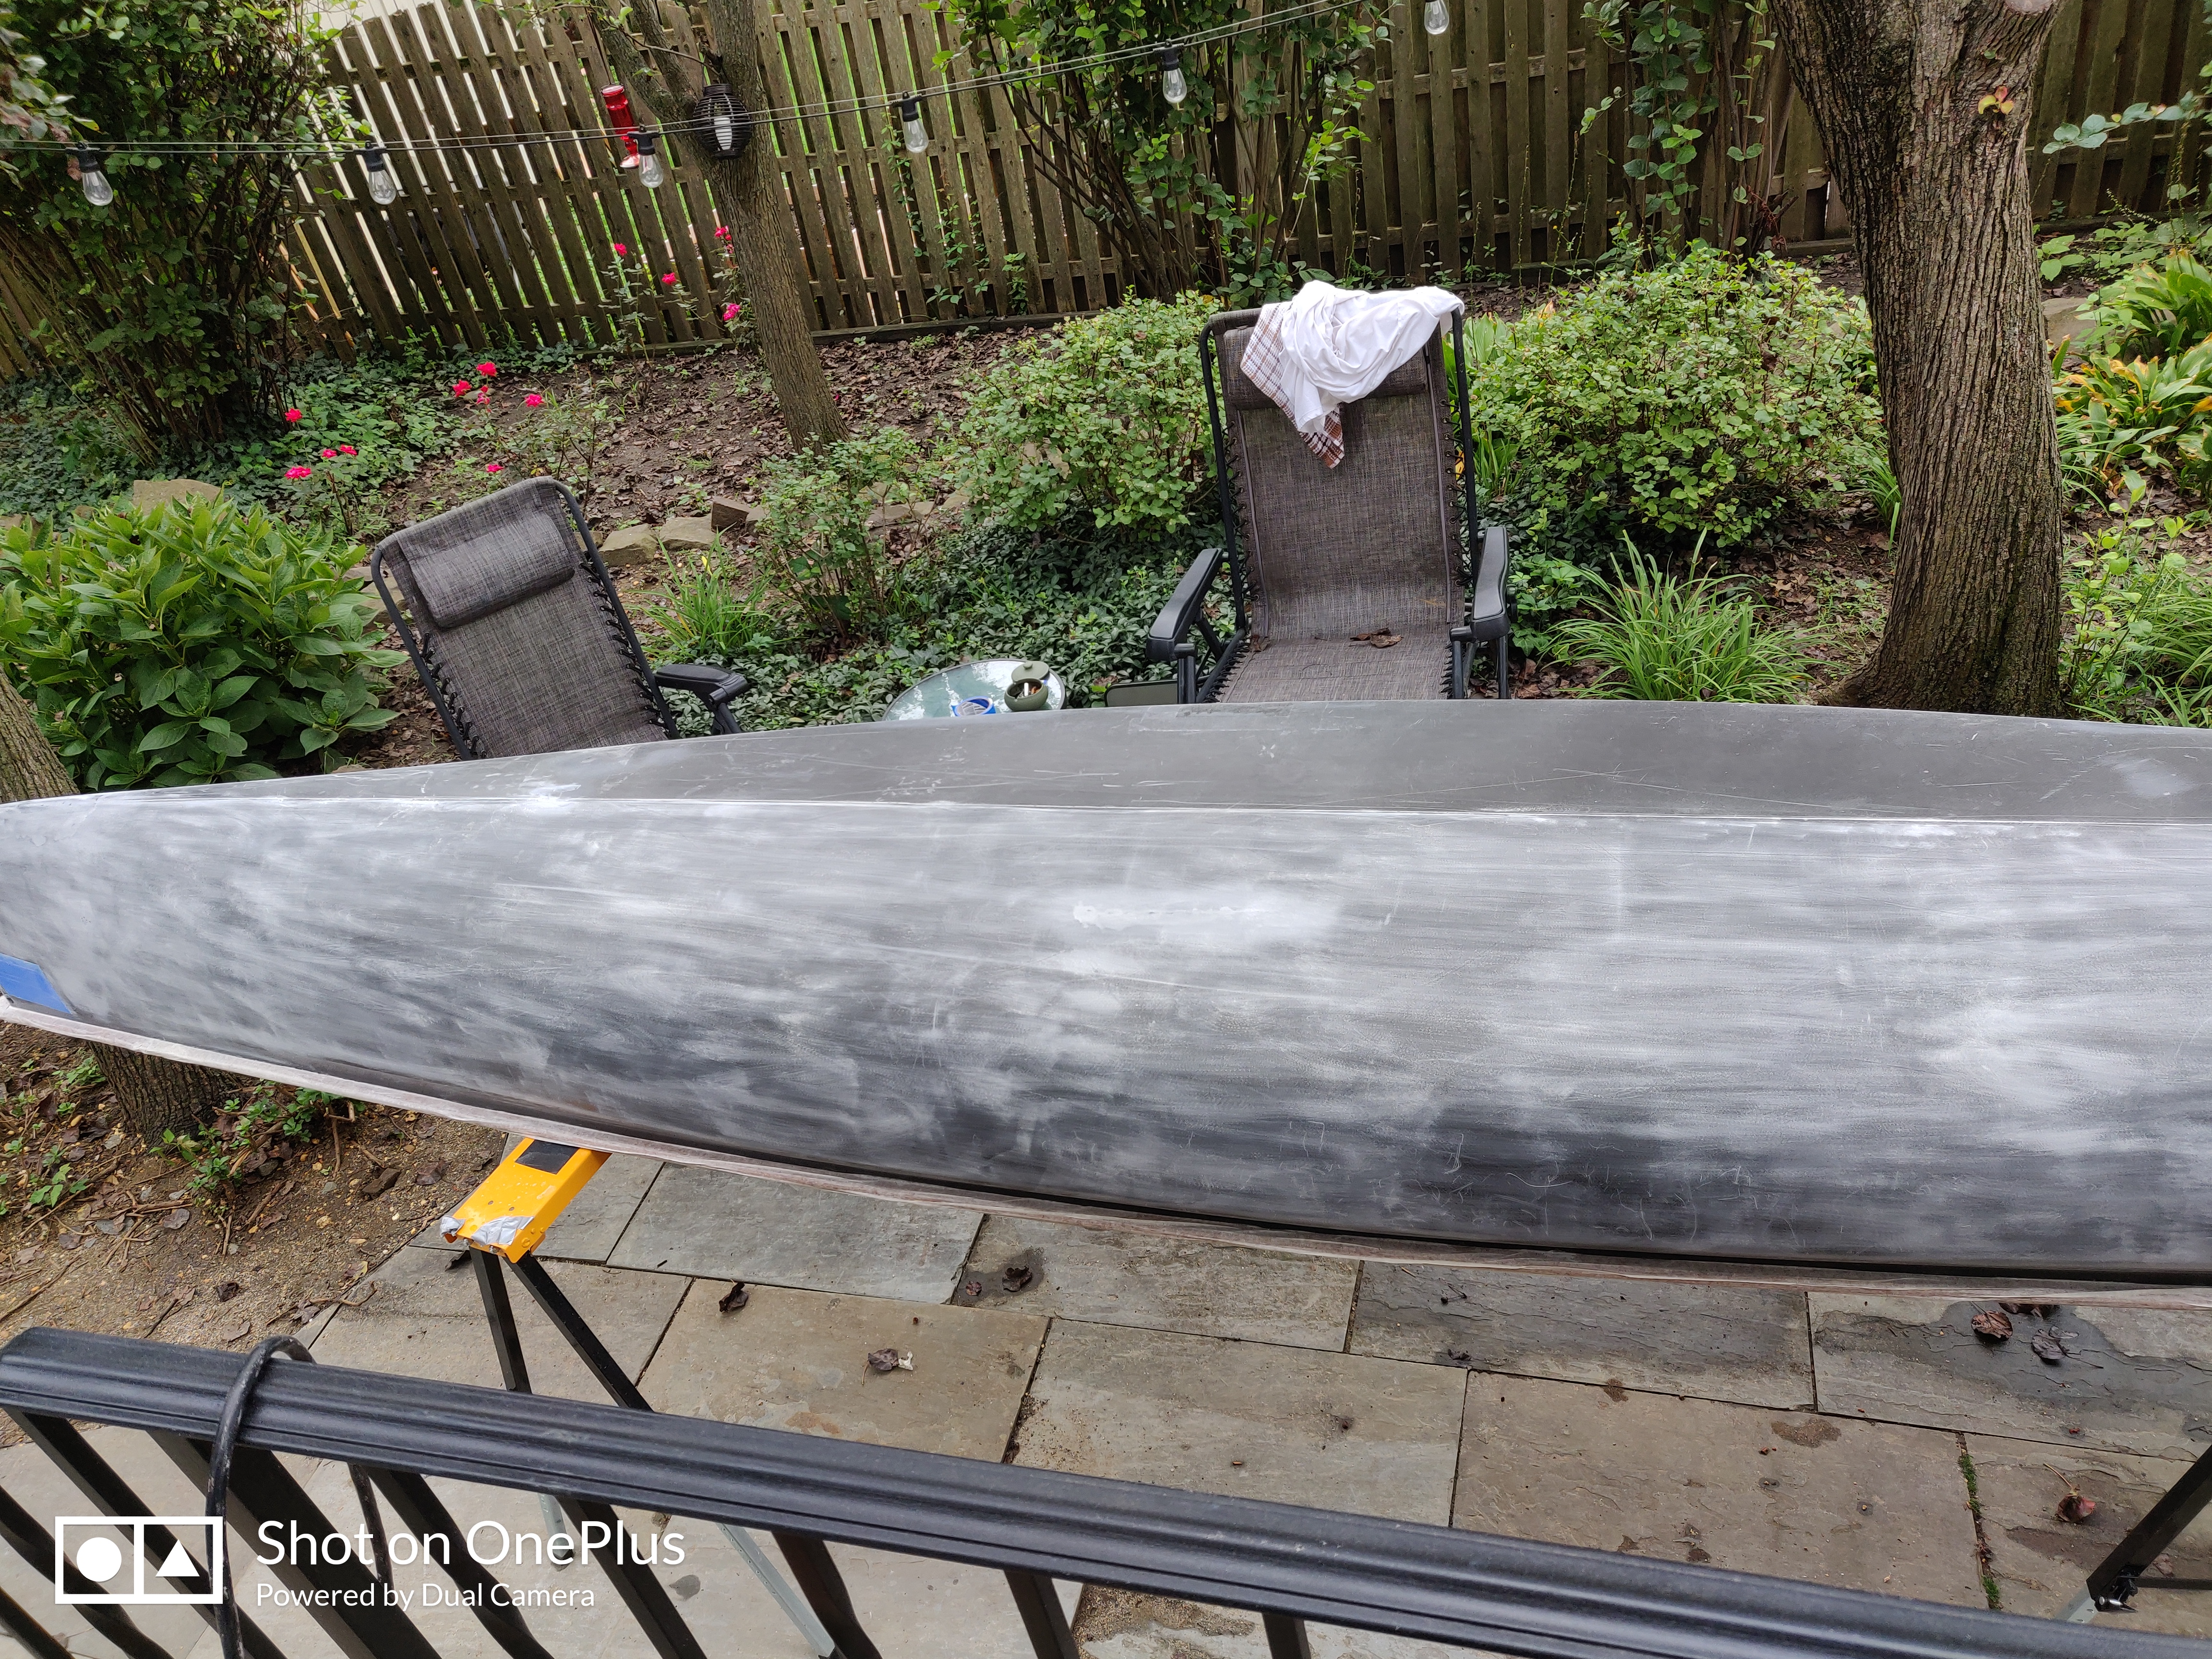
Progress.
I prepped and began filling in several spots with epoxy. I was hoping to fill them, then sand the entire hull, but it was time consuming just focusing on these spots. I’m not concerned with perfect fairing. And I can always do that after a blanket coat.
I was thinking 3 thin coats of epoxy. Overkill?
I was also thiking about epoxying over the decals? Any issue with that?
As always, thanks.
Btw, I taped off around the spots I filled. I was pretty aggressive with the sanding in those spots because of the spider cracks. It looks like the penetrating epoxy did the trick in filling most of the bad stuff. Plus I wanted a lip of sorts. Not sure I would so that again. It was a pain to remove (even before the epoxy had cured)
I have not applied epoxy over decals. I suspect you could do so but there really isn’t much reason to do so I have not tried it. I have usually applied two coats of penetrating epoxy but if it looks as if you still have surface imperfections you could apply a third. But I would probably apply one or two coats of clear marine varnish instead which will protect the epoxy from UV degradation.
Thanks, pblanc. I’m gonna spend more time fairing before I apply a final two coats. Thanks fo the marine varish suggestion.
Ok. I spent the weekend sanding and applying 2 universal coats of epoxy. (And removing gummy tape from my gunwales because the tape I used was too thin. Next time, 3 layers, not one!!)
The boat is ready for me to enjoy and I will spend the winter fairing a few more spots, wet sanding and buffing).
A couple more questions.
Can I use Helmsman Spar Urethane as a final coat?
If I wet sand the existing epoxy, do I need to apply another coat to return the shine? Or can the shine be restored using urethane, varnish or buffing?
One thing I would change next time is doing it indoors, given the pollen and kamikaze bugs. Tweezers helped
Thanks!!
I think your boat looks really good. I would be proud of your efforts.
Helmsman Spar Urethane will work fine. Mike McCrea who is known to many who were members of this forum and the old paddling dot net message board did a test with various types of marine varnishes, epoxies, and urethane products on panels of wood left outdoors exposed to sun and followed the results. Most epoxies deteriorated significantly within a few months subjected to daily, continuous UV exposure. Note that most canoes do not receive that type of abuse but boats that are frequently car topped long distances may get pretty significant UV exposure to the hull exterior within a few years. In Mike’s test Helmsman Spar urethane fared surprisingly well and proved more durable than many high zoot marine varnishes.
Anything that is relatively low viscosity and levels well will fill and hide find sanding marks. If after wet sanding your hull you spray it with a hose and it looks good, it should look equally good after applying a coat of urethane or varnish.
Pblanc, thanks for all the sound and steady advice. You have now helped me save two nice canoes. I will paddle my “new to me Northstar” on the Delaware this weekend, will take a few photos, and report back. I’m curious to see how it compares to the Swift Kipawa I used to own.
Well, I took it out last weekend for its maiden (to me) voyage on the Delaware River. What a pleasure to paddle and car mount. The canoe is fast and tracks really well and turns on a dime. I think this canoe is nicer that the Swift Kipawa I used to own. Certainly lighter than the “Expedition Kevlar” version I had. A few pics and thanks again.
Great looking boat. My wife and I used to take my daughters out canoeing on the Delaware many moons ago.
Nice looking canoe. I had the same model years ago and should never have sold it. I think that “fast and turns on a dime” is what you want in a canoe. Pretty cool that you can already say that you like it better than your Kippewa since that’s quite a nice boat too. Great job!
So I enjoyed the canoe this summer. Again, thanks for all the advice.
Ultimately, I decided to gift it to my brother’s family in Canada. They will get much more use out of it.
I am just getting it pretty again before I say goodbye . One thing I didn’t do last time is really clean the inside. I just did that with a mild soap and a scrub brush.
I’m wondering if I should urethane the inside? I’m assuming this would provide some UV protection.
Thanks,
The first step in boat repair and restoration is to find one worth repairing.
This one is definitely a good candidate.
Nice job of saving another one.