The COVID-19 situation where I live has been slowly but continuously getting worse the last few months, so I’m expecting to spend a lot of time at home this winter and I’m worried about going a bit stir crazy.
I saw the idea of building my own Greenland paddle, and that seemed like it could be an interesting project that doesn’t cost too much or need too too much space. I don’t much experience with wood carving or this type of woodworking, but I’ve done a ton of home reno work and I am comfortable with power tools in general and handling wood.
My question though, is does it make any sense to even try to build a Greenland paddle if I have never tried using one, and in fact, have pretty minimal kayaking experience at all? I don’t even own a kayak yet, I’ve only rented a few times, so I won’t have the slightest clue if it’s any good if I do build one and try it next spring with either a rental boat or a new purchase. . . (Ideally, I’m hoping to buy my first kayak through the winter or in the spring.)
Has anyone else does this as an absolute beginner to the sport?
Sure, give it a go. I have a fair bit of power hand tool experience including with a belt sander, which I found useful. First get comfortable with the dimensions and style you wish to end up with. I decided to splurge and start with a clear cedar 8’ 2x4 from a specialty lumber yard, for about $25. I sorted through their stock and found a nice light one.
I followed Matt Johnson’s video, but there are many available on youtube.
I would watch a bit then pause it and do that phase, and then repeat. At one point I thought I was done, and it looked pretty good. But when I looked at other builds I could see mine could still use some refinement. The final tip thickness is around 1/4".
I quickly became attached to using it, and a particular carbon Euro paddle began to collect dust.
Good luck with your project.
It takes some patience, but if you follow some of the good tutorials out there and cut/carve to layout lines then it’s a pretty mechanical process. I’ve made three so far. The next ones will likely be purchased carbon fibre two piece though.
Take your time to find an exemplary piece of cedar with straight grain and preferably NO knots. If you must deal with knots, make sure they’re not at an edge where you’re carving and that they’re small and not loose.
Tools you’ll need/want:
Belt sander (or orbital, or just elbow grease and sandpaper)
Spokeshave
Block plane, or other smaller quality plane
Draw knife
Hand saw
Power band saw (not required, but certainly makes things go quicker - also allows you to mess up and scrap the whole thing faster if you aren’t careful)
Good idea.
Making paddles is very rewarding. Making a Greenland paddle is the easiest there is.
Find some decent material to work with.
In the West I would consider clear Douglas fir or western red cedar, maybe Alaska yellow cedar or Port Orford cedar.
Hello ‘1890’. If you decide to carve a Greenland paddle, I would like to recommend this book.
I had never tried to complete a woodworking project, like carving a Greenland paddle, before now.
But, three quarters of the way through my second GP… the detailed, practical, step-by-step guidance provided by clear, helpful, exact, well written instructions, with compleat descriptions and useful illustrations, provided me with confidence throughout the process. Whenever I was in doubt, or wanted to check the progress - it was (is) very easy to backtrack through the steps that brought me to any point (step) in question.
I also watched several videos, available online, too. But the book is more helpful due to the confidence it provides (for organizing, laying out the lines properly, and completing the work), in my opinion.
I actually recommend against using power tools. Not because they are bad, but there is something just really nice about working with wood, there is a meditative quality to it. Even just sharpening your spoke shave or block plane blade can be a joy. Get a comfortable workbench area, put some good music on, and don’t worry about how long it takes. I got lucky in that my father in-law lent me my tools and taught me how to use them and sharpen them. The wood was just a $3.10 piece of white wood I got at Home Depot. I wasn’t going to wreck an expensive piece of cedar. That’s this winter’s project.
To be honest I did use a jigsaw on this one, and a neighbor’s band saw on the one I’m making for Lillyflowers, and I’ve regretted doing both.
Good idea to get the first one made using more standard measures, paddle with it for a while and see if you want another one more tweaked.
In my case it was a bit more blade surface and maybe a more distinct shoulder, I would have to pull them out of their case to check. But wanting to customize a bit differently after using the first one for a while is fairly common.,
By all means, create some saw dust with your own GP. I have made 3, each a bit different in blade and loom shape. All using very basic hand tools of mall and large planes and sand paper. In addition to cite on-line videos and books, I recommend Brian Shulz’s site and this video. https://cape-falcon-kayak.thinkific.com/courses/building-a-greenland-paddle
I take a hybrid approach, using power tools where bulk removal of wood is required (initial taper on the blades, cutting out the basic shape), then switching to hand tools exclusively for shaping and sanding, where developing a feel for the wood is important and enjoyable. I have made paddles using only hand tools, and although the cutout operation was no problem with hand saws, I found the tapering to be tedious. That said, I love making wood shavings and can appreciate why some people find extended planing sessions pleasant and even relaxing. I guess there’s some exercise value in it, too.
Once I switch to hand tools, there are few things I enjoy more than working with spokeshaves and block planes to do the shaping. The rolling bevels on the blades are particularly satisfying.
I would never deprive myself of the pleasure of running my hands over the paddle as it takes shape, particularly during sanding where it assumes its final form. After all, it’s hands that will be using the paddle.
Use what ever tools you are comfortable with. Just remember you can screw it up faster with power tools.
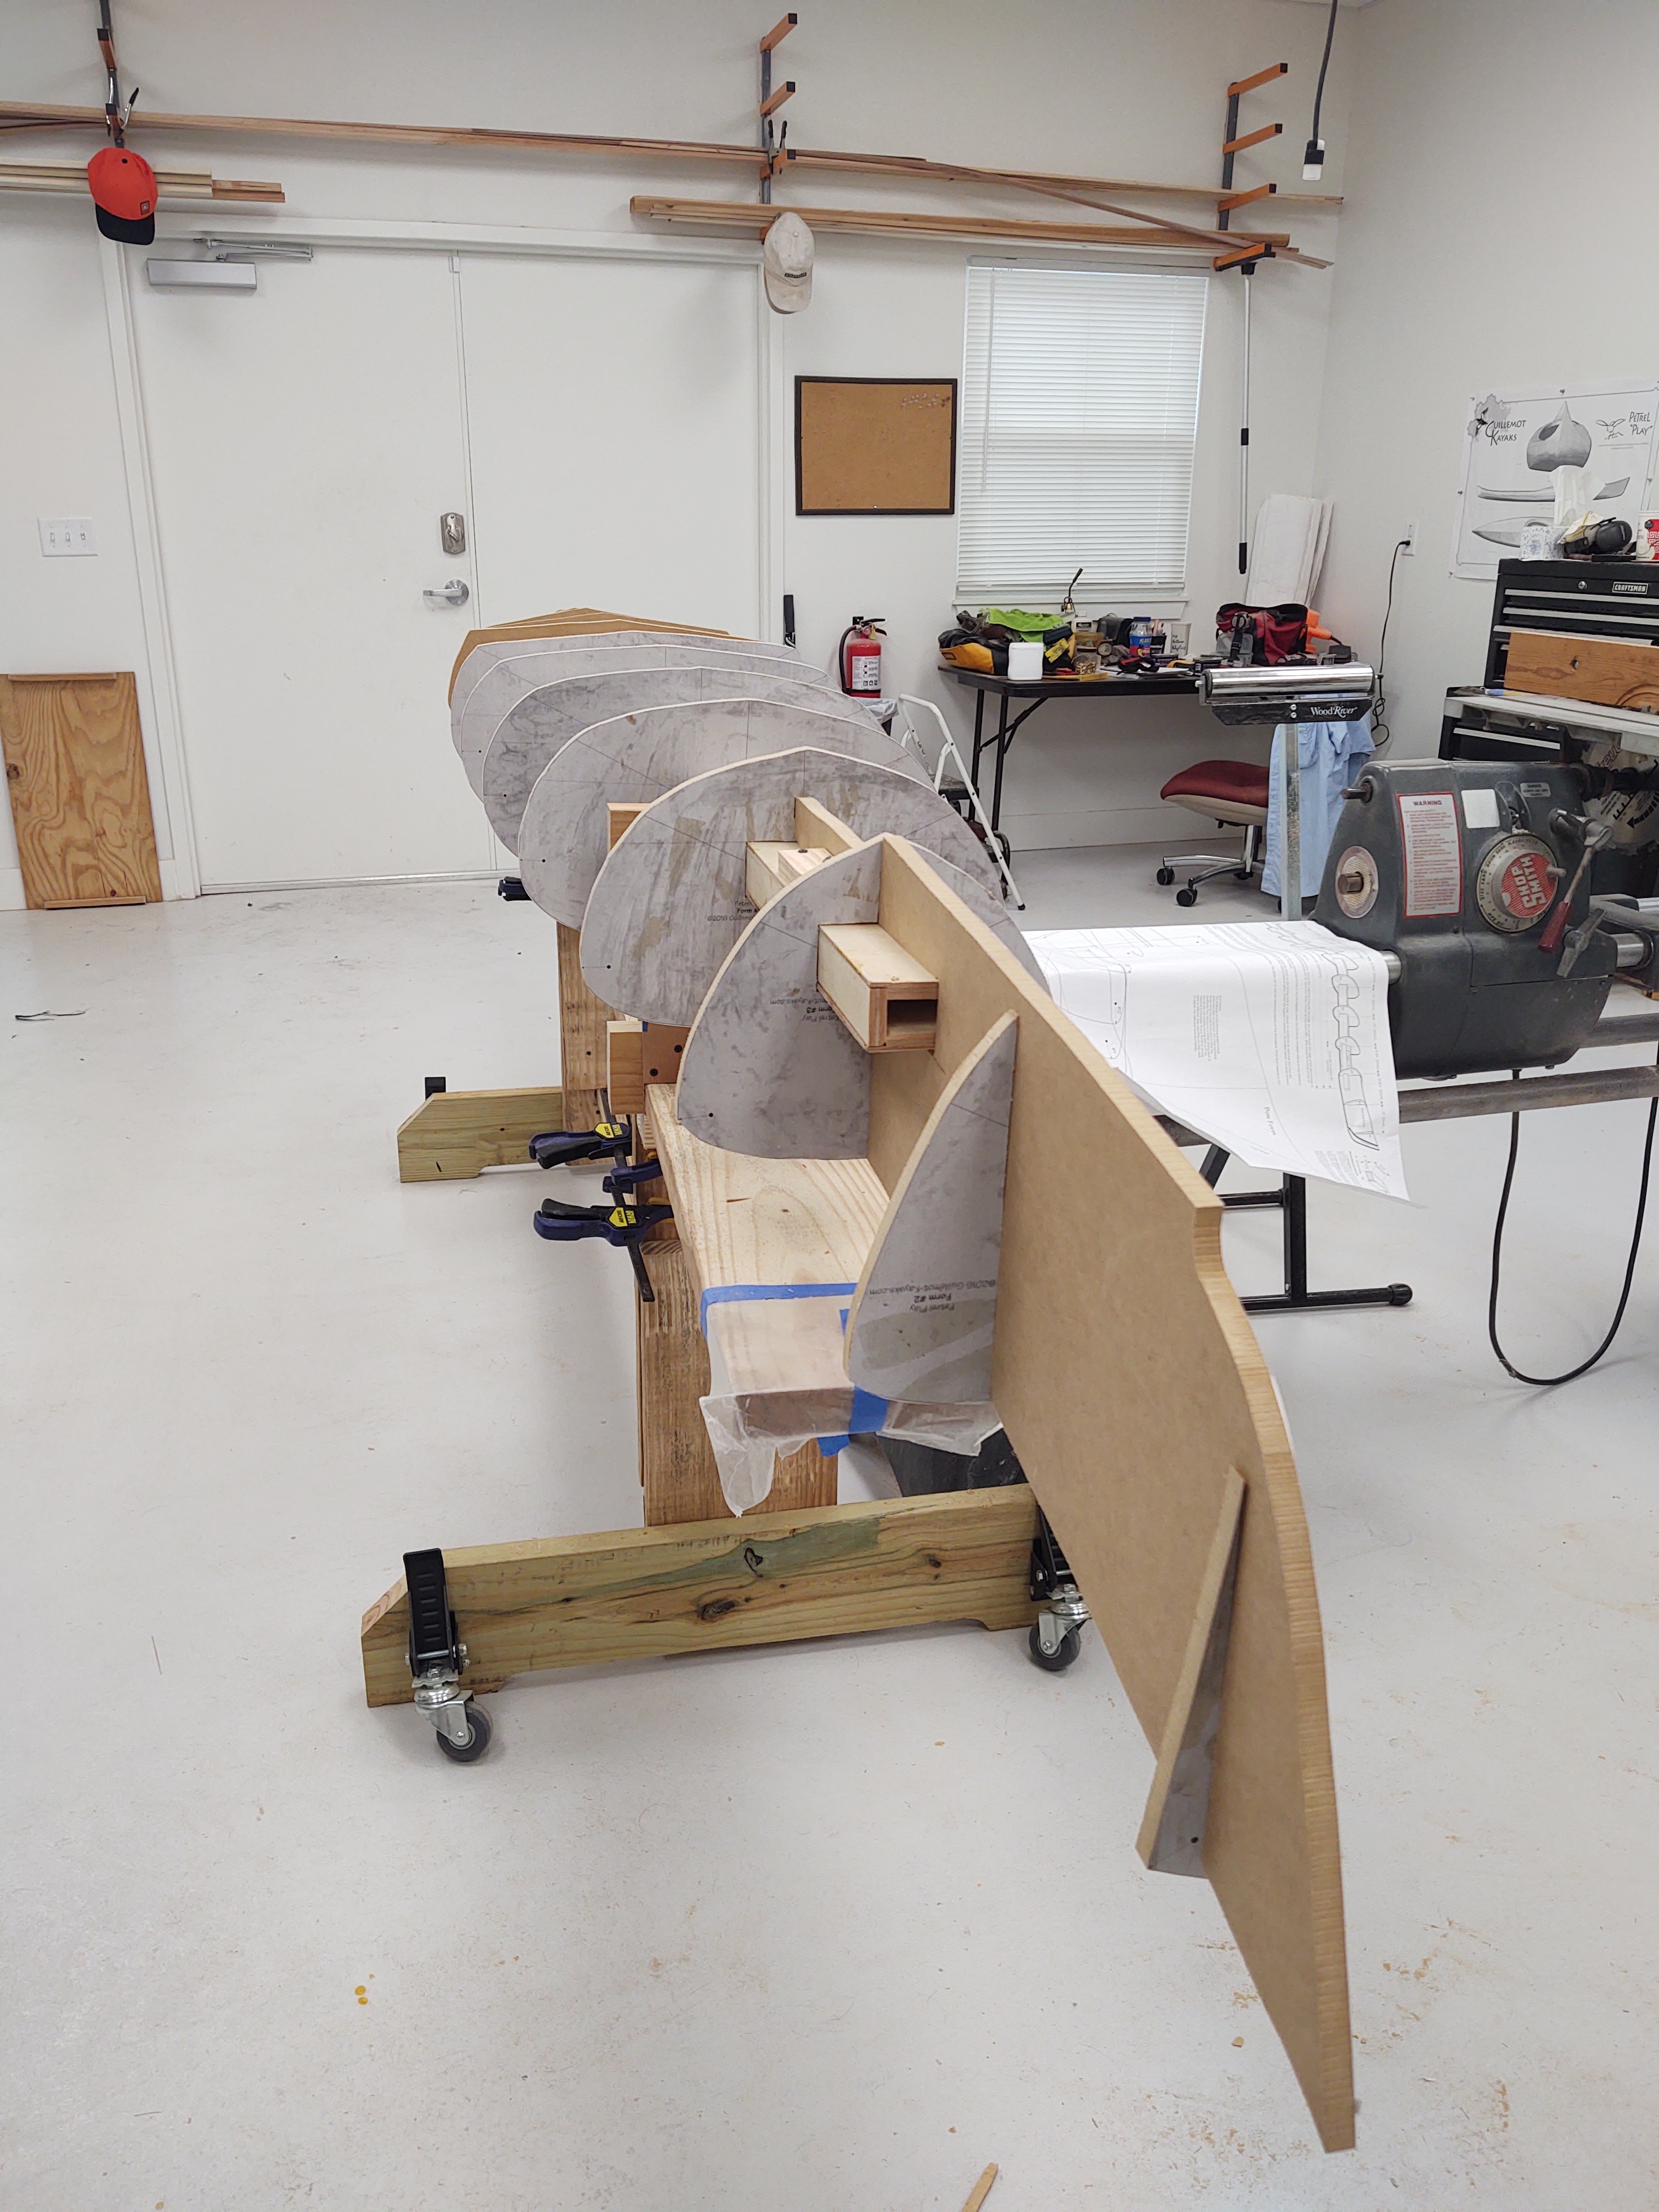
Personally I’m building the boat and a paddle oe two. This is a strip built Petrel Play. I’ve been cutting strips. I emptied the dust collectors today. There’s 60 gallons of saw dust on the curb awaiting a ride to the dump. These are forms on the strong back. Strips go on soon.
Thank you for all of the responses! I’m definitely going to look at the different resources mentioned and take some time to plan. It looks like this project might also be a good opportunity to learn how to properly sharpen some tools.
@spiritboat Winter is very long where I live! It’s warmed up again today, but we’ve already had over a week of below-freezing temperatures, and we’re likely to have them, along with snow, until well into March, if not April.
@Overstreet That shop area looks amazing. Good luck with your build! My dream is to build a strip-built kayak someday, or even a stitch and glue, but unfortunately right now I simply don’t have space for it. I think I can clear enough space in my basement to manage a paddle though.
Oh…and I’m looking at your table saw and I’m thinking that looks familiar…we bought a house five years ago and I asked the PO to leave the power tools in the workshop (he was moving to a condo 1500 miles away). He said “no, but I’ll leave the woodworking tools.”
…which is what I really wanted…not his circular saw…
So I ended up with the ShopSmith table saw, a PC router built into a table, a band saw, a decent dust collector, and a couple of other goodies. I’m still figuring out how the ShopSmith table saw works… it’s quite a step up from my old folding table saw…
I was told that I shouldn’t make GP because I don’t use them. We’ll, I don’t make cell phones or cars. I also love working with wood and like BNystrom , I use power tools .
The shop where I buy the wood, WRC, cuts out the basic form after I draw it. Their band saw does a much better job than my jig saw.
I use a power planer to do the blade shaping but a drawknife for the loom. I use a palm sander for the semi rough sanding.
Finish sanding and application of epoxy, oil, or sealers is done by hand.
I’ve made and given away a dozen. Several are used as intended but some are used as wall art. One is even used as a stair rail.
I’ve enjoyed making them all.
Our Club usually offers Greenland paddle workshop every year. Starting with a roughly made blank of Western red cedar, most people can have a paddle almost done except for the final finish work in two days. The first one may take a while, but at the end of a long winter you could open up a retail shop.
A good percentage of our members swear by Greenland paddles.
I grew up with a ShopSmith in the basement wood shop. A pretty amazing piece of equipment, I remember the drill press, lathe, sander — I didn’t realize it had a table saw feature, since we had a stand-alone table saw.
Post a notice for “free pickup” for that sawdust on your local Craigslist or FreeCycle next time. Composted sawdust is the ideal mulch for fruit trees.
We discovered towering and well rotted piles of it in the woods in northern PA not far from my ex boyfriend’s place some years ago, apparently the remnants of a defunct sawmill nearby. He had planted a small fenced in orchard on his acreage and the trees and berry bushes looked stunted after 10 years. We lined his truck box with tarps and hauled probably 30 yards of the sawdust in several trips and mounded it around the plantings. The following summer the improvement in the trees was obvious and he started seeing blossoms and even fruit.
Important to compost it first for a year or two to add nitrogen (unless you want an acidic mulch for rhododendrons or blueberries), but it is a great mulch. I use sawdust based kitty litter. Hate to see sawdust go to a landfill!