I just bought a used Mad River Legend and only noticed after the fact that there is a small puncture. It looks like it happened from inside the boat, maybe as an accident while installing a seat or other gear. The puncture is above the water line and small enough that I can’t see through it, but the outer vinyl is cracked and has a sharp edge. The puncture also caused a 3-4 inch crack towards the keel.
I’m new to repairing canoes and am looking for advice on how best to fix this. Specifically, should I sand down the sharp edges and protruding outer layer(s) before using resin etc. to fill the hole?
Here’s the view from the inside:
My guess is that this canoe was impacted or pinned against the side of the hull opposite the seat rail and the hull side got pushed in with the result that the end of the machine screw supporting the seat shown punctured the hull interior.
If the only damage was a small puncture it would be a straight forward process to fill it but in this case there is also likely a crack in at least the outer solid layer of ABS in the Royalex that affects the structural integrity of the hull. There could be a crack in the inner solid layer of ABS as well under the seemingly intact gray vinyl layer. Vinyl stretches much more than ABS and will often remain visibly intact over cracked ABS substrate.
In case you don’t know the hull is made of Royalex which is a five layer laminate. The red outer layer and gray inner layer are thin layers of vinyl. The ABS substrate is a three layer sandwich consisting of a solid inner and outer lamina and a “foam” core.
I would start by removing the red outer vinyl until you can clearly determine the full length and extent of the crack beneath. Removing the vinyl will not further compromise the strength of the hull. The ABS material will be a different color, often an off-white, light tan, or green, and occasionally some other color. It may or may not be necessary to remove some of the gray interior vinyl as well. But after uncovering the damage to the outer hull I would post some more photos.
If the damage to the ABS is limited it might be sufficient to simply gutter out the crack on the exterior and fill it in with West System G Flex epoxy. But if it is more extensive it may be advisable to apply a fiberglass patch over the cracked area and possibly look for a crack in the interior solid ABS layer opposite. Either way, you will paint over any area from which you removed vinyl when the repair is complete.
1 Like
Thanks for the response. What do you recommend for removing portions of the vinyl layer?
Sometimes a fairly narrow wood chisel will work. Hold this so that the blade is at a very acute narrow angle close to the hull and try to get the vinyl to peel off the underlying ABS like a piece of tape. If that doesn’t work or is gouging the ABS too badly you will need to sand the vinyl off.
At times the vinyl overlying a crack in the ABS has already loosened from the underlying hull material and will be fairly easy to peel off. For “guttering out” cracks in the ABS a rotary tool like a Dremel with an appropriate bit can be convenient but you can also use a triangular-shaped cabinet scraper or even an old “church key” can opener. You can also wrap sandpaper around a safety razor blade used as a thin sanding block.
1 Like
I haven’t gotten to the inside yet, but I sanded off the vinyl on the outside and it looks like this is the extent of the cracking. What does this tell you?
That is pretty much what I expected. The light tan material is the outer solid layer of ABS. The triangular defect is where the solid ABS has broken away to expose the foam core.
I would next find the spot on the hull interior directly opposite that triangular defect and remove the gray vinyl over that to see if the interior ABS is cracked. If the triangular defect does not correspond the the interior puncture seen in your first photo, I would also remove the gray vinyl around that as well. Remove enough vinyl so that you can clearly define the limits of the damage to the solid ABS layers.
I personally feel that the extent of damage on the exterior is severe enough to warrant applying a fiberglass patch after guttering out and filling in the cracks and the exposed foam core. To do so you will want to remove a bit more red vinyl to 2" in all directions from any and all cracks. If you find interior cracks more extensive than just the puncture in your first photo I would do the same on the inside.
You want to use West System’s G Flex epoxy to fill in cracks and bond cloth to Royalex. West System sells a 650 K kit with 4 ounces of G Flex resin and 4 ounces of hardener that they call “Aluminum boat repair kit” for around $30. Forget the “aluminum” bit. This kit has unthickened epoxy, which is what you want for wetting out and bonding cloth. but also includes some colloidal silica powder to thicken the epoxy as well as a couple of dental syringes, mixing cups, stirring sticks, disposable gloves, etc. The dental syringes are handy for filling in narrow cracks and punctures. I believe that the 4 ounce quantities of resin and hardener will be enough to complete the repair you are looking at. The kit is available from multiple vendors as well as ebay so shop around for the best price.
Gutter out all cracks and the edges of any holes to a 45 degree angle or so on both the inside and outside. If you have through and through holes you will need to create a barrier with clear packing tape on one side of the hull as you fill in the holes from the other. I would use epoxy moderately thickened with silica powder to fill in defects in the foam core and cracks. It may take more than one application to fill them in flush since the epoxy will tend to settle into the interstices in the foam core. Once the epoxy is cured you can sand it fair and flush with the adjacent intact hull surface.
I would cover the exterior damage with a rectangular fiberglass patch with the corners rounded off. Make it big enough so that it extends onto adjacent undamaged hull for 2 inches past the edges of any cracks. I would use 6 ounce/square yard plain weave fiberglass cloth which is available at just about any marine supply retailer. If there are significant cracks on the interior I would apply a patch there as well. It usually takes a second application of epoxy after the initial wet out to fully fill the weave of the fiberglass fabric.
Once the epoxy is well cured, wash the surface of the repairs well and paint with any type of paint that is a reasonably close color match to the vinyl.
1 Like
I can’t thank you enough for your patient and thorough responses, and I’m glad to increase my knowledge about Royalex repairs. I assume you would advise against getting on the water with this boat again until this repair is complete?
Ideally yes, you really don’t want to get any more water into the foam core. But if you really must, cover all interior holes and cracks with something like Gorilla tape. But when you take the tape off you will have a bit of adhesive residue to remove.
1 Like
Again, thanks a million @anon64780766!
I have one more request, @anon64780766: can you point me in the right direction for finding color-matched paint for this red Mad River Legend?
You will never get an exact color match. Even if a “color matched” paint was available from the manufacturer is wouldn’t match because the hull inevitably fades.
The paint is to protect the epoxy in the repair from UV degradation and to more or less match the color of the hull. Be aware that any paint you apply will be subject to scratching but since this is pretty much above the water line that shouldn’t be a major problem. But since you may need to touch up the paint periodically a spray paint is probably a better option.
Krylon Fusion comes in a red color that might be approximately the same but if not I would use any spray paint that looks reasonably close. Unfortunately, for some reason the red pigments tend to clog up the nozzles of spray cans and this is especially true for Krylon Fusion so don’t plan on being able to use the can more than once.
Excellent job in giving a very clear and thorough explanation Pete.
One suggestion I have.
After the paddler in need completes the necessary steps to repair the canoe…go 2 steps further.
- Thoroughly clean the hull.
- Repaint the whole hull with Krylon Fusion in one of their red colors.
Ideally as close to the color of the hull, after cleaning. 5 cans will allow you to apply multiple coats. I will just guesstimate the cost at 35 dollars.
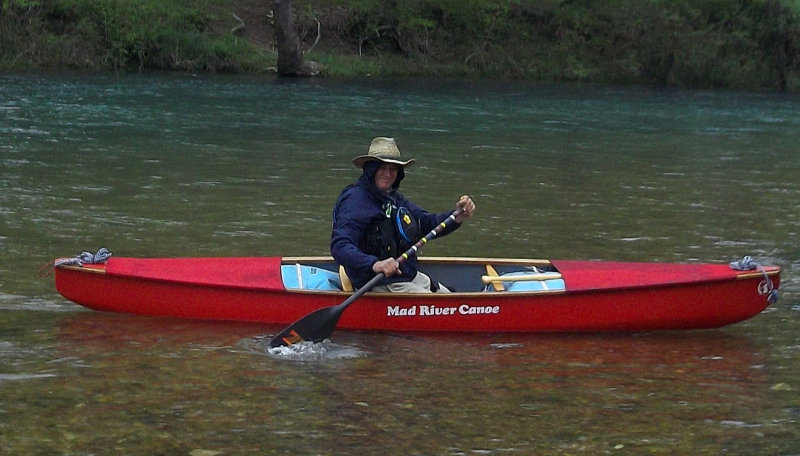
I have enclosed photos of 2 different Mad River Fashbacks I reoutfitted, and repainted with Krylon Fusion. That’s Pete in one of them; wearing cowboy hat. I have my back to the photographer in the second one I restored.
Bob