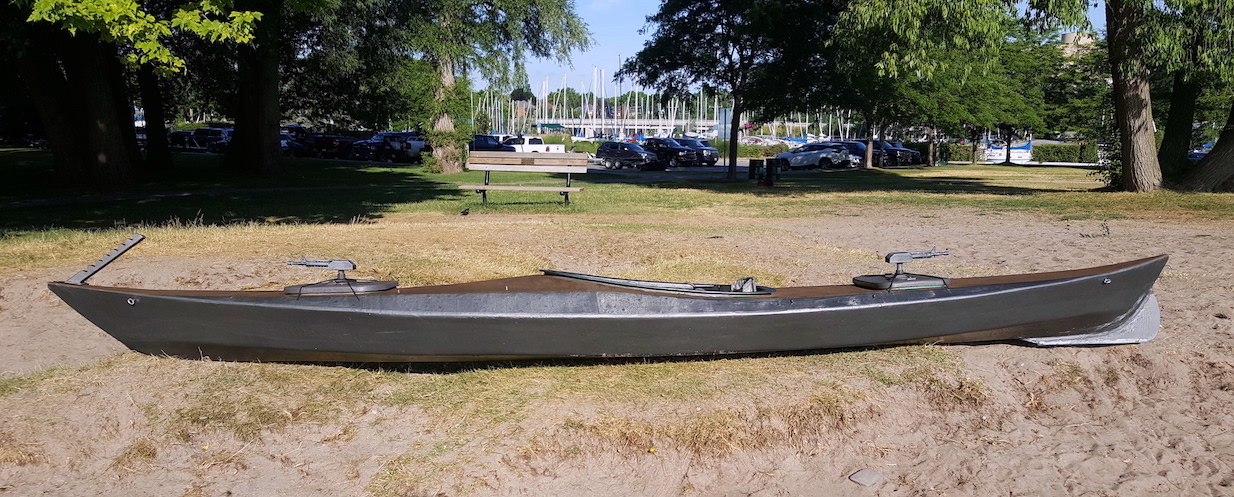
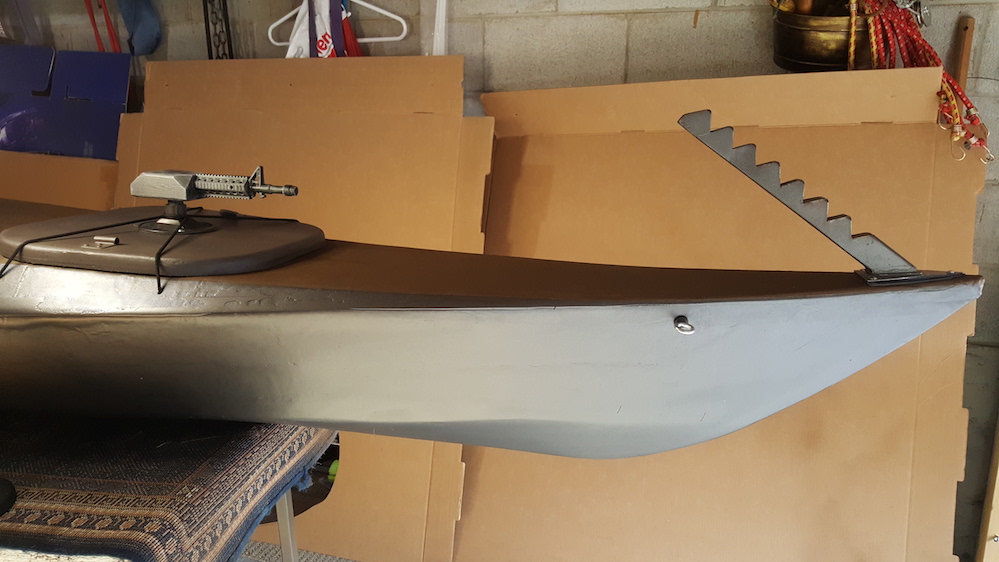
Finished painting & customizing the kayak I bought off Facebook marketplace, turning an ordinary touring kayak into more of a big toy.
It is custom, wooden kayak built by the previous owner.
His build is solid and sturdy, and it handles wonderfully, but not a fan of the straps and ropes everywhere, not to mention the green gel coat. Also the exterior gel coat is rough and without beauty, with obvious hardened drips as the maker was for concern with performance than esthetics.

Not one to like the look and color…
it was time to turn this kayak into something a little more “ME” which meant an iron colored hull, woodsy looking deck, and with guns fore & aft, and a nice cable cutter on the prow. (The torpedo tubes being installed next week.  )
)


And of course for vehicle transportation, I made the guns and cable cutter removable.
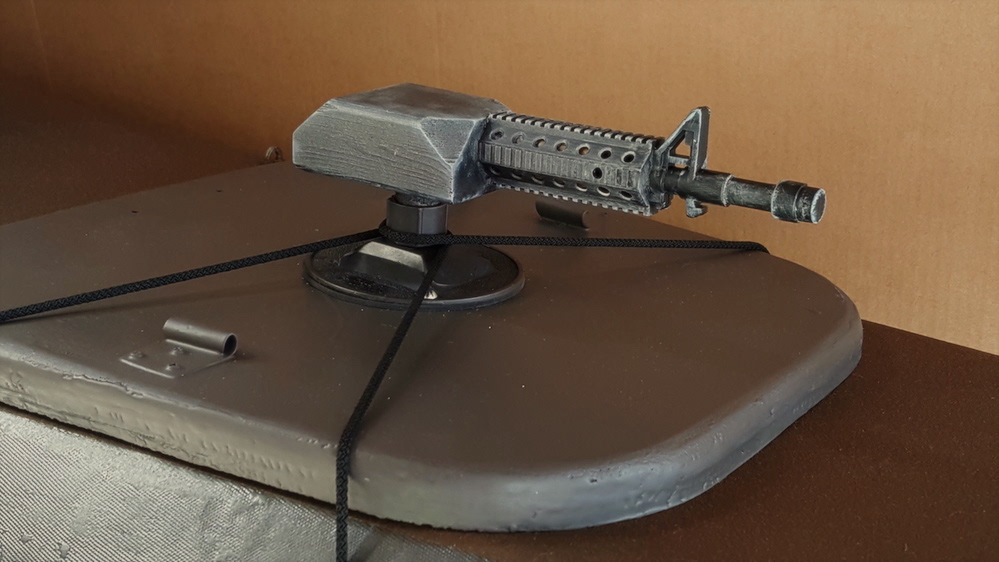
THE GUNS
… are a hybrid of a cut up wood block to which a child’s toy machine gun barrel was affixed.  Painting and distress as needed.
To mount the guns, I attached a sort of plumbing base-thingy to the hatches, added a plastic screw/nut, and the guns fit snug into that, and can be popped out for transporting. And the hatch cords conveniently loop over the center nut giving the gun a sort of tripod look and better sealing the hatch. The maker’s original design saw the cords crossing each other, attaching on the opposite side of the hatch thatr hardware… I just left in place. I believe this tight cord cross “pulling” created a slight lift or warping to each side of the hatch - both fore and aft hatches. Now that the cords secure the hatch in the middle, the pulling stress has been removed from the sides.
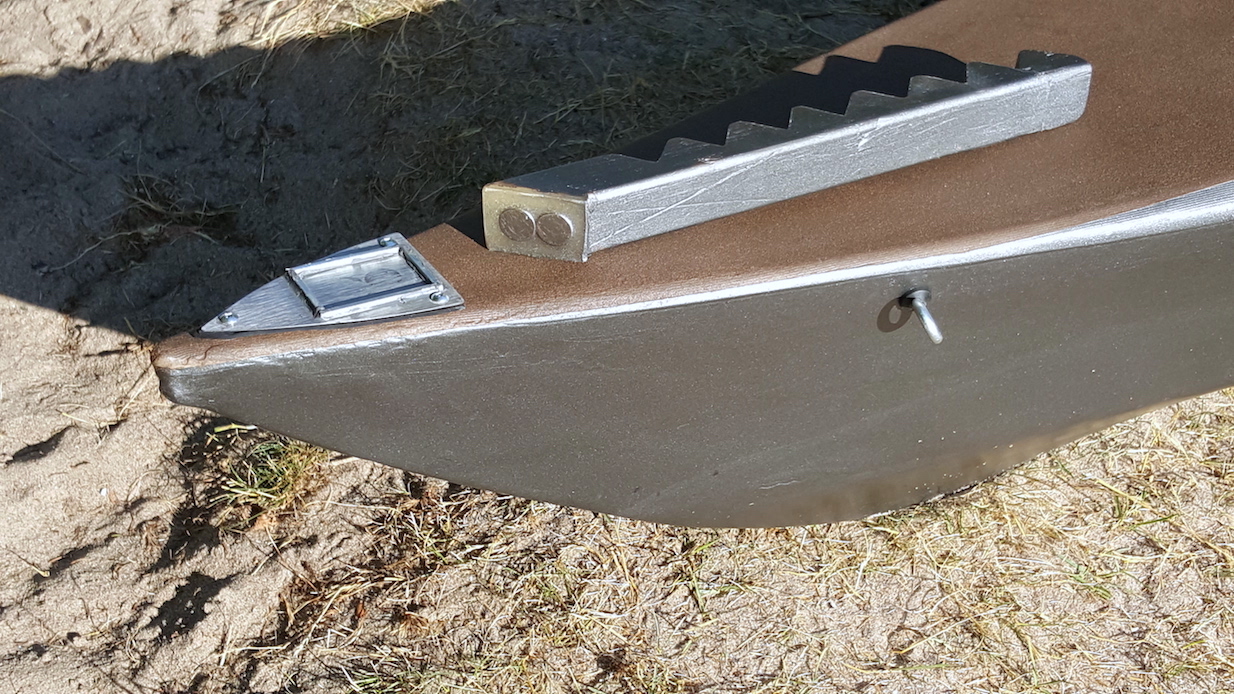
The CABLE CUTTER.
This was thee most work on the whole project.
It’s made of wood - cut to shape with a hand saw, sanded, distress & painted. It’s attached to a steel plate which is a cut-down cement trowel from Home Deport. Strips of metal rod, anchored with metal epoxy, form a pen to keep the cable cutter in place.

To ensure a “hard lock” of the cable cutter to the prow plate (but an easy on/off)… two large “earth magnets” were added, set around a small pool of epoxy resin.

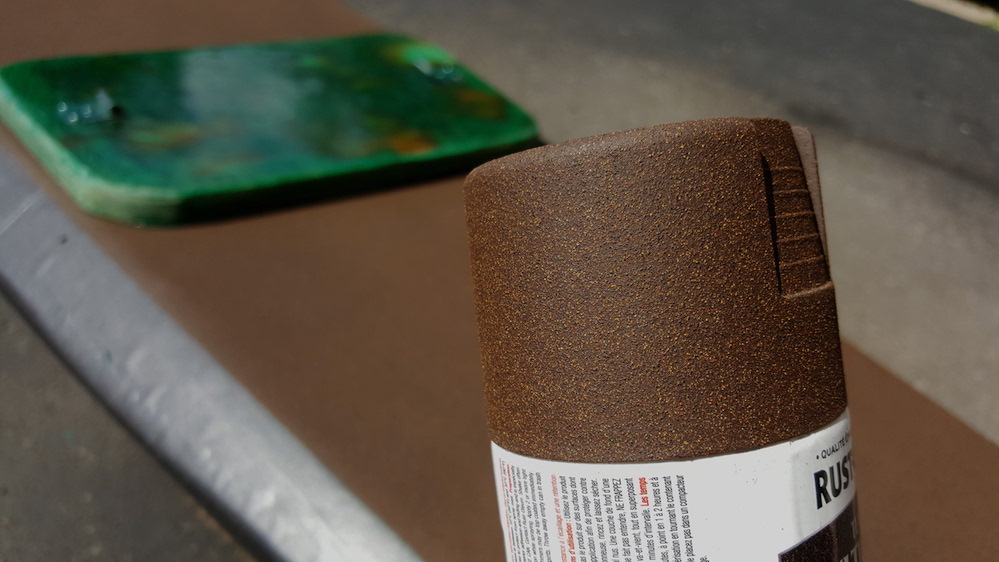
The paint.
The hull was done in layers of a Rust-Oleum FLAT SOFT IRON, and the deck, because I wanted something "wood looking) was down in a textured Rust-Oleum brown. But as its texture was closer to sandpaper when dry, I sanded the deck with a fine sandpaper to bring the surface grit down to the level of a “grip-tape” and it works perfectly and looks amazing.