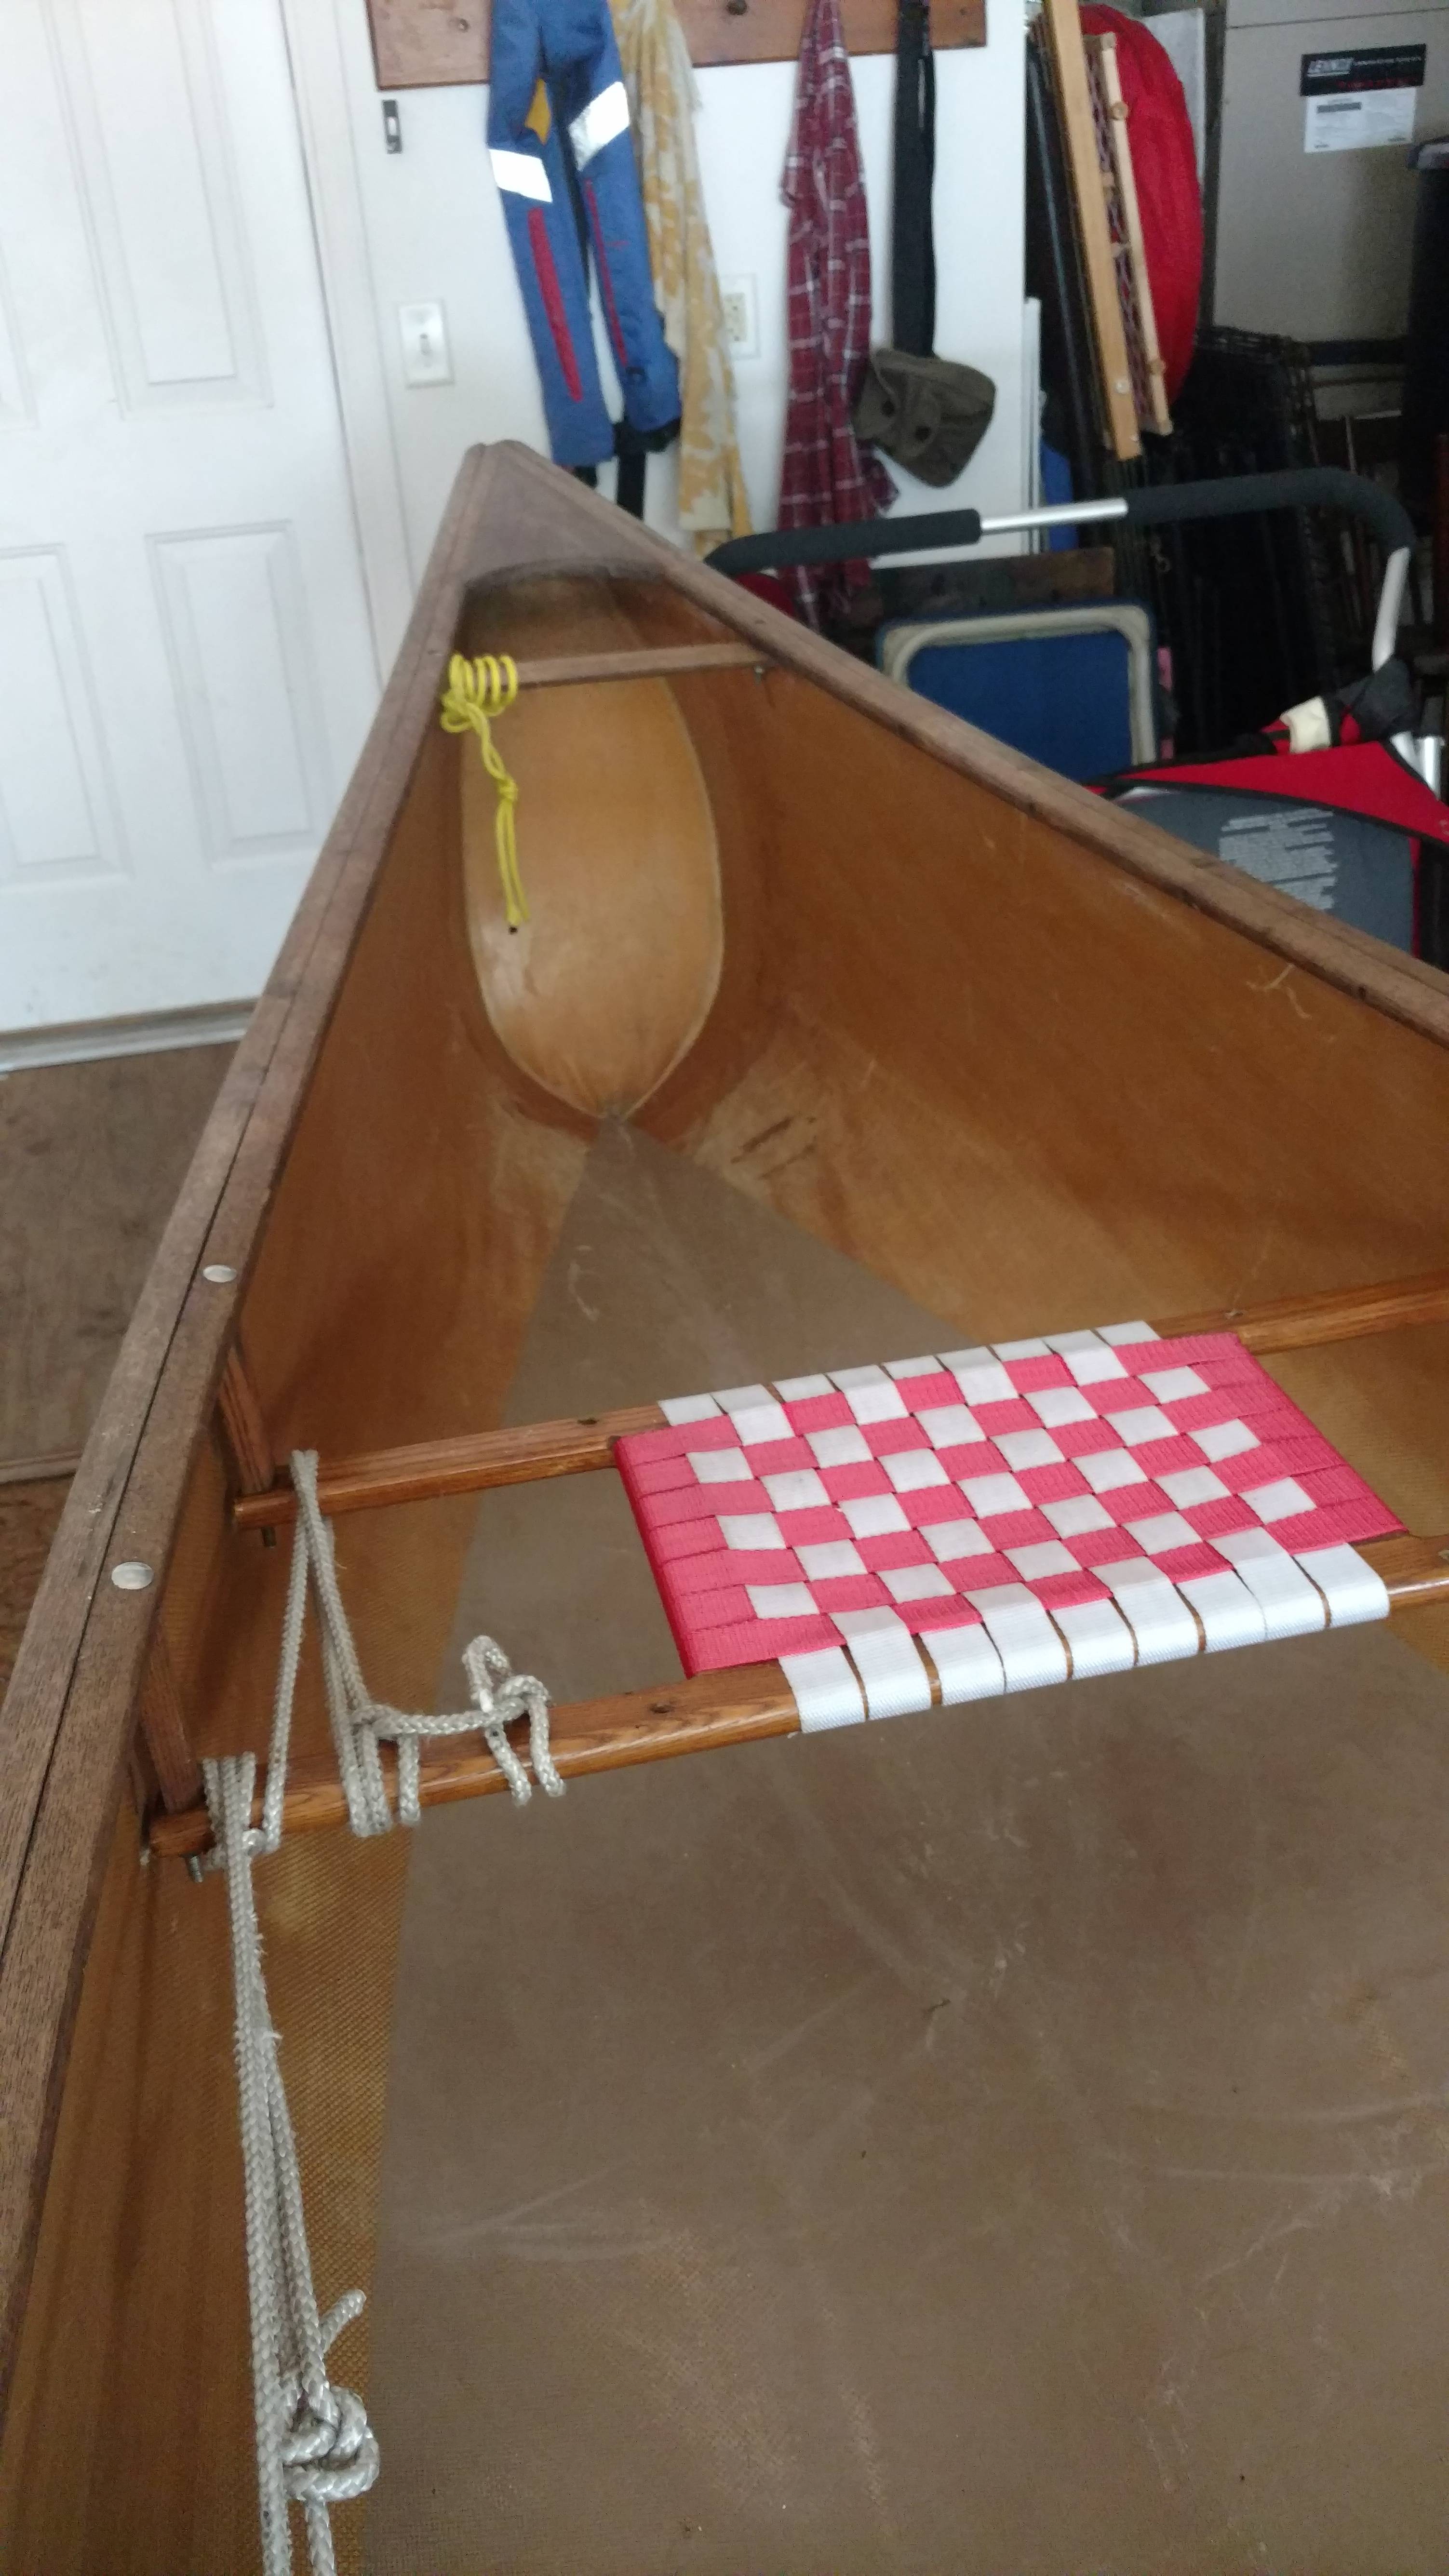
Replacing the gunwales and damaged seat(s) is probably going to be more time consuming and expensive than repairing the tear in the hull so figure that into the total expense when deciding whether or not to repair the boat. Did this canoe have a center thwart/yoke, or is it out of the picture either forward or aft of the tear?
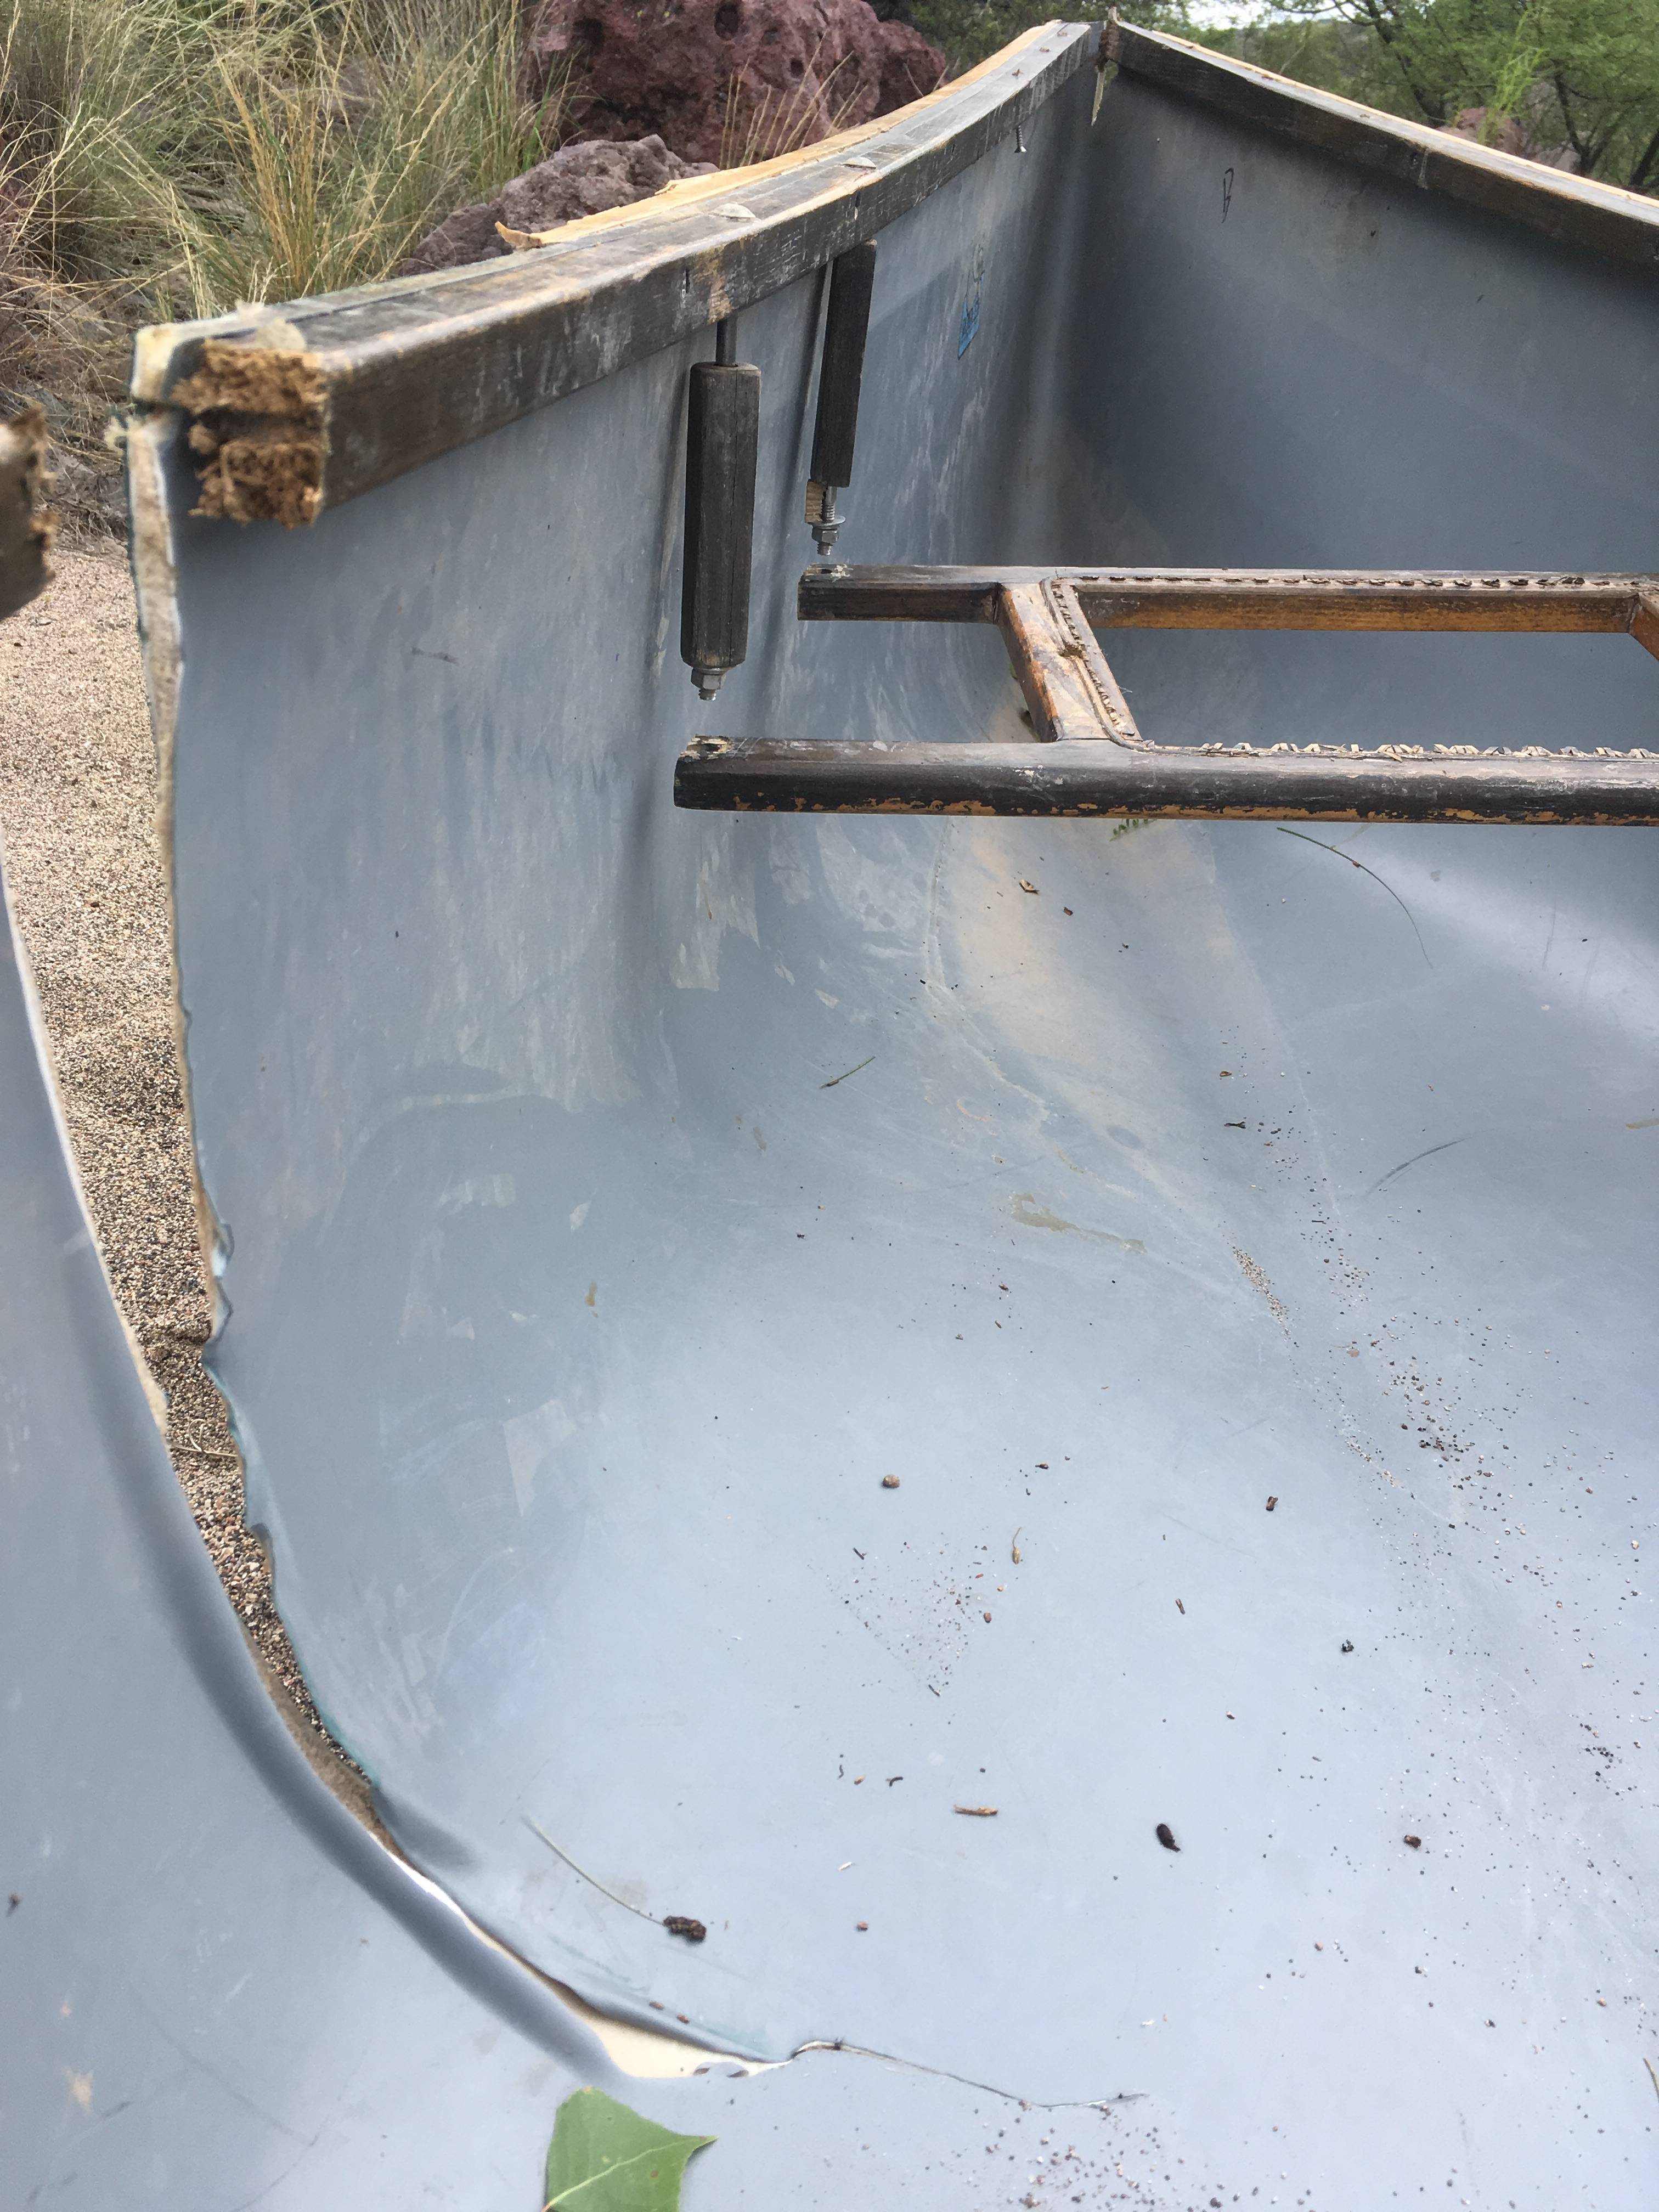
Most of the tear goes through the hull obliquely, which is good in a way because it increases the bonding surface for the epoxy. The tear through the hull closer to the gunwale goes through in a more perpendicular fashion, and that needs to be beveled on the inside and outside as described in the pdf I cited earlier.
I would start by removing the broken gunwale from the torn side of the boat. Before you do, match together the broken ends of the inwale and make some marks on the interior and/or exterior of the hull on either side of the tear that are a measured distance apart, say 12". You will use those marks as a reference when it comes the bond the tear together to make sure you are not significantly shortening or lengthening the sheer line around your repair.
Remove any loose vinyl from the immediate edges of the tear. This can often be done with a sharp, thin blade like an Exacto knife and/or a sharp wood chisel. Go ahead and bevel out the inside and outside of the top of the tear, and bevel a bit the edges of the remainder of the tear. Clean the crack and hull well with alcohol (denatured). Don’t use acetone or MEK on the exposed foam core as you will melt it.
Make some short temporary inwales and outwales out of scrap wood so that you can clamp the top of the tear back together and hold it in the correct position. These should not be too long. If they are too long you might create a flat spot at the site of your repair. Make sure that the marks you made earlier remain the measured distance apart as you put in the gunwale screws.
Now approximate the edges of the remainder of the tear as well as you possibly can using 2" wide clear packing tape on either the inside or outside of the hull. Hopefully, the edges will mate together fairly well. If the whole tear does not want to come together smoothly, you may need to repair the tear in shorter sections, bonding together the portion that mates well, then allowing the epoxy to cure before reapproximating the next portion of the tear.
To create a structural glue, you will want to use G Flex with some silica powder mixed in as a thickening agent. Lay the boat on its side and work the thickened epoxy into the crack. Position the boat so that it works into the crack and foam core by gravity. You will not be able to do the entire length of the crack in one shot because it extends on to the hull bottom. And you will need more than one application of epoxy to completely fill the crack, because the epoxy will work down into the interstices of the foam core. Don’t worry if you overfill the crack a bit. The cured epoxy can be sanded fair very easily.
Once you get one side of the crack completely filled, remove the packing tape from the other side and you will probably have a few voids from bubbles to fill in on that side in the same manner. You probably won’t be able to get at the part of the crack covered by your temporary gunwale/splints, but you can do the top portion after the epoxy is cured on the remainder of the tear after you remove the gunwales.
If this were my boat, because of the extent of the tear, I would feel better backing up the repair on the interior with some fabric. Actually, since the tear is so straight, 4" wide fiberglass tape would work very well for this purpose and would allow a 2" overlap onto sound hull on either side of the repaired tear. Fiberglass tape is pretty economical and easier to work with than plain woven fiberglass cloth because it will not fray along the sides. To bond the tape on, mark off a 2" wide area on either side of the repaired crack on the hull interior. If you can do so without too much trouble, it is best if you can remove the interior gray vinyl from this area, again using a sharp wood chisel and perhaps sand paper. This will allow bonding of the 'glass directly to the ABS instead of the vinyl. The vinyl to ABS bond of Royalex is weaker than the bond you can achieve between G Flex and ABS, so this will allow for a stronger repair.
After removing the vinyl and making sure the interior surface you are bonding to is nice and smooth, clean the hull interior well again using denatured EtOH. Let it evaporate fully. You can achieve a somewhat stronger bond if you pretreat the ABS surface with flame oxidation using an inexpensive, hand-held propane torch. The instructions that come with the G Flex describe this process well. Just be careful not to overheat the hull as you will melt and crimple the foam core.
To bond the cloth to the boat, use unthickened G Flex (no silica powder). You will need some type of application tool such as a cheap, disposable foam brush and/or a plastic squeege. Apply a thin layer of epoxy to the 4" wide marked area on your hull interior and carefully lay your fiberglass tape on it. This process will be neater and easier if you mask off the edges of the area with masking tape applied a little more than 4" apart. Once you have the tape laid neatly in place, apply more G Flex over the cloth until it is entirely wet out. G Flex is somewhat viscous, so you have to be a little patient until the fiberglass strands take up the epoxy. To get a completely smooth interior surface, you will probably need another application of epoxy to completely fill the weave of the fabric.
Once the epoxy is fully cured you will want to wash and dry the surface of the repair and paint the interior and exterior to protect the epoxy from UV exposure. Just about any spray paint will do. I usually use Krylon Fusion.
You can get 16 ounces of G Flex resin and 16 ounces of hardener from Jamestown Distributors for just under $60. A quart of silica powder is another $7 or so and 10 yards of 4" wide fiberglass tape is around $12. There will be some additional incidental expenses like disposable gloves, plastic spatulas, masking tape, sandpaper, paper towels, paint, etc, so you are probably looking at around $100 to repair the tear in the hull.