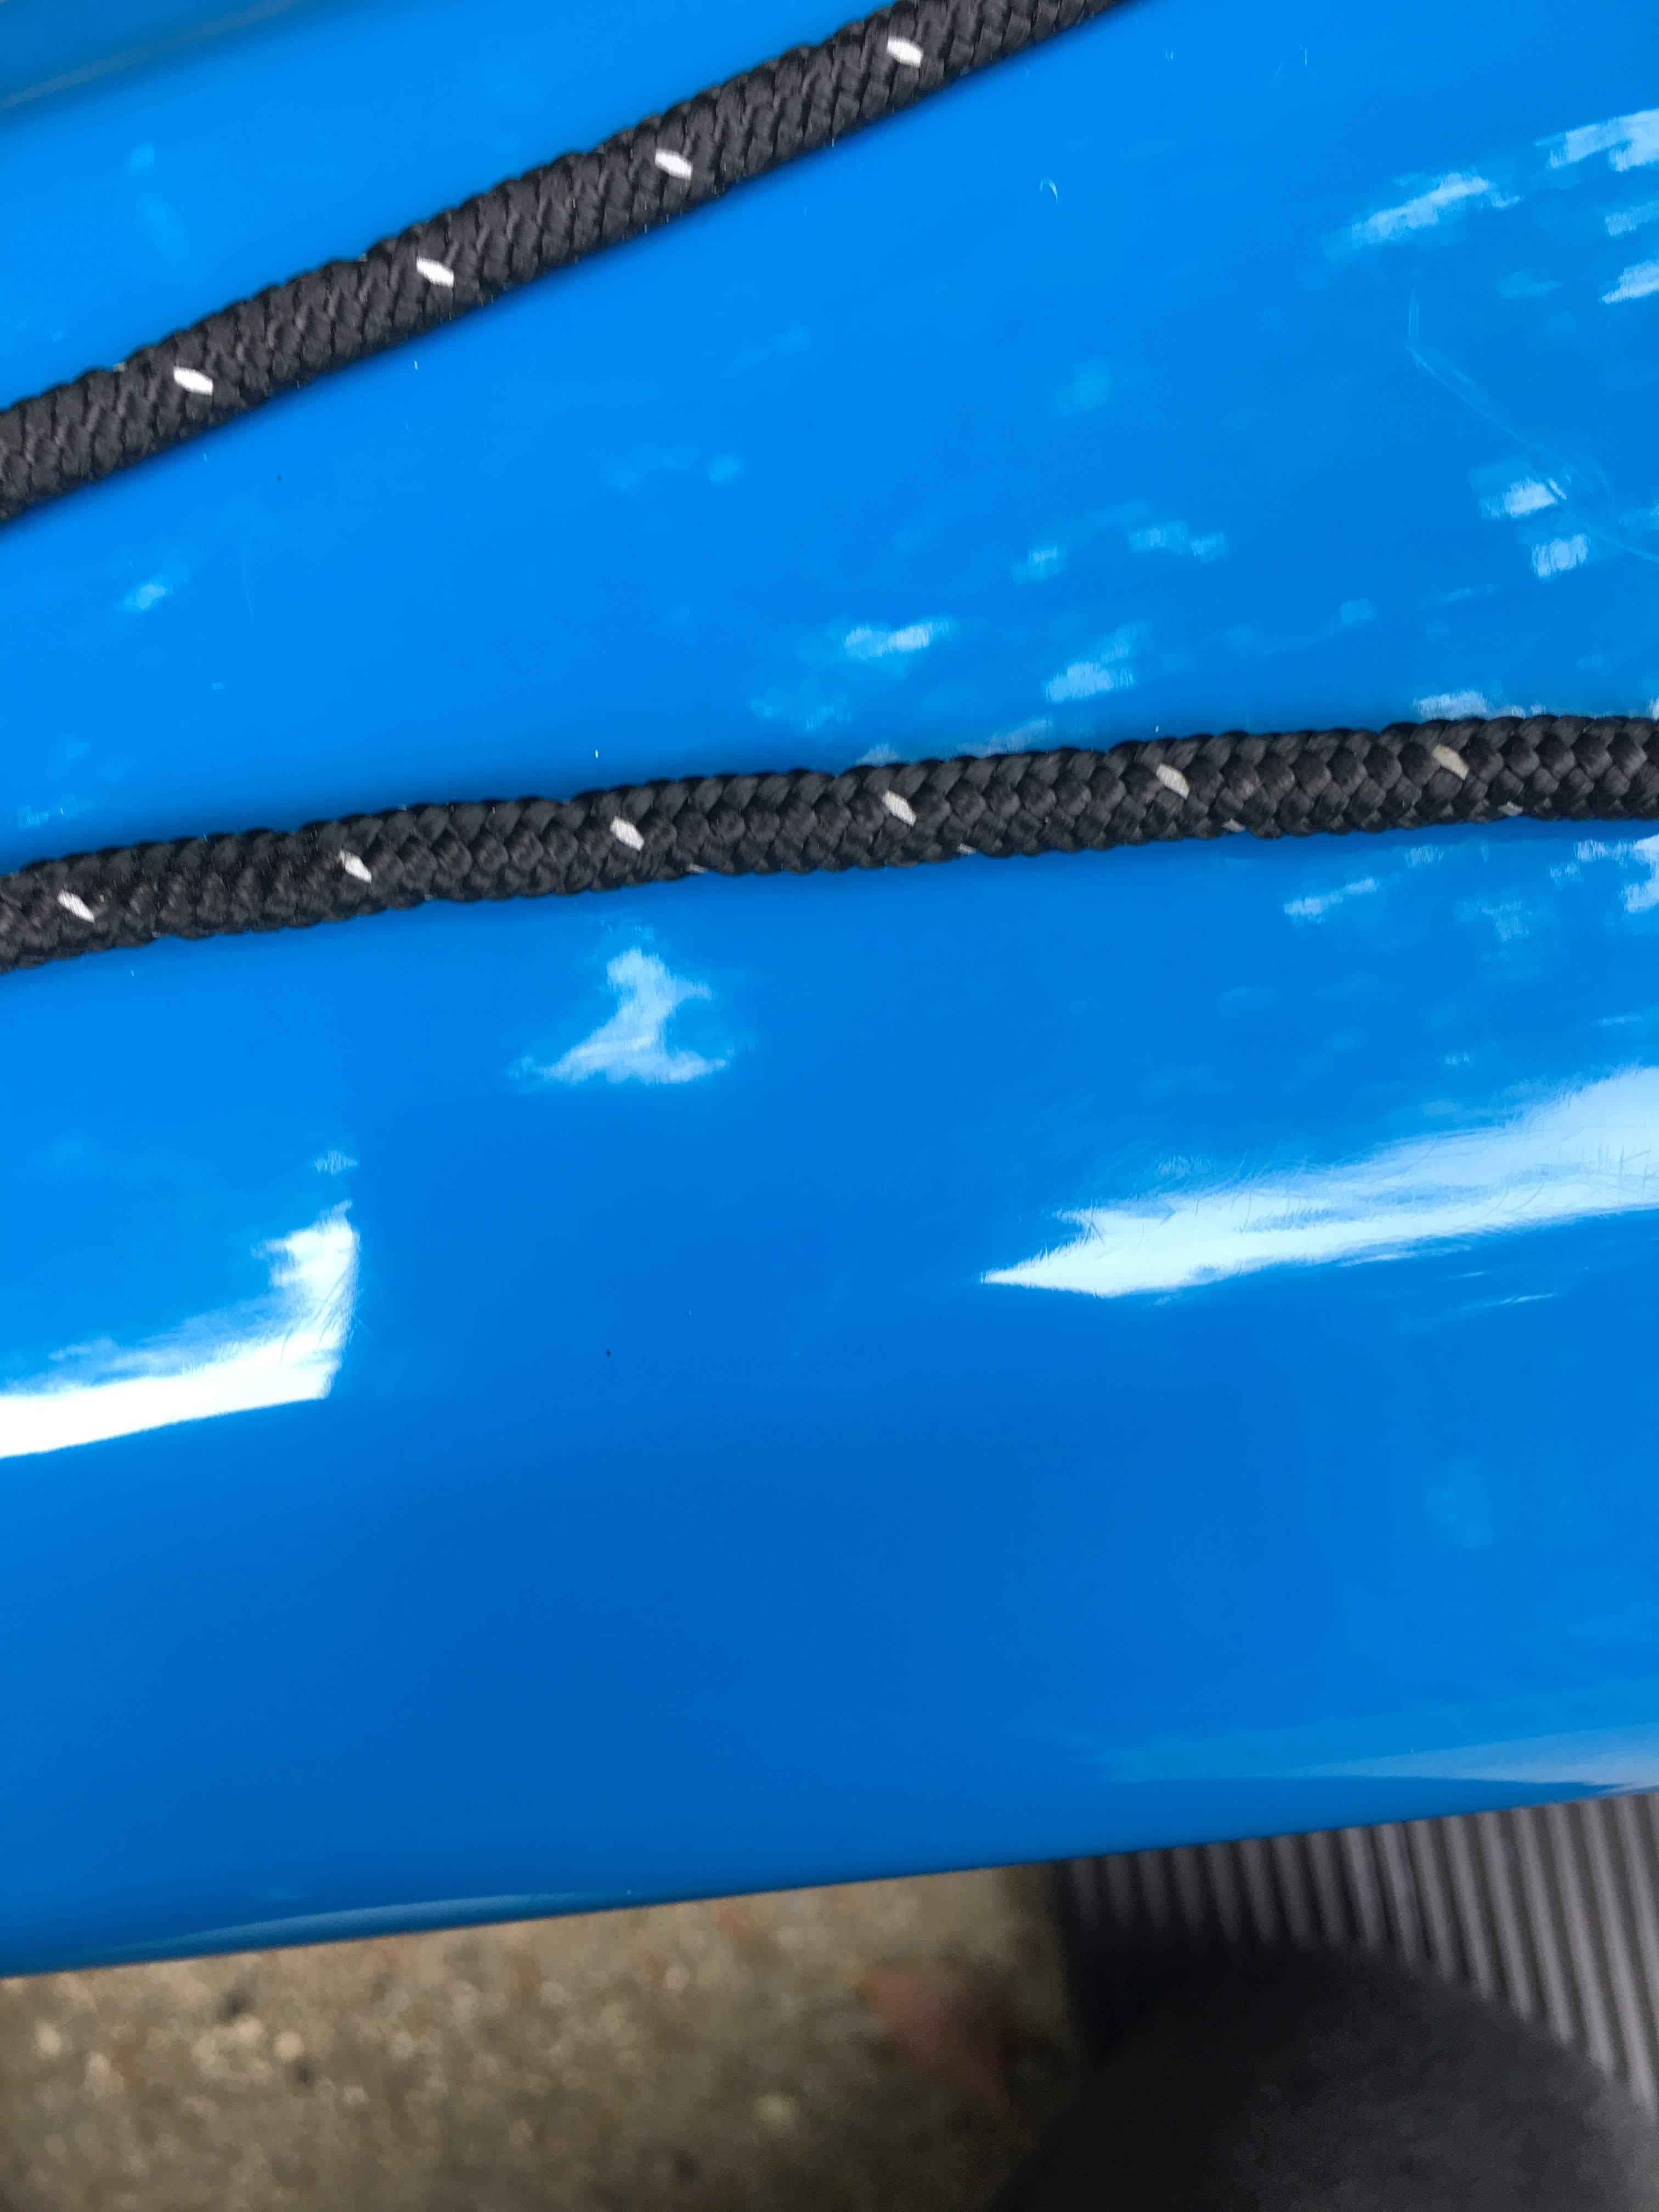
I’m new to composite ownership. This chip in the gelcoat is on the stern hull, smaller than a fingernail, and underneath is more gelcoat. But the edges have a clear ridge. Repair or wait and see?

I would. With a bit of research, it’s not hard to do.
You may (likely) find that when you begin to dig away the damaged material, the underlying structure is also compromised. You won’t know until beginning though. If it’s small, you could probably get away with just filling with gelcoat anyway but keep in mind that gelcoat isn’t intended to hold things together.
In my experience, gelcoat often chips away without damage to the composite structure underneath. Look inside the hull where the chip is. If it looks fine and feels solid, there’s nothing to worry about. As long as there’s still some gelcoat there covering the composite, I wouldn’t take the time to fuss with it. If the composite layers underneath are exposed, that’s when I’ll take the time to re-cover the little spot with gelcoat.
@tjalmy said:
I would. With a bit of research, it’s not hard to do.
I am with you! In a previous thread, several Paddling Pundits profess to covering up such defects with stickers and tape (well, not below the waterline) but you can’t paddle every day and small repairs like this are good practice on a rainy day.
Just checked the inside — no visible or tactile damage to the structure. I’m teaching myself gelcoat repair on a small ding on the deck that’s also cosmetic. My biggest fear in tackling the pictured chip is that my amateur sanding/finishing skills mess up the shape on a part of the boat that’s functional. Maybe that’s dumb?
Also, would I have to sand down to the fiberglass to get a surface for new gelcoat to hold to? Or if I roughed and cleaned the bottom layer of gelcoat, would the new patch adhere to it without exposing the structure?
It will adhere to the gelcoat sanding is easy. Sand slow and look often don’t use real coarse abrasives and it’s hard to do damage. I would repair it personally but just because I like that stuff. You don’t really have to in my opinion. White is easy you could get a small touch up kit in marine supply. Color may not be exact.
may have been patched before and the guy had layers in gel coat that didn’t bond.
@PaddleDog52 said:
may have been patched before and the guy had layers in gel coat that didn’t bond.
Good point…can’t say I have ever seen a double layer of gelcoat that wasn’t a repair. As for repair procedures Always Wet, tons of how-two videos on you-tube, Mad River website and others.
@PaddleDog52 said:
may have been patched before and the guy had layers in gel coat that didn’t bond.
…agree… Or a manufacturing patch on the inside of the gel coat. (unlikely) Notice that under the chip appears to be more gel coat. If it were through the gel coat there should be some fabric pattern or slight color change. That looks the same.
Just feather the edges to blend them into the underlying area and apply enough fresh gelcoat to make the repair a little proud of the surface. Sand it to blend it into the lines of the hull. It’s pretty easy. I have more detailed instructions and pics here: http://briannystrom.com/kayaking/tutorials/gelcoat-repair/
Gel coat is different colour on keel it was repaired before.
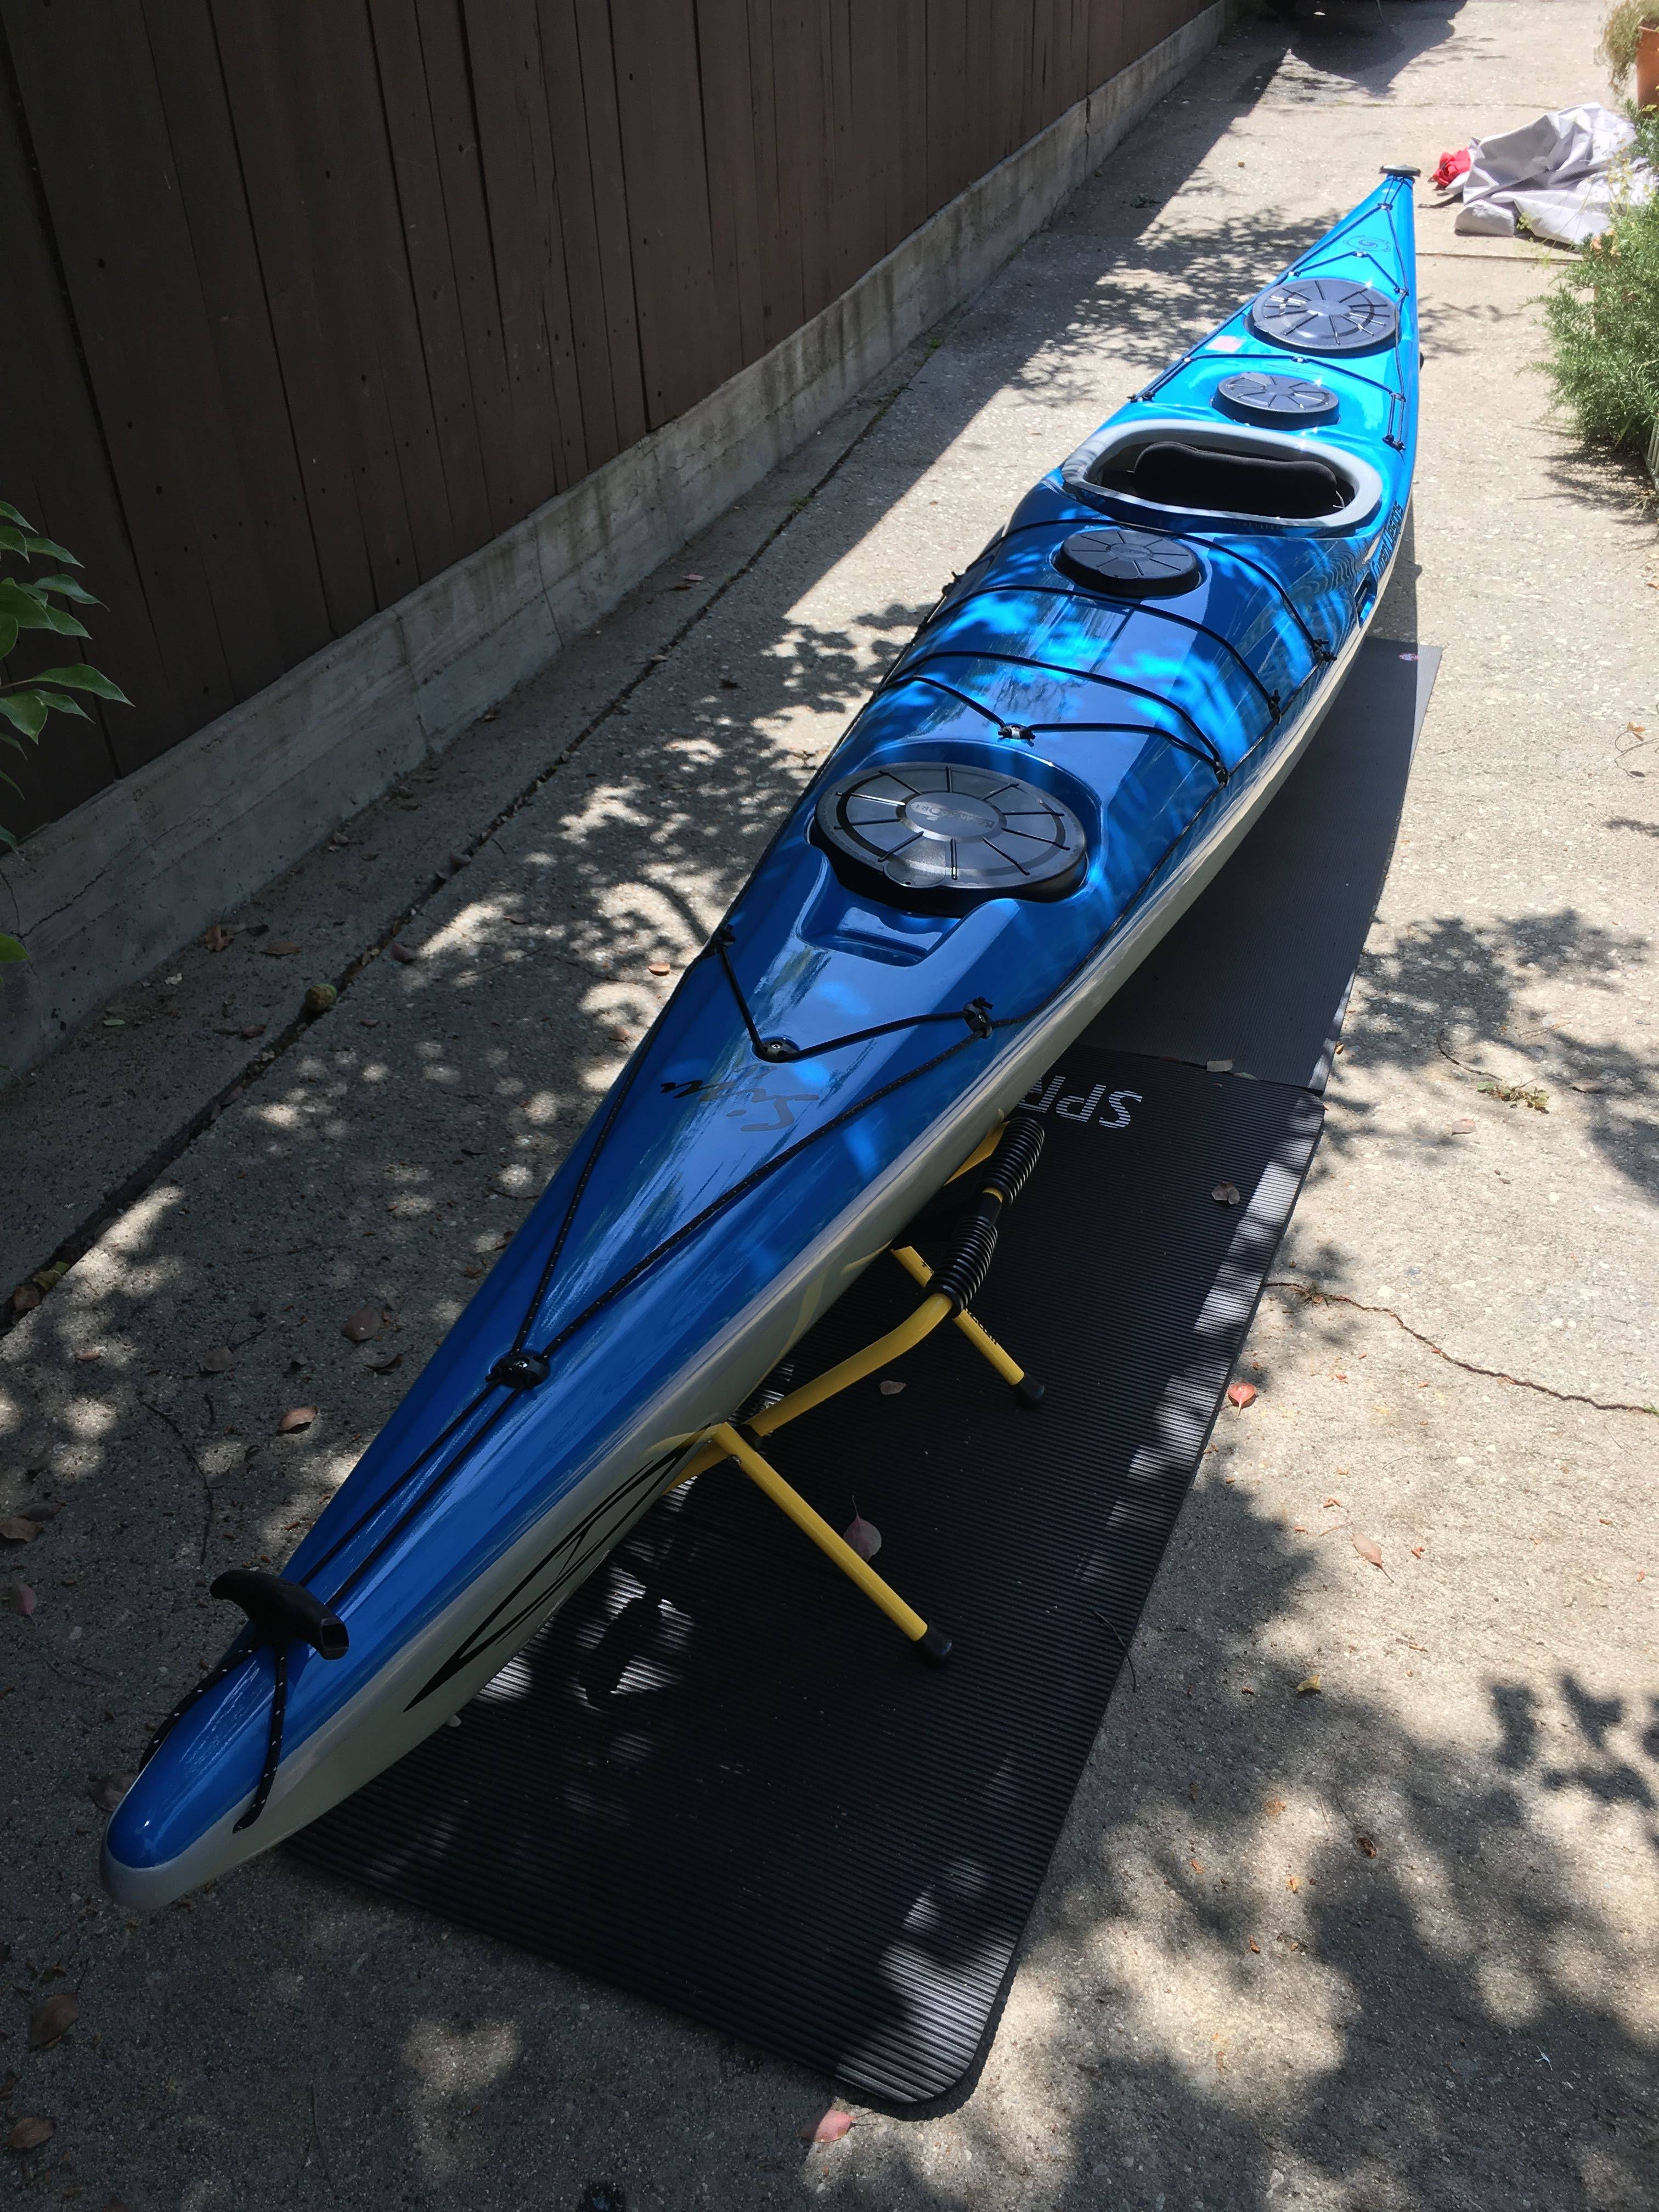
So, turns out gelcoat repair is no big deal. Thanks to all who advocated for going for it. I was afraid of making permanent changes to the shape of the keel but the process of gentle sanding is pretty forgiving. About six hours of work spread across two days. Before and afters below. It’s hard to get a good photo when everything’s so shiny.
The kayak, a Current Designs Sisu LV, is relatively new – delivered to SF in September 17, then soon after added to CC&K’s rental fleet. I nabbed it from them about a month ago and ordered matching gelcoat from Current Designs in the same breath. I owe CD a thanks for looking up the boat’s serial and quietly swapping my request for “grey” hull gelcoat with the proper color, “sage,” which is so close to grey I couldn’t have guessed. My repair job may not be pro-level but it’s giving me confidence and building skills.
By the way, this two-part YouTube tutorial from Jeremy Vore was my primary teacher and godsend: https://www.youtube.com/watch?v=8lQuNkoM3SM&ab_channel=JeremyVore


Final question – this one re: materials storage. I’ve got the catalyst tube capped in a plastic baggie in a wooden drawer in a cool garage. I’ve got the acetone/gelcoat canisters/polishing compound/boat soap/boat wax in a single plastic storage bin in the same garage, but a couple feet away. Have I protected myself against all the chemical reactivity dangers? Are there any other things I need to separate or go “extra” with storage safety?
I have the same stuff on a shelf , side by side. I like it to have some breathing room. Been there a long time. In a place that never sees an ignition source.
Gel coat in fridge to extend life of it.
…or freezer, for even longer life.
If you haven’t already got a random orbit sander/polisher, I would highly recommend the 6" Chicago Electric from Harbor Freight. Don’t pay the regular price, though; wait for it to be on sale for $52.
I am curious which kind of gel coat CD uses on their boats. Vinyl ester is probably the best choice if that is what they use, but the shelf life is very limited. I usually get a small amount from the boat builder.
Don’t spend a lot for polishing compound; Turtle Wax scratch and swirl remover in the little green bottle works as well as anything.
I’m apparently careless with my boat … I repaired many problems that small then finally put a keel strip on which has reduced the workload. But still, I’m thinking of adopting the Gerry Cheevers method. Cheevers was a hockey goalie in the 1970s for the Boston Bruins and among the first to wear a simple fiberglass mask. Every time he got hit in the face with a puck it left a mark or chipped the mask. So he started drawing fake stitches on the mask figuring it saved a few in his face. Eventually, it looked like this:

I think maybe some stitches with a Sharpie will help my WS Zephyr pro look mean and save me some work.