Just pulled a 17-foot Old Town Tripper? out of the weeds

Quite literally. It’s been sitting along side a house for years and years and was recently told, “Go for it. It’s yours.” I dragged it out into the sunlight and this is what I found.


Now the questions is: How do I fix it? There seems to have been a spot where the serial number used to be but is no longer. I think the previous owner was going for a storm-clouds-on-a-sunny-day motif looking at that paint job. That and I ripped off the fiberglass “patch job” with about as much effort as it takes to pull in a sunfish.

I think it’s a 70’s Tripper from what I can gather online. Which makes it a royalex canoe, correct? When I say that I am Brand New To This, I mean it. What do yall think?

Also, Hello! My name is Chris and I am currently living in New York State rebuilding a fiberglass camper for full-time living with the lady and in about a month we will be heading out to work on a wildlife refuge in New Mexico, where I plan on doing some paddling around. If I’m lucky, perhaps this Old Town will do the job.

How much time and money do you want to invest in this project? It can probably be repaired but you will need to invest a considerable amount of both to have it ready to go within a month.

Yes, it is Royalex.

I’d like it to not leak. I can deal with the aesthetics another day. But to get it water ready is my main objective.

The first thing I would do is try to ascertain that the hull has not become brittle. If it has, it may not be worth the investment in time and money. Turn the boat upside down and push in on the bottom at various locations along the hull. It should be very firm at the stems but there should be some give near the center and the material should spring right back. If you hear any cracking, forget about it.

Royalex is a five layer sandwich with a layer of vinyl laminated on the inside and outside. In your case, the inner vinyl layer is ivory colored and the outer vinyl layer is a robin’s egg blue. The interior three layers are ABS. If you look at the more severe area of stem damage in your next to the bottom photo, you will see some light tan areas. These correspond to places the outer blue vinyl has abraded off exposing the outer solid layer of ABS which is the tan. Then you see an irregular, central crater that is a rough-looking dirty brown. That is exposed foam core which is the innermost ABS layer of Royalex.

The exposed foam core may be waterlogged and will undoubtedly be dirty. After removing any loose fragments of ABS overlying it, I would take a scrub brush and go over it with a dilute solution of water and Dawn dishwashing detergent, then rinse well after you have cleaned it up as much as you can. Then to remove any residual water, apply denatured alcohol. Let the EtOH get down into the interstices of the foam core to mix with any residual water, then allow it to dry well. You may need to do this multiple times.

In order to do a passable repair job, you will need to clean up the defect, remove any loose fragments of the solid ABS layer that have delaminated from it, and then fill in the defect with thickened epoxy. That will probably require multiple applications of thickened epoxy. At the other stem, if you have not already done so, you will need to strip off the fiberglass from the poorly done repair job and do the same thing. Once you have filled, or slightly overfilled the defects and the epoxy has cured, you can sand it fair and flush with an attempt to recreate the original contour of the hull at the stems.

You will then need to replace the solid structural layer of ABS that is long gone by bonding on a couple of layers of either fiberglass or Dynel fabric, or better yet, a layer of fiberglass covered with a layer of Dynel. You will want to use West System’s G Flex epoxy both for filling in the foam core and wetting out and bonding the fabric. To fill in the foam core defect I would thicken the epoxy moderately using colloidal silica powder (cab-o-sil) but use unthickened epoxy to wet out and fill the fabric layers.

I don’t know what the black stuff is. It could be paint but I rather suspect it is some type of resin that a prior owner slathered on. Whatever it is, it will need to be entirely removed from any areas of the hull you need to repair. The damaged deck plates are merely cosmetic and can be left as is or repaired later.

If this sounds like too much, just cover the damaged areas over with Gorilla tape and paddle it. If it sounds like something you want to take on, there is a lot more detail to what the repair would entail than this. If you think you want to try to fix it, post again with any specific questions you might have. If you are rebuilding a fiberglass camper, you may already have some fiber glassing skills. You won’t need a whole lot of tools, simple mixing cups, plastic spatulas, wooden tongue depressors, disposable gloves, sandpaper, masking tape, but you will need a hand held propane torch. They are pretty inexpensive and can be purchased at any hardware store if you don’t already have one.


I did some sanding and peeling. Looking like the bow (not surprisingly) got the worst of it, if not the better of the two patch jobs.

I pressed all around and the middle is springy and crackle-free. The ends are firm (aside from the damaged areas). It looks like it may have been pulled down the road by a pickup on a snow day at some point and used as a bumper boat the following spring. But I’m not giving up hope. I’m still learning about fiberglass and ABS and vinyl and all the things pertaining to the field. I’m a fast learner as long as I can put my hands on something. So:

@pblanc said:
In order to do a passable repair job, you will need to clean up the defect, remove any loose fragments of the solid ABS layer that have delaminated from it, and then fill in the defect with thickened epoxy. That will probably require multiple applications of thickened epoxy. At the other stem, if you have not already done so, you will need to strip off the fiberglass from the poorly done repair job and do the same thing. Once you have filled, or slightly overfilled the defects and the epoxy has cured, you can sand it fair and flush with an attempt to recreate the original contour of the hull at the stems.

You will then need to replace the solid structural layer of ABS that is long gone by bonding on a couple of layers of either fiberglass or Dynel fabric, or better yet, a layer of fiberglass covered with a layer of Dynel. You will want to use West System’s G Flex epoxy both for filling in the foam core and wetting out and bonding the fabric. To fill in the foam core defect I would thicken the epoxy moderately using colloidal silica powder (cab-o-sil) but use unthickened epoxy to wet out and fill the fabric layers.

Mr. pblanc, Thank you for your informed reply. I’ve watched many many youtube videos and I believe I will be referring to your comment for the repairs. Would you recommend cutting out the damaged areas into a more smooth shaped hole before beginning the repairs? The damaged areas are each between 30 and 40 inches.

That hull is worth saving now, very good work on the prep.

You have a color combo I’ve always wanted, OT only made those for a short period of time. Liking blue, especially with a Carolina hue, the tan gunnels attracted me as summer time paddling gave you a cooler touch on the gunwale than black. I would have bought one used if I could have found one, but had to settle for green. Great canoe and would still have my green one but it just became too heavy for me to comfortably lift solo, and for much of its ~~20 year ownership it was paddled solo.

Most likely pblanc (who provides excellent advice) will continue to help on your project, but here are some quick thoughts that come to my mind:

Supplies : glflex, dynel, fiberglass ( s preferred), peel ply (release fabric), colloidal silica, graphite powder.

Some tips from my experience:

==Cut your cloths on a bias, they will fray less. You will likely use more fabric, but will prevent excessive fraying of the cloth as you work it on the boat and save you time when working the boat.
==Cloth will stretch when wetted out so allow some extra on the margins when you tape off the repair polygon
==Carbon powder will give you a smooth black finish, with a very fine dimpled surface from the peel ply, provide UV protection for the epoxy, and will smoother ride when you slide over rocks.
==For applying the fabric patches I first brush the hull with epoxy. For wetting the cloths, I lay the fabric on a sheet of alum foil, tape it down just enough so it doesn’t move, and brush epoxy on the cloth. Peel the cloth off the alum foil and lay on the boat. I use the cheap horsehair brushes, cutting off the tips a little to make the brush stiffer.
==Double tape your project, blue painters tape to quarantine the repair area, the masking tape (its cheaper) and newspaper taped to the end of the blue painters tape. The news paper will catch overruns
==Do not pick kevlar felt to use as a skid plate, opt for dynel.

For the end of the canoe with a hole, my approach would be to first repair the hole on the outside after taping some clear wrapping tape to the inside of the hull to be a backstop for the epoxy you will lay down. After finishing the outside patch you should add cloth patches to the inside of the hull. Two fg patches, the larger of which is applied first,

There is likely more to speak about, but that should give you a good start, and welcome any.comments or corrections from pblanc/others

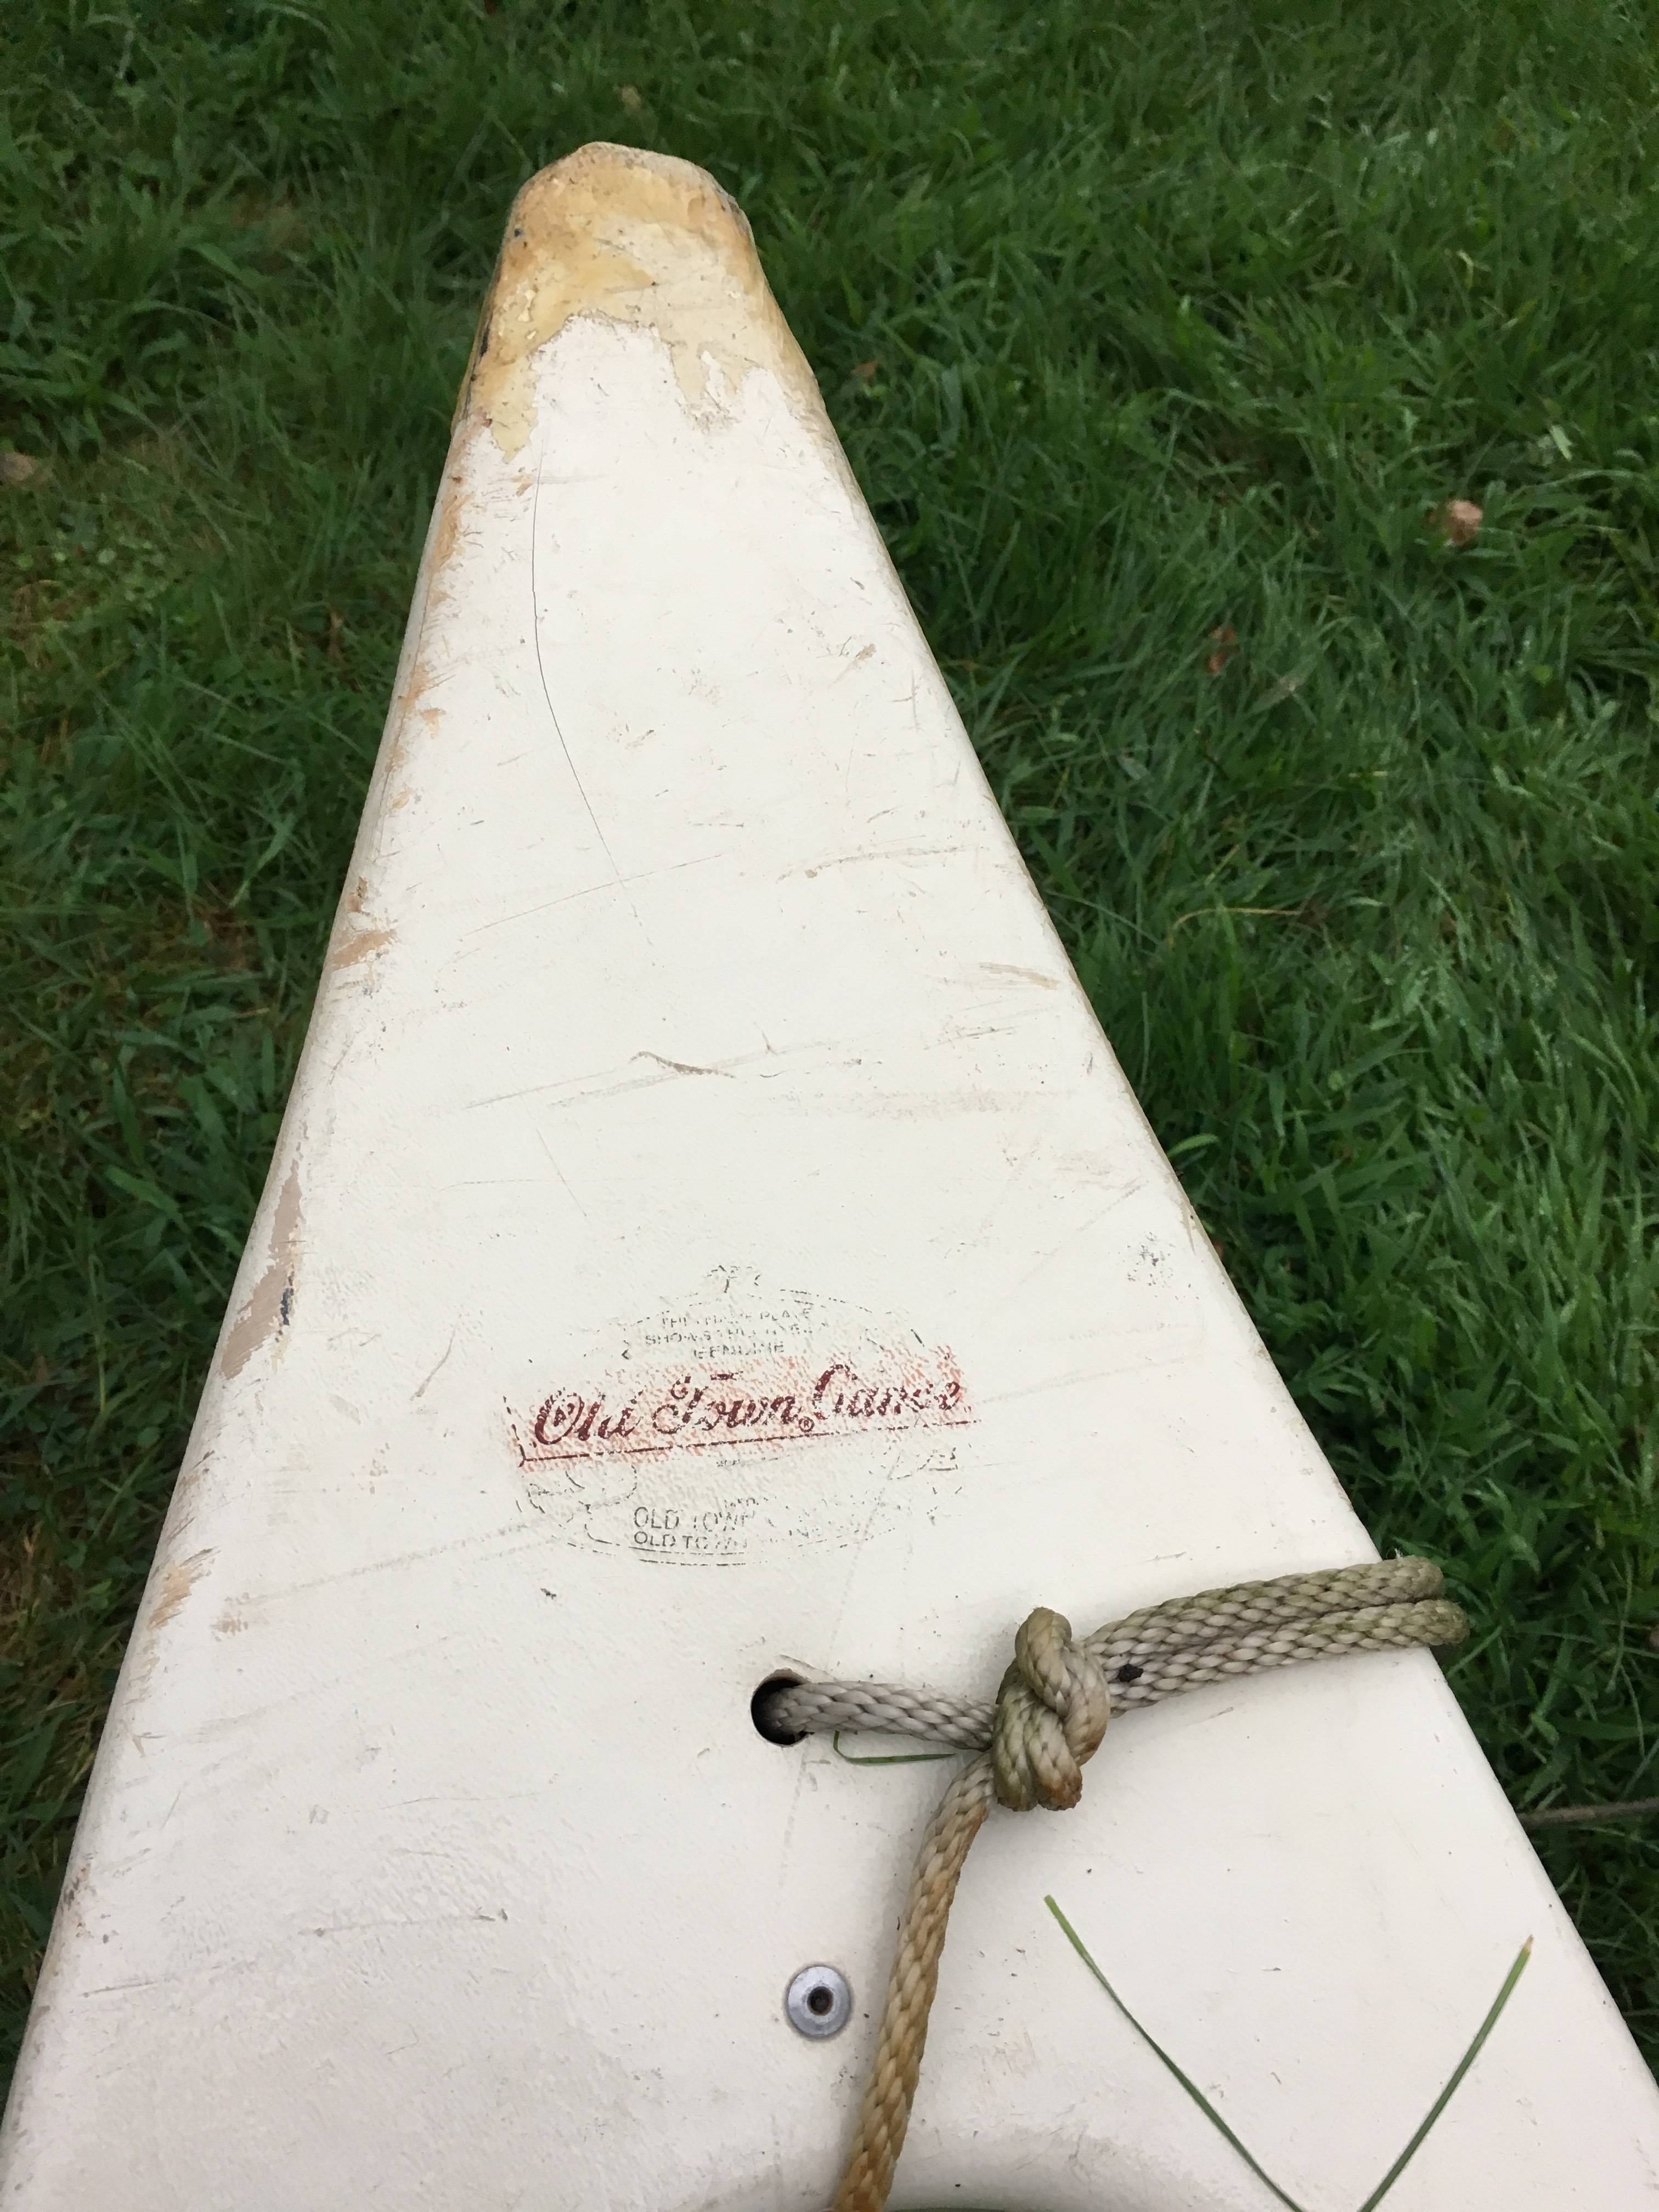
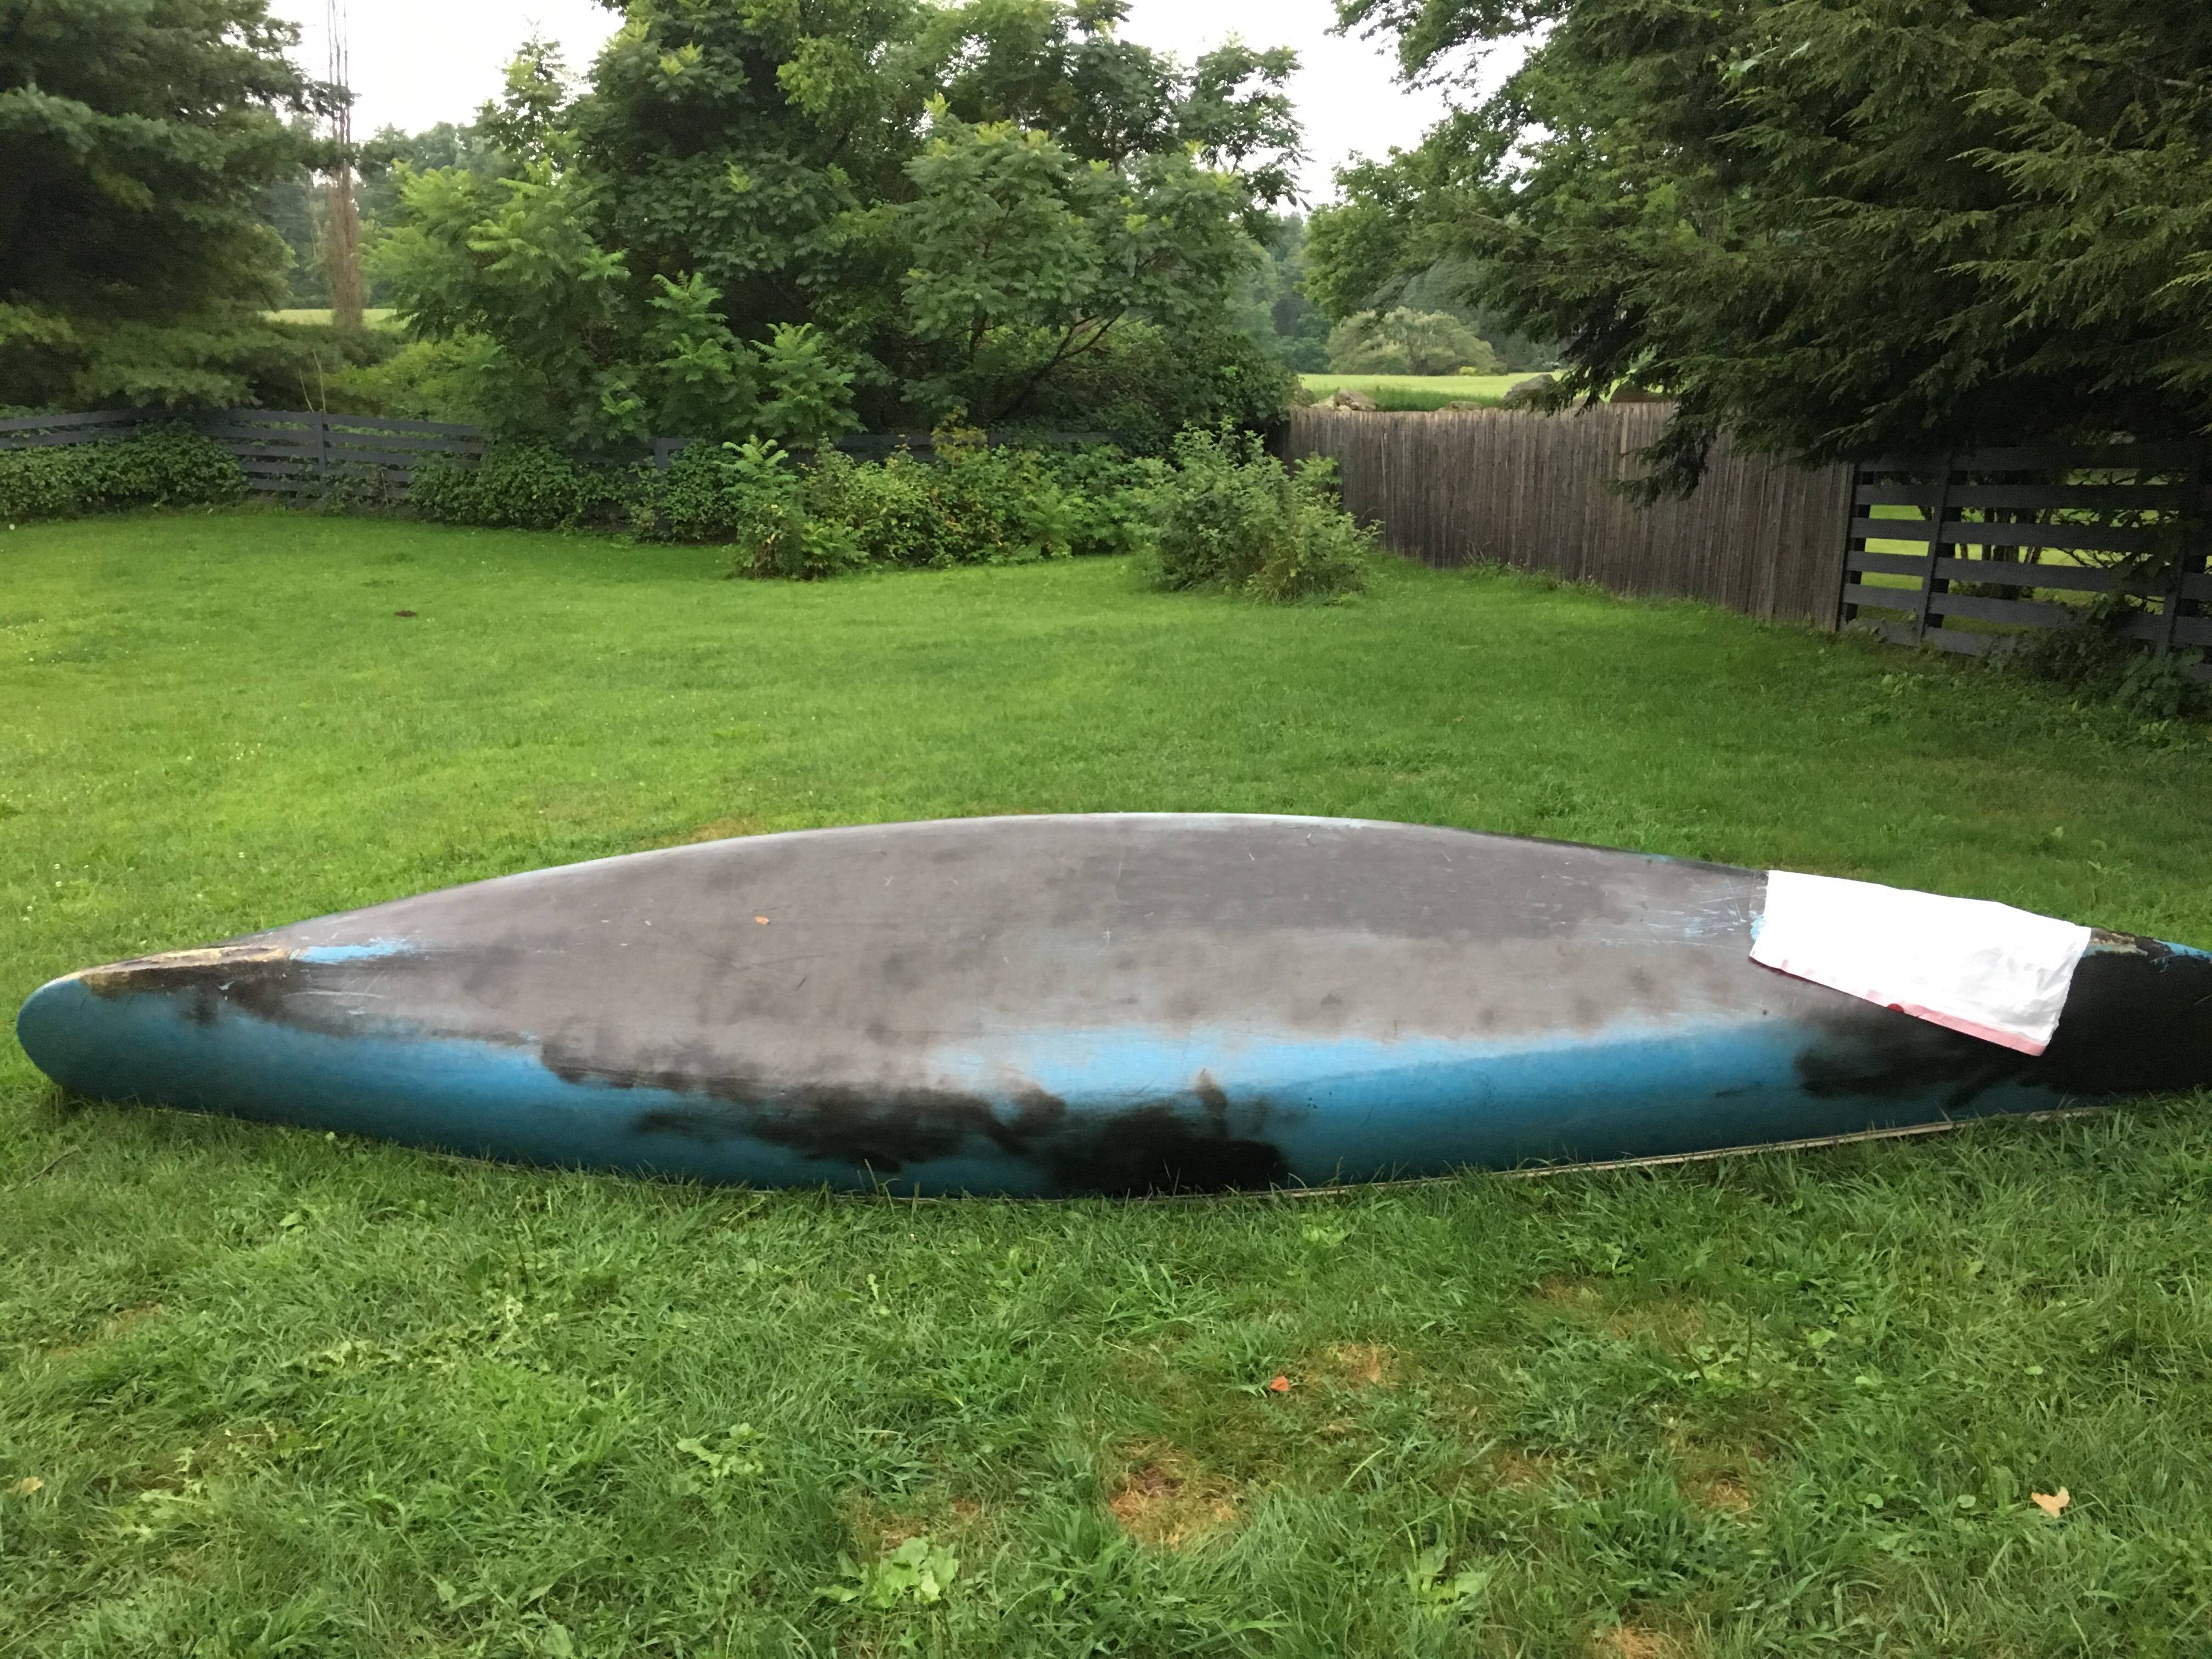
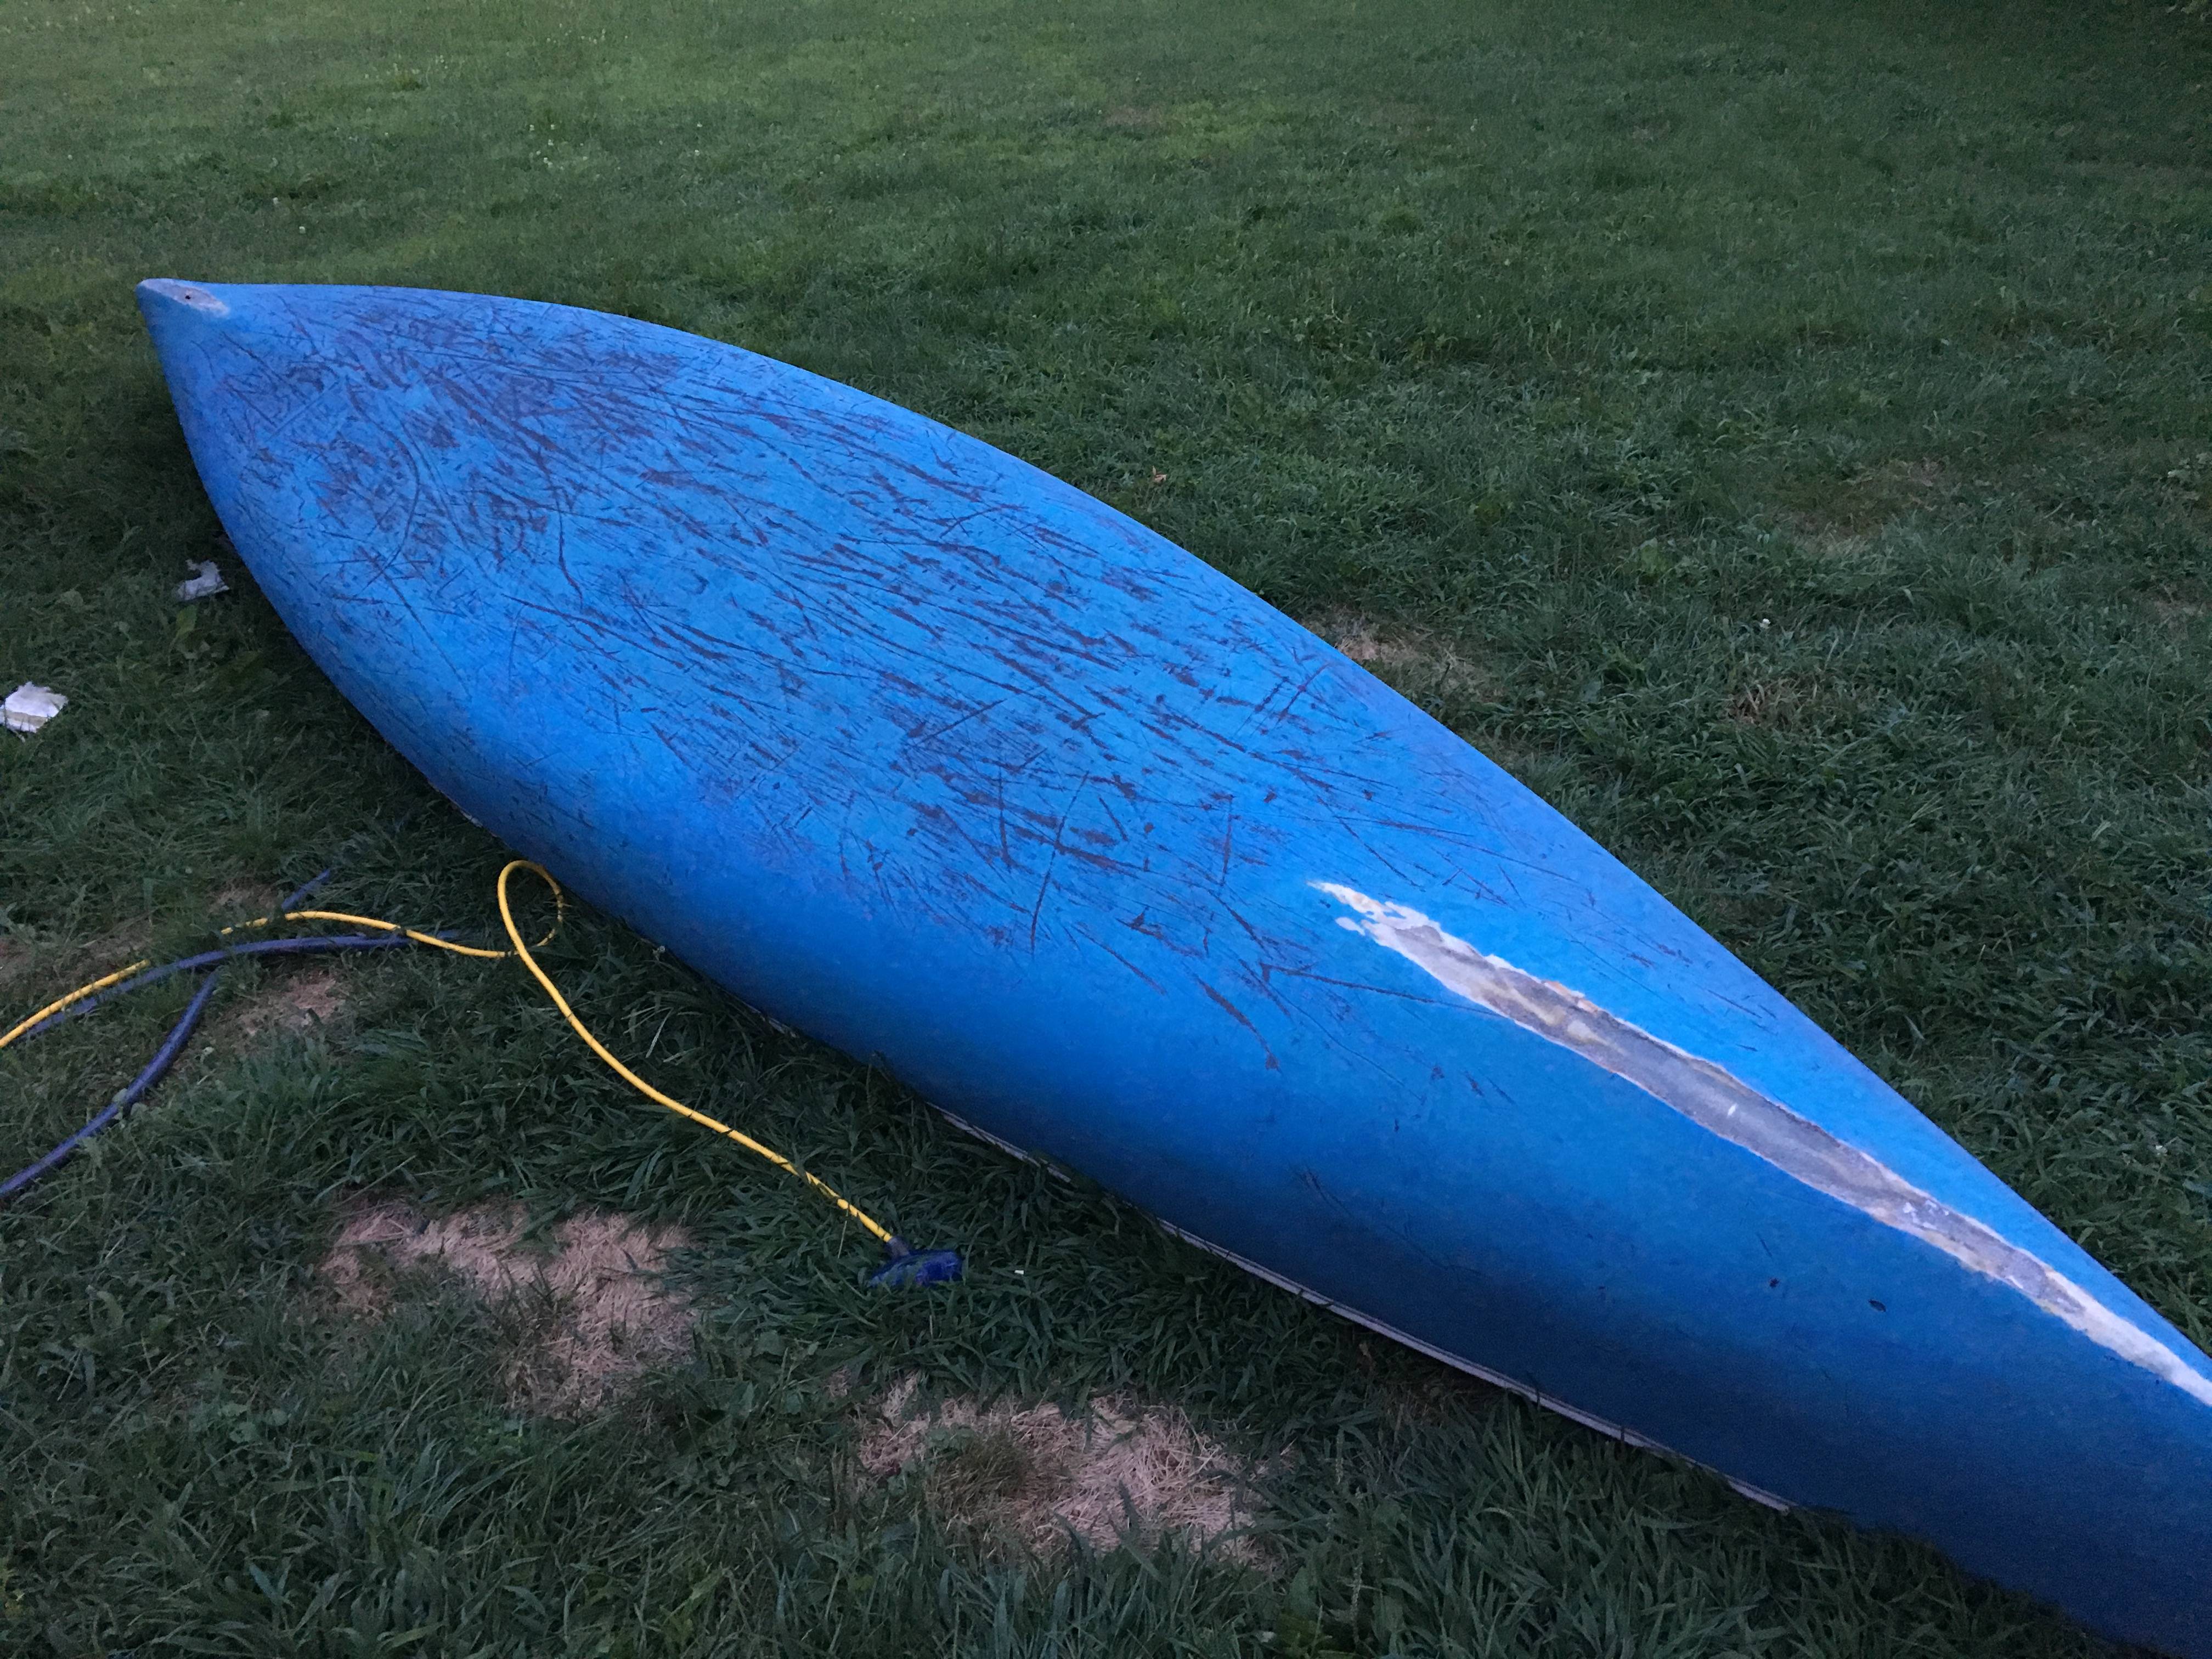
I agree with all of waterbearer’s advice. The Old Town Tripper is a pretty cool boat and at one time was considered one of the best whitewater/river tripping tandem canoes available. If you are not adverse to investing the time and money it may be worth repairing, Don’t worry about the gouges and scratches on the hull bottom. They are common for an old Royalex boat and will not affect performance significantly. But take a look at the rough estimates of costs below before deciding. You might possibly be able to find a used Royalex tandem in your area for the same cost that is ready to paddle.

You can get most of what you need from Sweet Composites: http://sweetcomposites.com/index.html

They sell Dynel fabric, both E and S fiberglass, colloidal silica powder, graphite powder, and G Flex epoxy. To fix that canoe is probably going to require a full 16 ounces of G Flex resin and 16 ounces of hardener. The cost for those alone is $58. Fabrics (fiberglass and Dynel) could run you another $50, especially if you use the more expensive, and much better S fiberglass instead of the cheaper and more common E fiberglass. Add another $25 for additives (silica powder and graphite) and another $50-75 for incidentals (squeege applicators, stir sticks, masking tape, disposable gloves, denatured alcohol, paper towels, sand paper, and possibly some spray paint) and you are already up to around $200 or more to repair the hull.

I would also get rid of that uncomfortable-looking stern seat and home made bow seat and center thwart. A 17 foot canoe should also have a thwart mounted midway between the stern seat and center portage yoke, and Trippers did have. So if you go that route, you are looking at 2 seats, a center portage yoke, a thwart, seat hangers, and stainless hardware for the seats, yoke, and thwart. That would be another $150-175.

Take a close look at the interior of the canoe on the side opposite the areas of stem damage. If there is evidence of damage there, or a through and through hole, I would also plan to apply a fiberglass patch on the interior of the hull. The first order of business would be to get those areas of exposed foam core filled and covered. The foam core is there to provide positive buoyancy and stiffness by increasing the thickness of the hull without as much weight as solid ABS would require. But it is not very strong. If left exposed, chunks will tend to break out and the overlying solid ABS layer will tend to delaminate around the edges. It also abrades easily and will continue to get dirtier and dirtier which could adversely affect epoxy binding.

If investing upwards of $400 and a good deal of sweat equity sounds acceptable to you, the next thing I would do is remove any obviously loose fragments of solid ABS around the areas of exposed foam core. You may not have to remove every last loose bit, but you don’t want to leave any recesses between the foam core and the solid ABS stratum that are too narrow for epoxy to penetrate. Then go around the edges of the exposed core, and bevel the edges of the remaining solid ABS layer. If you happen to have a Dremel or similar rotary tool, it can be handy for this purpose, but you can get by with sandpaper and a small sanding block. Then clean up the foam core as best you can as I described previously, and allow it to dry well before applying any epoxy.

If you need specific advice on fiberglassing (cutting fabric, wetting out and filling cloth, etc) I and others can help. A useful resource, if you have not used epoxies for fiberglassing before, is “The Epoxy Book” available as a free download at the top of this page:

http://www.systemthree.com/pages/literature

This publication is put out by System Three, a major epoxy manufacturer. Some of the information will not be pertinent to your repair job, and it tends of course to describe the use of System Three products, but much of the information is general. I would pay particular attention to the section on chemistry and to section VII, which describes bonding, filling, and fiberglassing with epoxy. West System’s G Flex epoxy is somewhat unique in that it does not require metering pumps for mixing. You can mix up batches of any size simply by mixing equal volumes of hardener and resin by eye, and you can be off by up to around 20% by volume and it will still cure, which is quite convenient. G Flex is rather viscous when mixed, however, especially in cooler ambient temperatures, so I never try to wet out more then one layer of 6 ounce/square yard fabric at one time. You can also learn quite a bit from the support page at the West System website:

http://www.westsystem.com/instruction-2/

Another finishing tip.

==After laying down the dynel skid plate take a popsicle stick and push the frayed fabrics edges into the fabric body. This will provide a sharper finish line to the the skid plate, My first dynel skid plate was not cut on a bias and had lots of fraying and I didn’t bother tucking those in after the epoxy was applied. Once the epoxy cured I had a very functional, but ugly skid plate.