Nice! 


1 Like
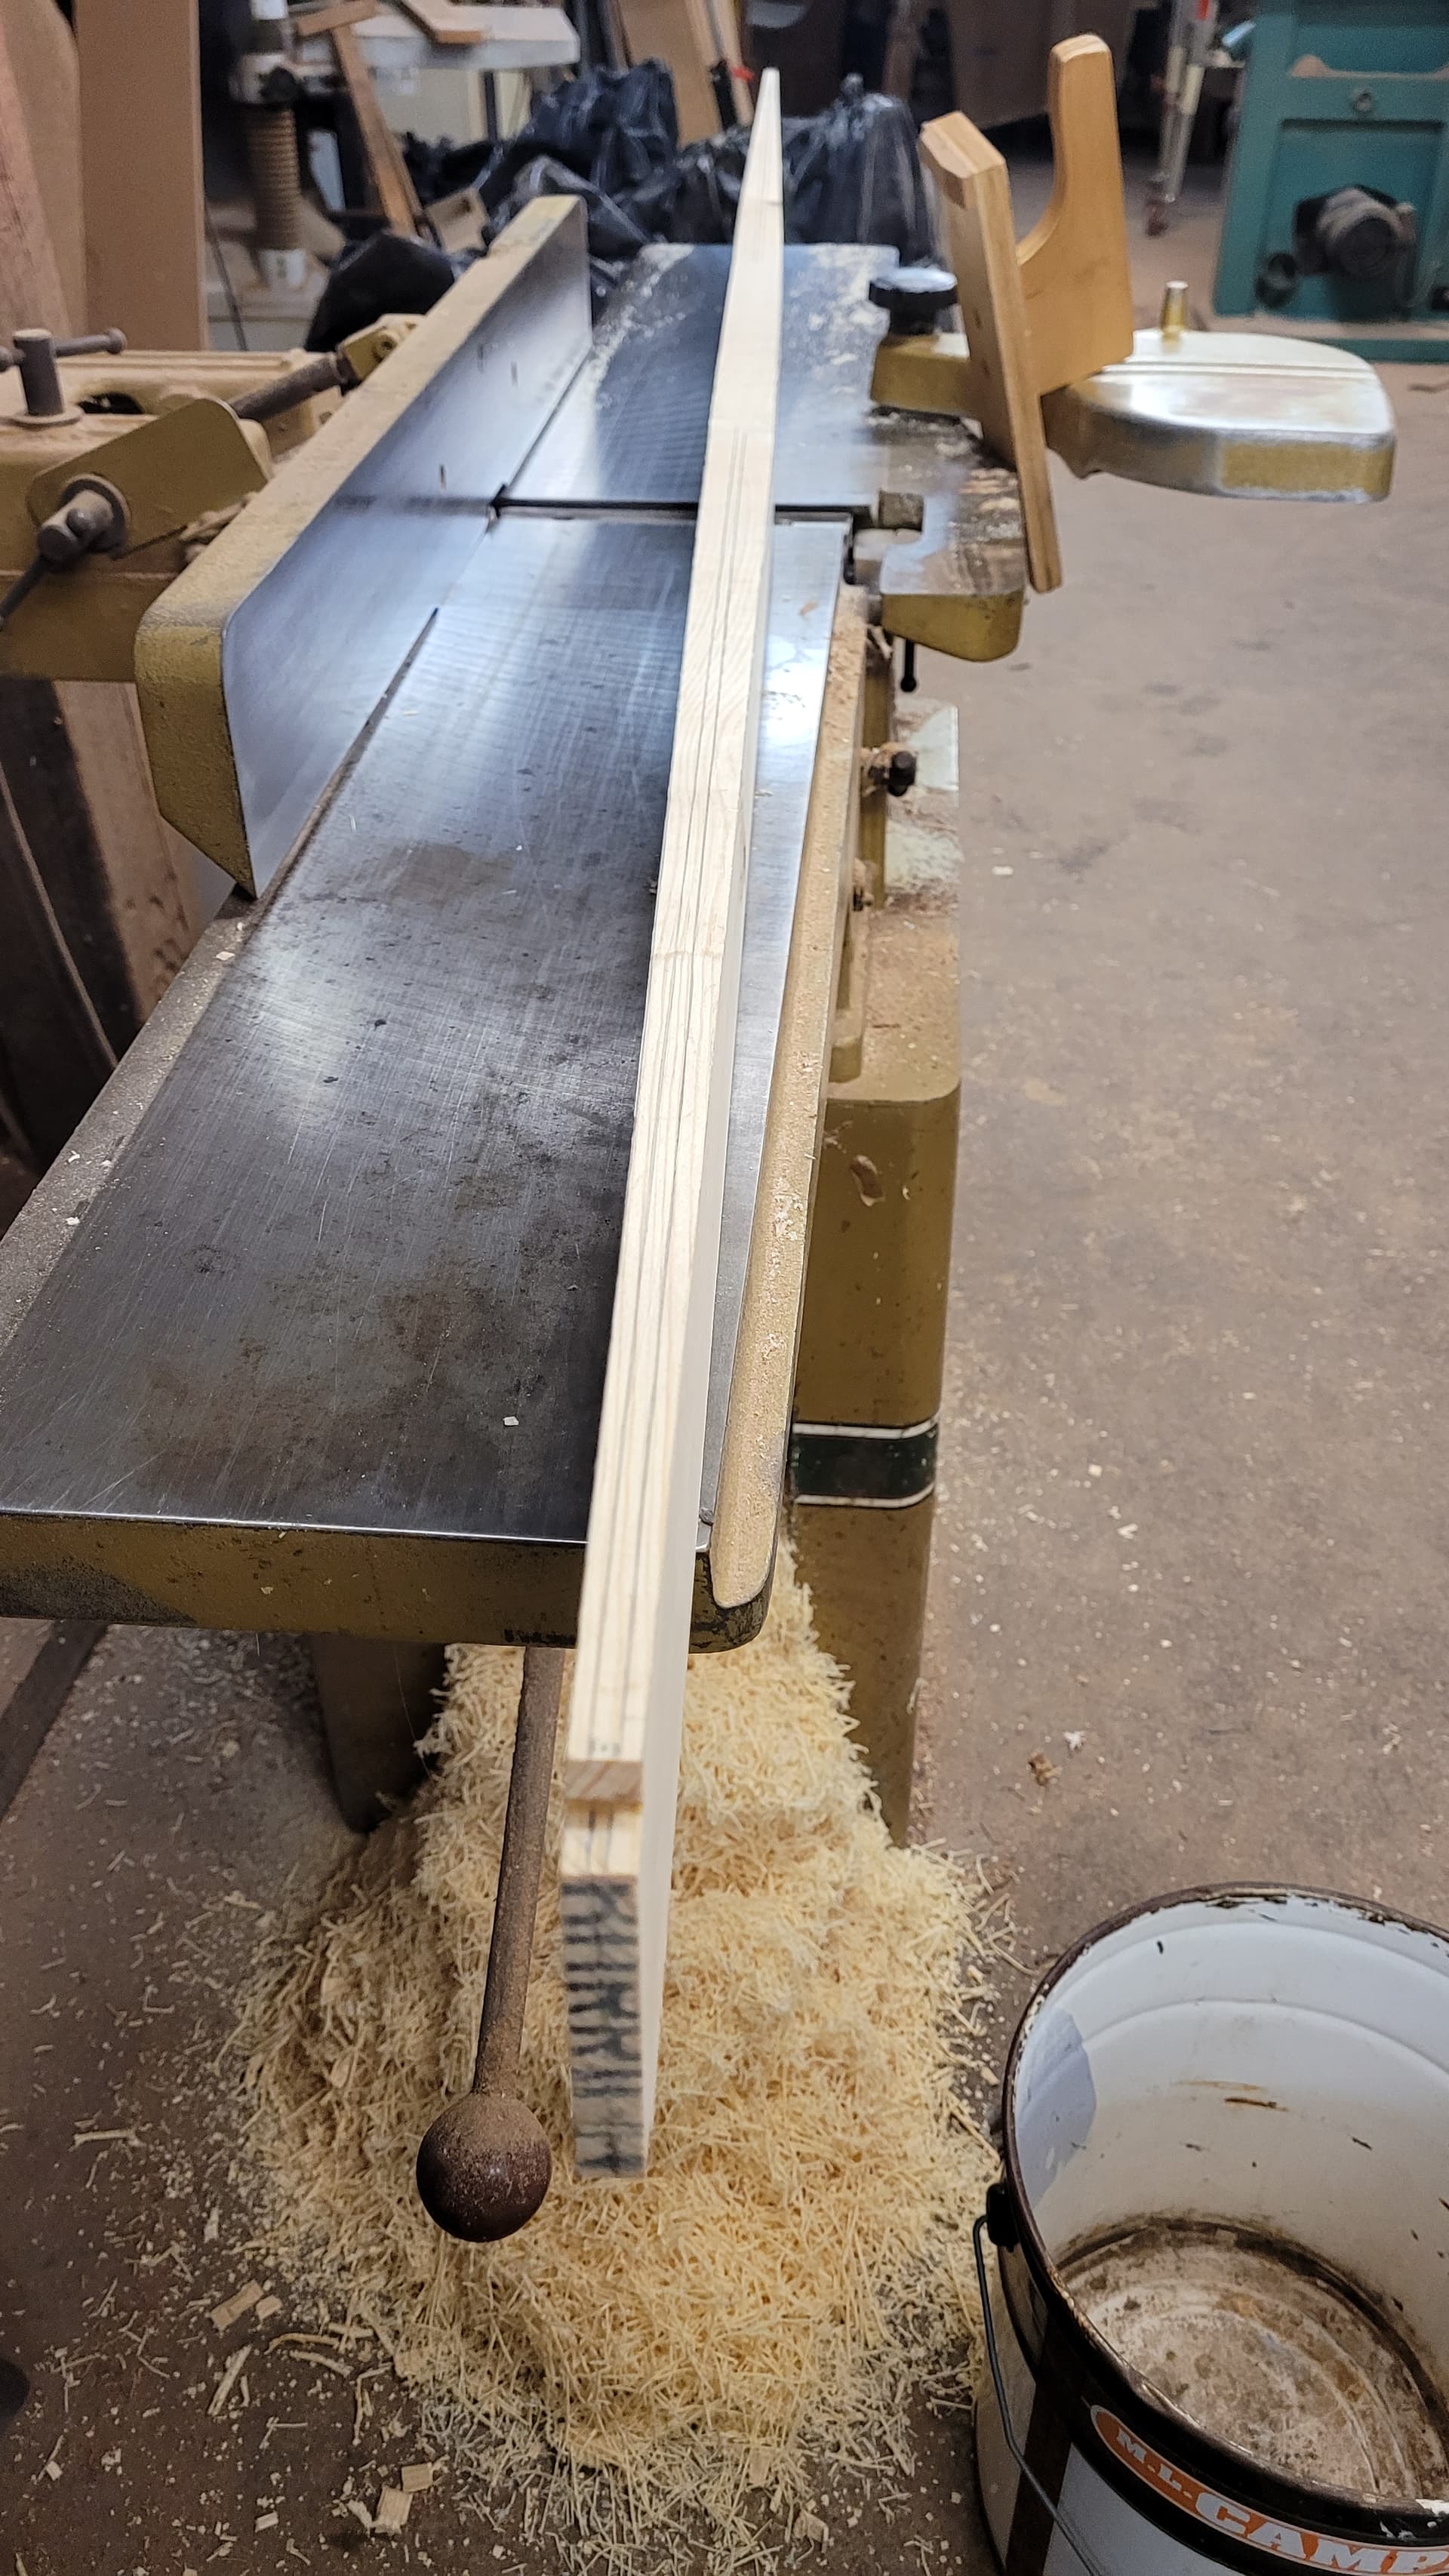
Lower infeed table on jointer 1/4 inch. Set loom end of the blade on outfeed and pres down on the blade where it hit the end of the jointer infeed table. Feed into the cutter and the loom/blade on the outfeed table will have zero cut, while the blade tip will have a tapered cut. Use a push stick to keep hands away from the cutter head.


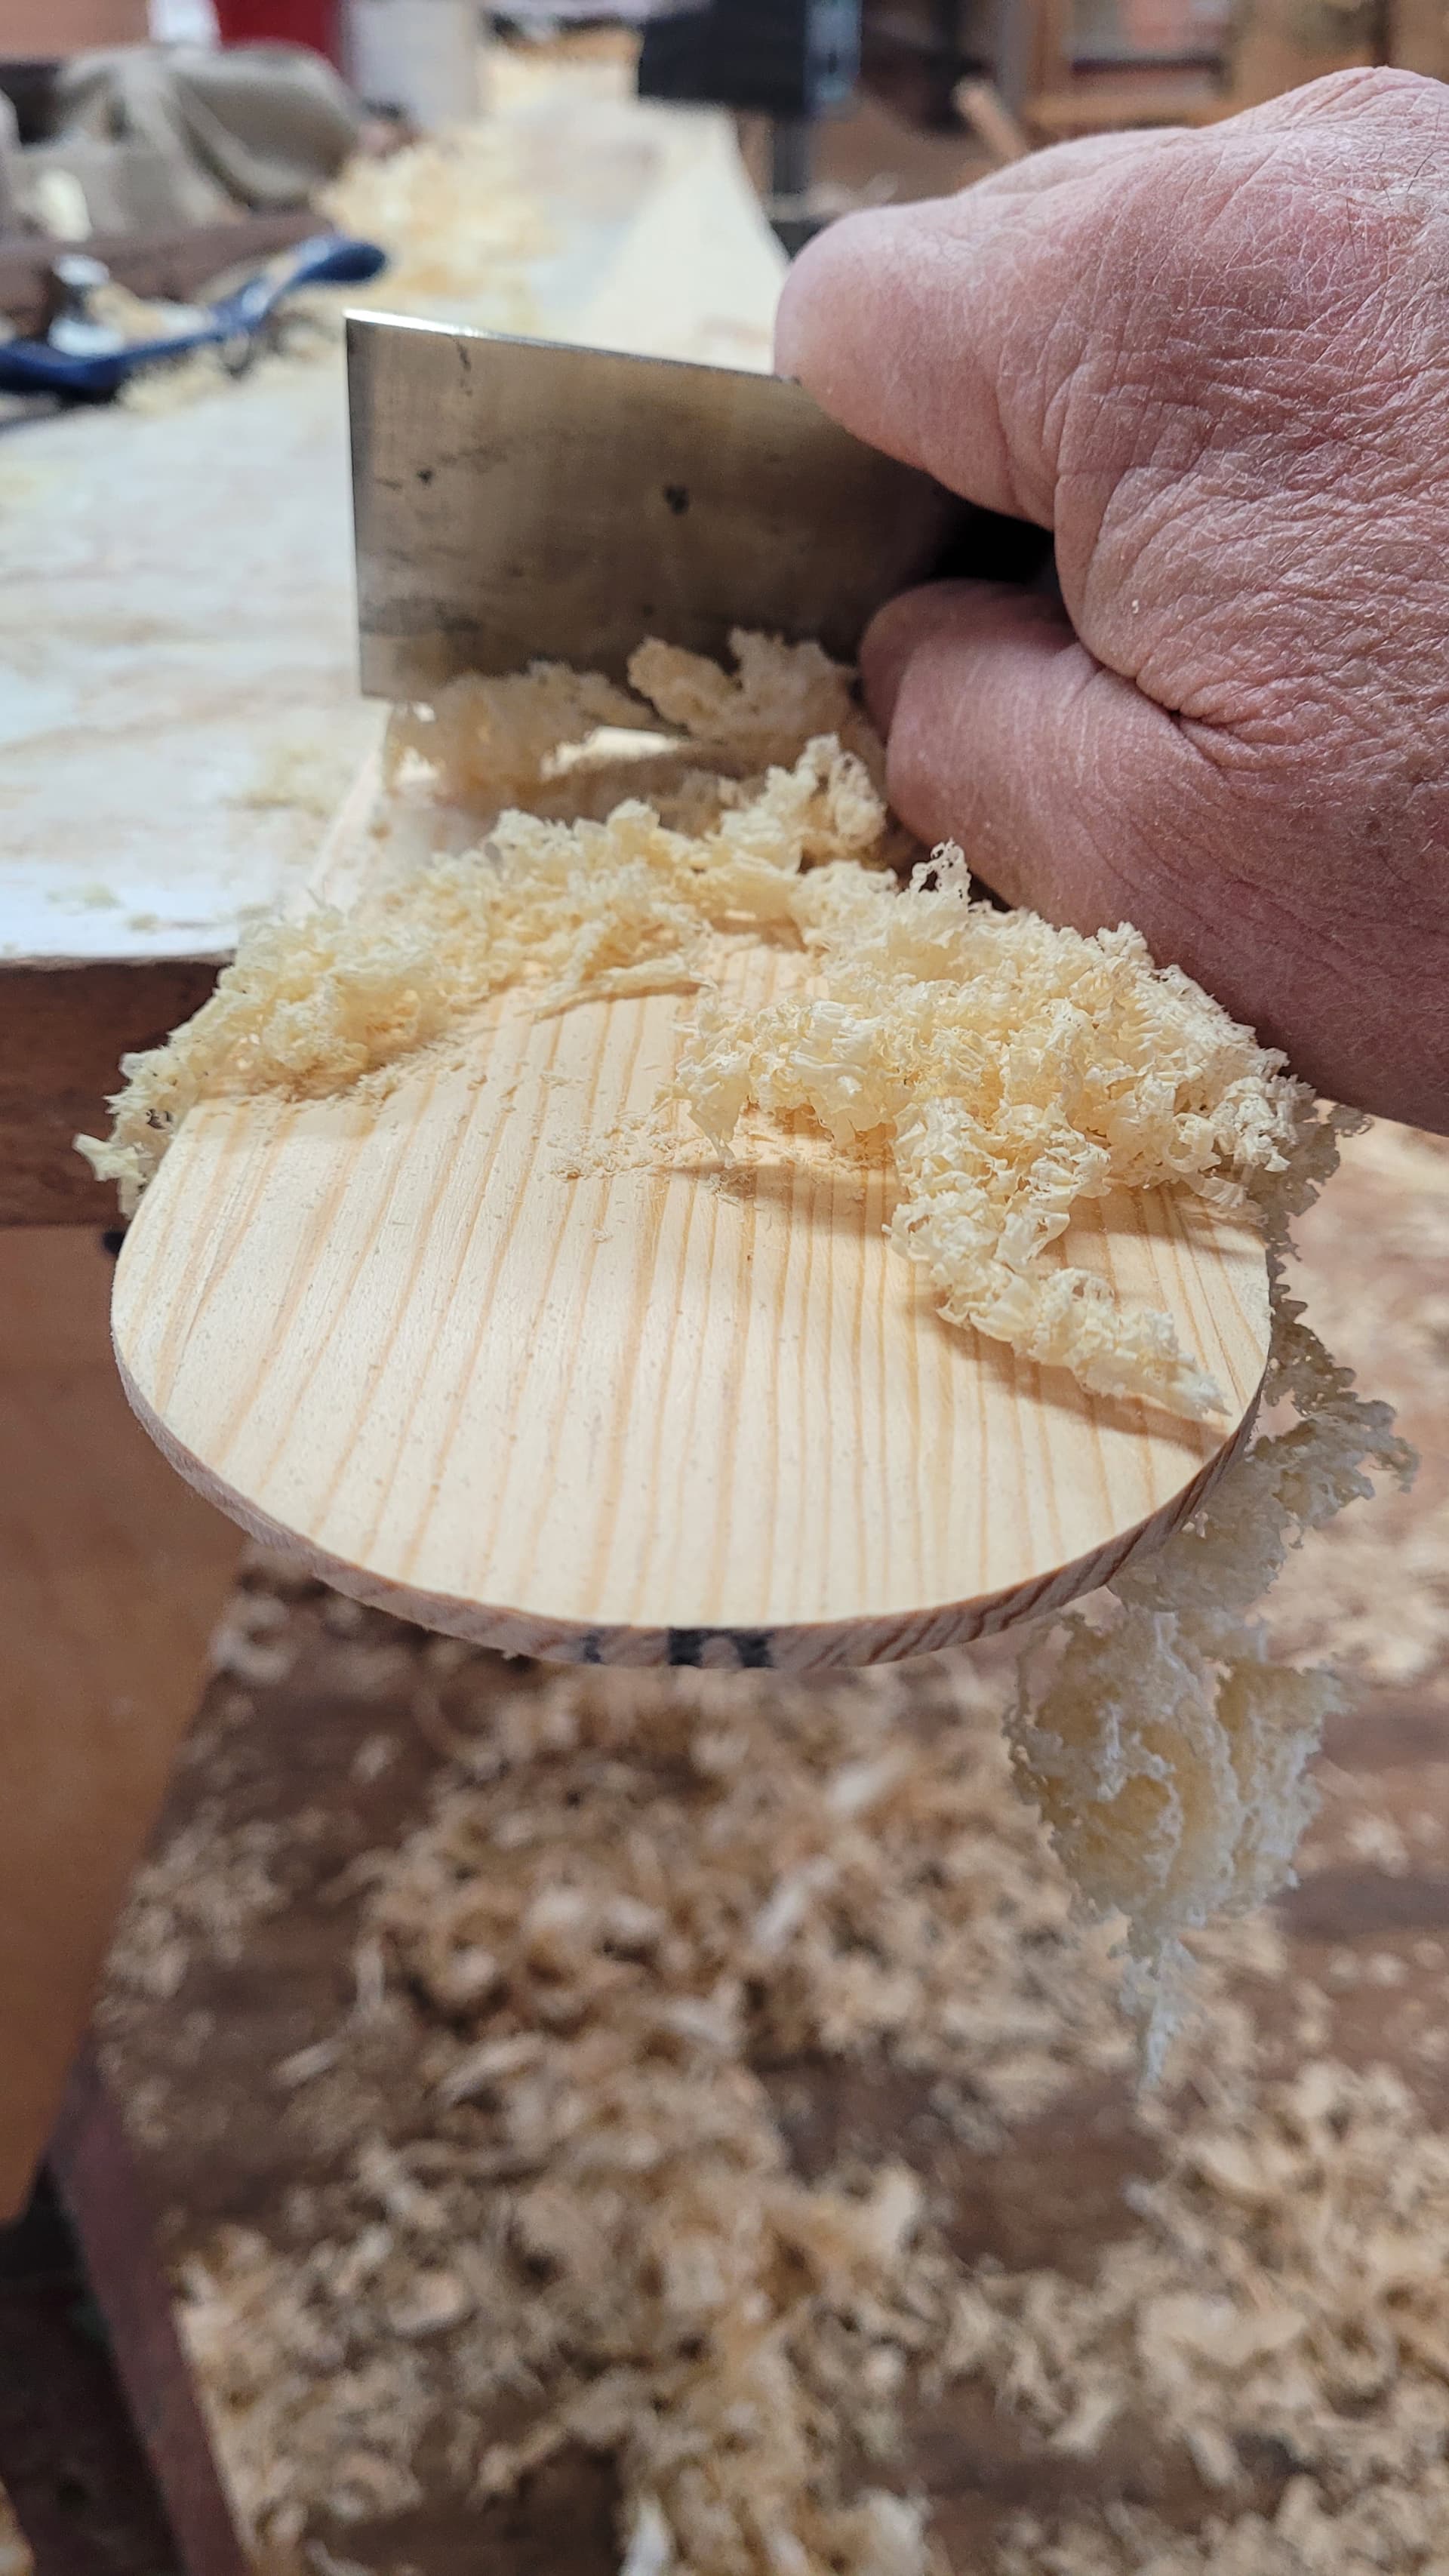
You can use a sharp chisel to pare away excess wood. Block Plane works great cutting to the layout lines. Use spoke shave for transition surfaces, then a card scraper to fine tune the flats and round off edges on the loom.


Now where is spring.
1 Like
Nice Job!!! It’s gonna look great after several coats of linseed oil (diluted with mineral spirits). 
sing
Shouldn’t these posts be in a separate topic “Making a Greenland Paddle with Power Tools”?
Just make sure you don’t use any copyrighted music in the background…
LOL! They never reviewed my claim so my videos should be good. I’ll bet they didn’t restore the audio though.
@Jyak - Looking good! I hope I can be that precise someday, and I mean with hand tools. LOL. I’d put a tiny chamfer down the center spine, I would think that that would feel funny when paddling. Then again, that ridge will disappear when you sand it, so maybe don’t worry.
Next up, after sanding, the boiled linseed oil!
As for my progress, I’ve not done squat on the paddle. I’m just about to start setting up the wood shop. I know where most of the tools are, so that’s good. I don’t know where my sharpening stones are though, so that’s bad.
I really need to build some workbenches first. I’ll use the Work-Mate as a clamp, tied to a lolly column for stability, but I need at least a table to mark lines.
It can be, but technically it should be posted under making a Greenland paddle with power tools and hand tools. I started reading about it on this thread, so I finished it here. In the process, I thought I’d add some machine techniques to speed up the process. It’s just a 2x4. I decided that the power tools would guaranteed accuracy and a balanced bland. Finishing by paring with a large chisel, block plane, spoke shave and a card scraper enabled me to cut to the lines without taking too much
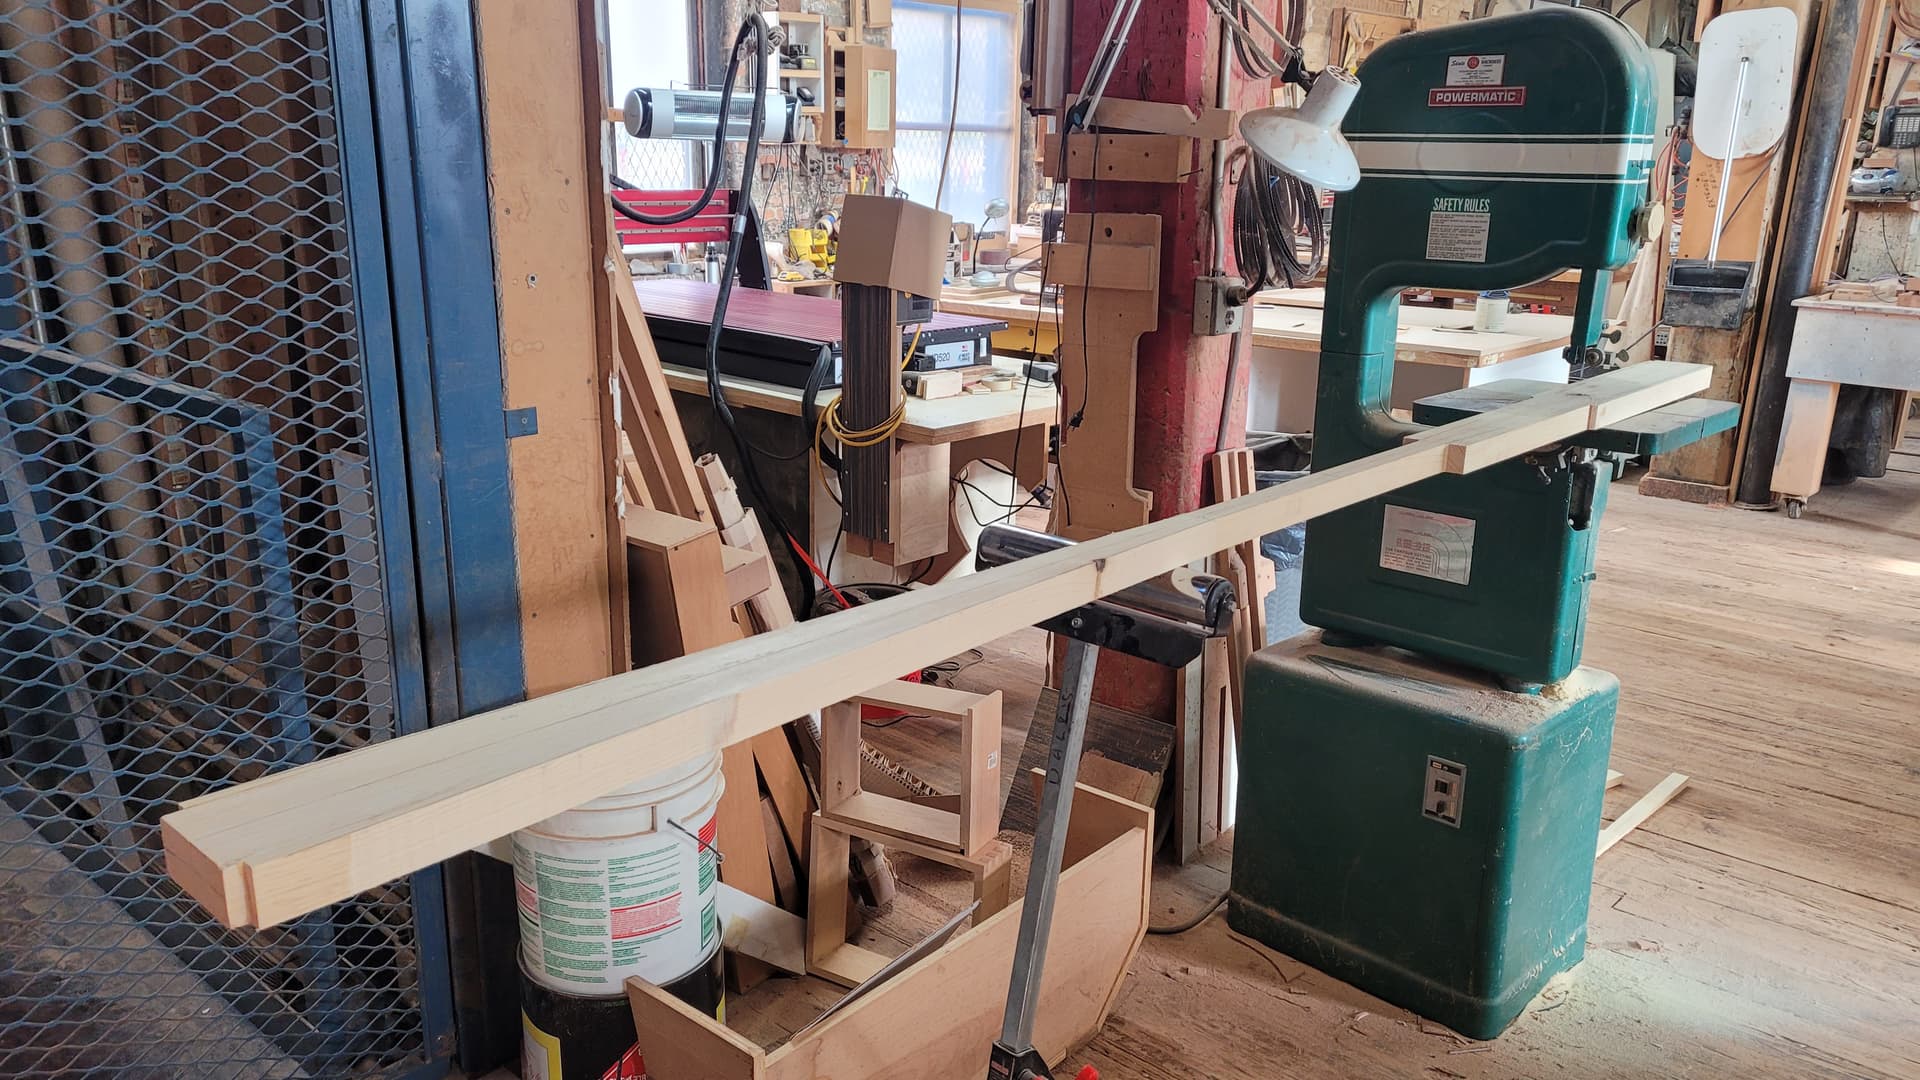
Sing, thanks for your input. I laid out with a shoulder but eliminated it, based on your comment. I like it . . . I like it a lot. Took about 5 hours. I wanted to cut out the blank with my jigsaw, but it was at home. The Veritas Block Plane did the bulk of the blade shaping, even curving the tip. It’s heavy at 2.8 lbs, but it’s 8 ft long, 3 7/8 wide. The look is 21 inch 1 3/8 x 1 1/4 oval that put the blade in a proper position for a can’t stroke. I’m suprised at the swing balance, despite the weight. The oversize is intentional so I can trim it down to reach a balanced size; that might shed about 4 to 6 ounces. Haven’t touched it with sandpaper yet. I have a few months before spring, so I think I’m going to scrape a lot more to refine the shape.
NotThePainter was the inspiration that got me interested in even thinking about it. Bynystrom got my spokeshave cutting lthe way it was meant to work, and the many members describing the merits of the paddle pushed me over the edge. Definitely a team effort.
NotThePainter, I’m sitting here today looking at the Greeand Paddle on the floor. I picked it up - sighting the length, looking at the contours, feeling the surface, noting the little bumps that don’t belong, accessing areas that can be thinned, anticipating when I can return to the shop and further tune the shape, thinking about ways I can improve the next one.
I don’t know if I’ll actually prefer it over my carbon paddle, but I’ve never anticipated using a paddle as much as this humble block of pine.
Despite the increased weight compared to the carbon paddle, I’m most impressed by the balanced swing efficiency of the Greenland design. It has the same surprising feel that I noticed in the one a friend made using Westetn Red Cedar.
As I researched information on the GP, I was suprised to find a variety of beautiful carbon and wood paddles at very reasonable prices. I’m glad I followed your advice to build one, and now understand your enthusiasm. The connection to a paddle that you build yourself can’t be matched. Another member expressed a preference for wood paddles, and that exchange helped me decide about trying a wood paddle.
My suggestion to anyone thinking about making one is: stop thinking and do it. Use whatever tools you have to your advantage. It’s an experience you won’t regret. You have a vast amount of experienced members behind you to aid your success.
Thank you for thinking of me!
Exactly this, making your own is about the journey, not the destination. Jyak and myself both had different journey, but it is all good in the end.
There is one disadvantage to a Greenland paddle, rarely a paddling session goes by that I don’t talk to strangers. I even had one power boat stop and ask if I needed help, since clearly my paddle was broken. I just leaned over, did a really wide stroke, turned 90 degrees and paddled over to him. Then I started talking about native paddlers… :- )
1 Like
Thank you, for thinking about us. Your story is funny. It reminded me of other stories, such as a bystander watching in horror, as an experienced kayaker practices flawless rolls. My story isn’t as dramatic, but I was out in an open stretch of water and a powerboat came over to ask for directions. I guess they figured I couldn’t be too far from where I launched.
My goal was the paddle, because I make things out of wood regularly. The reason I picked certain machine tools for a process was because the specific technique gave me accurate reference lines and symmetry. When I checked the balance, the fulcrum point was off by an inch. Shaping and profiling was all with hand tools, even the tip - low angle blades were designed for end grain. I dislike rasps and sanding, except when there is no other option - too coarse and dusty.

Before starting, I thought about how irregularities would influence performance. Then I recalled reading about Chesapeak Bay Log Canoes. It’s speculation that the boat builders made notes on how the boat performed on either side. The next boat would be tweeked to mirror the faster profile. They still have annual log canoe races on the Eastern Shore of the Bay. My goal is to make many paddles with different profiles. At $5.00 a paddle . . . That could be a lot of paddles! I once noticed a beautiful 2x4 as I walked by the Home Depot lumber rack. I bought it even though I had no need of a 2x4. Unfortunately, I needed an extra stud when building a closet, and it’s now entombed.
Does anybody have an old golf bag they don’t need or an old bow rack. What kind of conversation do you think would follow, if you unrolled an old bed quilt to reveal a sleeve of paddles - “Let me see, perhaps a 9 blade for today!”
I don’t know how long I’ll be able to paddle, but at some point, my outings will morph from the quest to go further or faster, into a desire to just enjoy the moment on the water. I see the Greenland paddle playing large in that roll.
We’re finally sliding toward spring. I tested the CLC kit boats a few years ago during a “paddle day”. Unfortunately, they were either too roomy or too tight. If I can find one that fits, that could be next. Paul, your video was about a lot more than just a paddle.
I finally got to work on my paddle today! I spent hours looking for the spokeshave and the sharpening equipment. I found all of that except I still can find The Book! Fortunately, I marked all 4 sides so I don’t immediately need the book. (I put it aside when moving so it wouldn’t get lost, LOL!)
Here’s how I clamped it. It sort of works.

I can easily shave one side of the paddle, but not the other side. I’ll turn it over, shave the other outer side, then move to the other side of the paddle. Or I’ll put a lolly column in and attach the Work-Mate to the column. That worked in the old house.
I got good shavings from the spoke shave. I spent some time sharpening it and that really paid off.


I didn’t shoot any video since everything has been covered in Episode 18 already. But, I did find it difficult to get a nice flat surface with the spoke shave. I used the No 4 plane some but I didn’t like the heft of it.
And I know that @Jyak tuned his spoke shave, I suspect mine, which is also a Record, has had some work done in the past:

You can see some work marks on the surface. It does look like it has been heated though on the left, I’ll bet a powered grinding wheel was used!
NotThePainter, Good setup. The body of the spokeshave is cast iron. You can easily flatten and clean that up with fine sandpaper on the top of the tablesaw. Your shavings are far cleaner than mine were. When I watched your videos, it didn’t look like you had issues. My problem was the blade had never been heat treated. We hardened and drew it back, so now it holds an edge.
Incidently, I forgot to mention in the last email, I ordered a new blade from Lee Valley. It’s about 1/32nd thicker. My Veritas planes have O1 steel so I’m trying the A2. Like bynstrom explained: You can buy a new blade, but it’ll cost as much as the spoke shave: $22, and the blade is: $21. The PM-V11 steel is: $28. At least I’ll see what difference a good blade makes.
Keep us posted, and I still found it odd that they didn’t heat treat it. Did you buy it new? If so, I’d contact them. It’s not much money but maybe they have a manufacturing flaw they don’t know about?
I tried this with the spokeshave yesterday, wow, it was hard and I have long arms. But I am having a problem with consistent shaping. I was getting flatter with the No. 4 but I seemed to have more control with the spoke shave.
This was the back killer stage in my experience. Sacrifice the lumbar for those long smooth cuts.
Peace J
I’m sure it was just a quality control oversight. It was bought years ago for a specific project. It performed so poorly, I resorted to other options and buried it in a tool box. Since I rarely need a spokeshave. I just passed it off as a an inferior tool, resolving to buy a better product if ever needed again.
Then I read the post from Bynstrom, directed to you about tuning planes. The light bulb went off and I went frantic looking for mine. After cleaning up the contact points, it still didn’t seem right, and it honed too easily. My brother offered to test it, and found the problem. It had to be tool steel, so with nothing to lose, we took a shot and heat treated then drew it back. RC66 to RC52, to soft. Notes show the retreat was RC65 to RC59. Honed the blade and it worked fine through the paddle shaping. I’m not a knife maker; frankly, I don’t trust doing two treatments, fearing it may have hurt the steel. I already did the work on the plane and I like the 151 model. The thicker A2 blade is a known quality and it can be used in any 151 plane I buy, especially an old model. The advantage of a 2nd blade is that I now have a sacrificial blade if I suspect the wood holds unseen objects that could chip the good blade.
Like you, I enjoy making thing from wood. My goal is the end product. The method is based on which tool works the fastest and sets the project up for the next step. I was able to recover the wood from the loom, trim the pieces with a glue-line quality tablesaw blade, and use the pieces to widen the blades, making a near exact match.
Even though we arrive at the same destination, we’re on different paths. I hope the tips in this exchange will stimulate others into action. I don’t know if I’ll even like the paddle I made, but the information I gained in the process is so valuable to me, it really doesn’t matter.
Anybody can learn to use a hand tool. The real skill is in keeping the blades sharp.
Properly using a hand tool or a power tool depends on body position. Whether using a pull saw (Japanese), a push saw (European), a coping saw pull, hacksaw (push), Japanese plane (pull), European (push), table saw (keep pressure against the fence), band saw or jig saw (pressure is coaxed straight ahead, without side pressure with turns rotating around the axis of the blade.
I can tell who is operating a power tool in the shop by the sound of the motor. A miter saw that bogs down before the blade gets to full RPM will stall and leave a ragged cut. A router needs to run at constant speed - too slow burns the cut and too fast bogs down the motor. A continuous cut through a properly set up table saw leave clean hash marks down the board edge, without tell-tale burnt blade impressions on the edge.
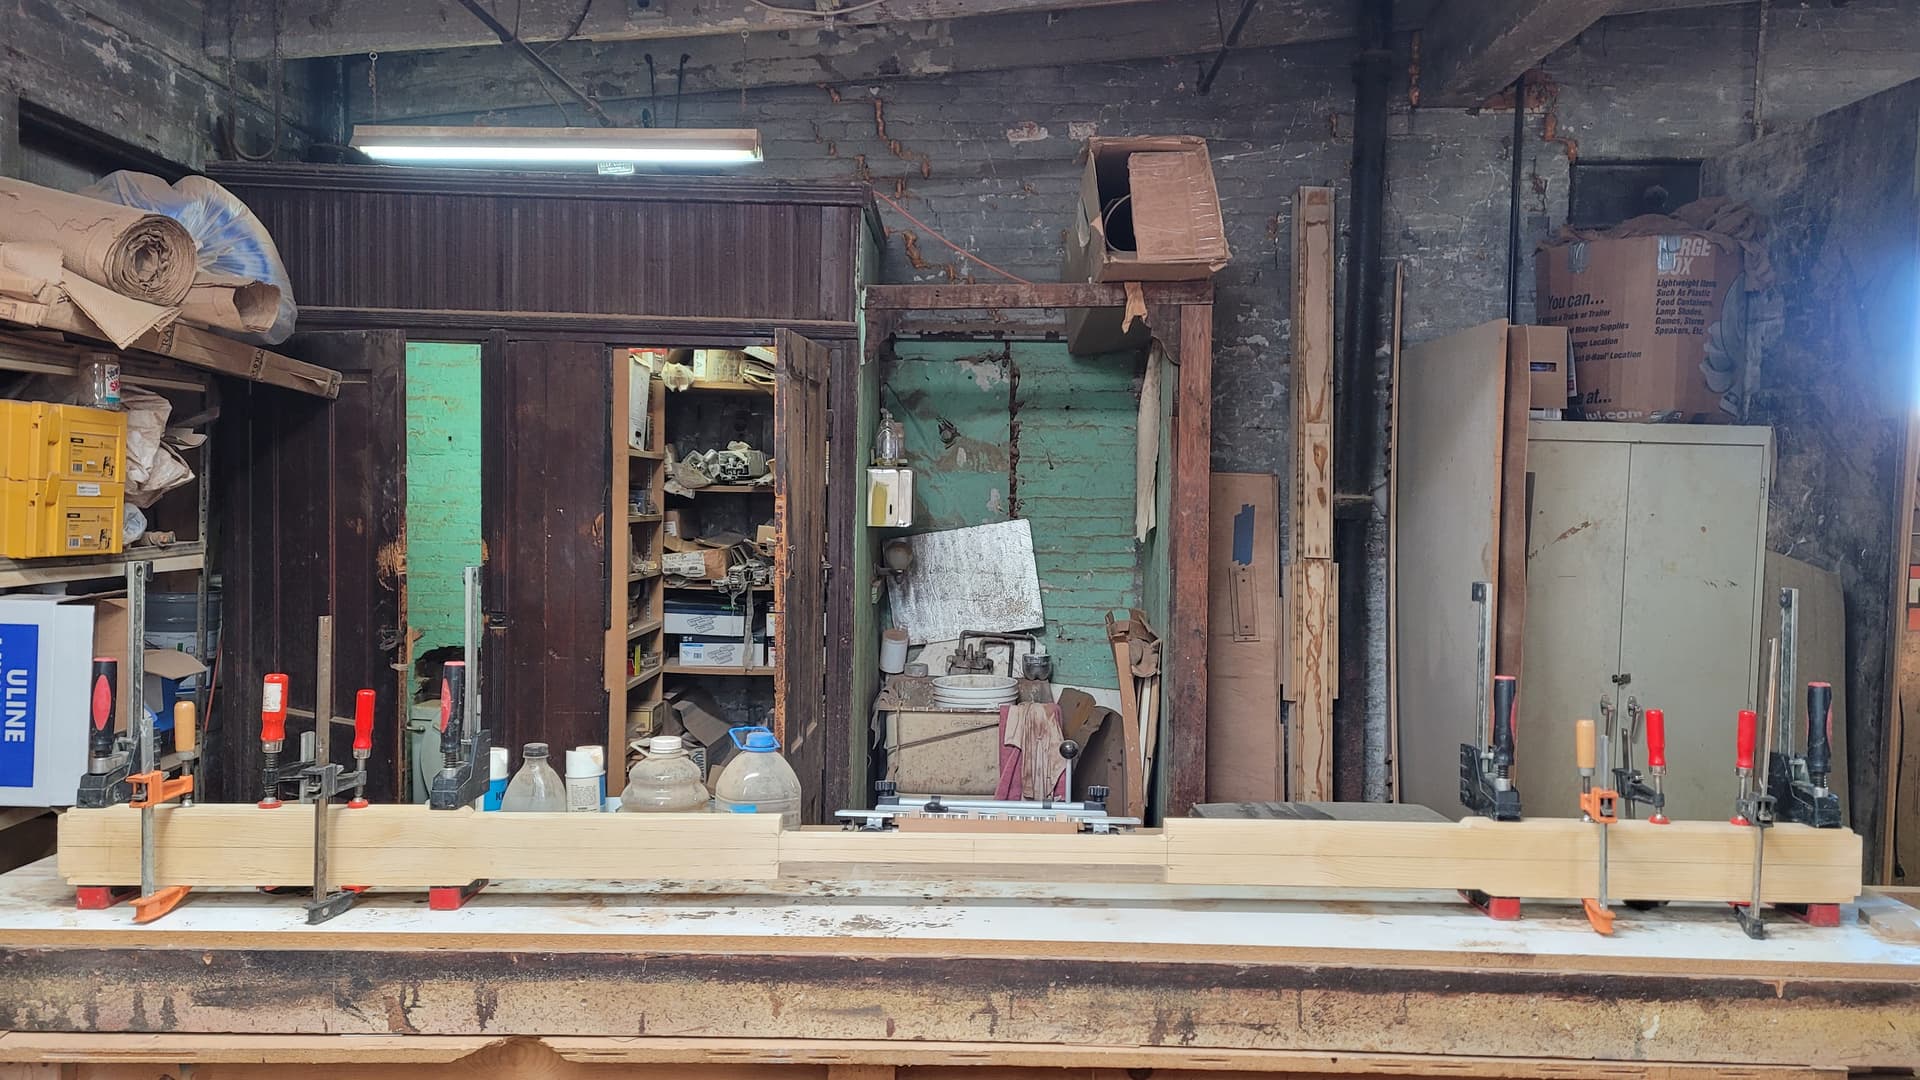
Regarding hand planes (or power planers for that matter) the goal is flatness. I worked the loom last so the flat middle section could serve as a stable clamping location. Then I used a wood scrap clamped to the bench to prevent the planing force from sliding the blank down the table. Lock the blank to the edge of the table using two clamps. Plane in the direction that prevents grain peeling up. It helps if the table is at a comfortable height (lock to a wall if possible). Get in position to take a light cut and walk it down the length. If pressure causes the stock to flex, it will cut a hollow and the planevwill stop cutting, if the blade gets adjusted out, it will then dig in on the high spots. Scribble marks on the surface. That will help you see the highs/lows. Walk the tool through the length, hopefully standing with a straight back. (Make a planing box with clamp cutouts and built in bench dogs, if you plan to do a lot of paddles. I don’t recomend it, but I do all the planing with a good block plane, because it’s light, easy to control, and cuts flat, if you follow through. I don’t put the plane down on the sole (protect the sole and the blade from damage), and I don’t drag the plane backwards. Lean into the cut, and standing up will give the space to step back, leaning into a cut again. I save the spoke shave for contours and when the cut gets close to a shoulder.
I don’t like sandpaper. Too much dust that fills voids. Buy a card scraper and learn how to use it. I can explain how to sharpen it so it cuts like a plane set to a fine shave.
So, how low would you go . . . when considering buying a spokeshave? To get a known brand like a Stanley in my area (in Canada) it looks like it would be about $45 Cdn. For about $30 I can get a “Woodstock International” spokeshave. That’s an unknown brand to me, but being sold but a trusted regional chain of tool stores.
But if I’m likely to need to do a bunch of work tuning it to get good, cuts, is there a benefit of getting these, versus an “amazon basics” spokeshave which is listed for $14.39 right now? Other than paint colour, they appear identical . . .
On a side note, while searching for spokeshaves I came across the fact that Lee Valley and a few other places offer wooden spokeshave kits, where they sell you the hardware and a wooden handle blank where they’ve precut the spots for the blade and hardware, but you carve and shave the handles yourself. That looks fun, but it’s about $60 for the full kit and would be another project before I could continue working on my Greenland paddle project.
I have also checked Facebook Marketplace and other online sources to see if anyone was selling a used one, but didn’t find any.