I recently finished restoring and reconditioning a beat up Dagger Vesper Kayak, and would like to show you how it went. This is a long post, so feel free to skim over it, looking at the pictures and captions to save time.
This summer I decided it was time to stop renting and get my own kayaks. I bought one recreational kayak and was looking for another, but a Craigslist post for a $100 touring kayak caught my eye. Upon seeing the the kayak in person, it was obvious that kayak had sat neglected for some time and developed oil canning, but the plastic was firm and showed no signs of UV damage; so I bought it.
(Top) The Dagger Vesper, a 13’ 10" Day Touring Kayak
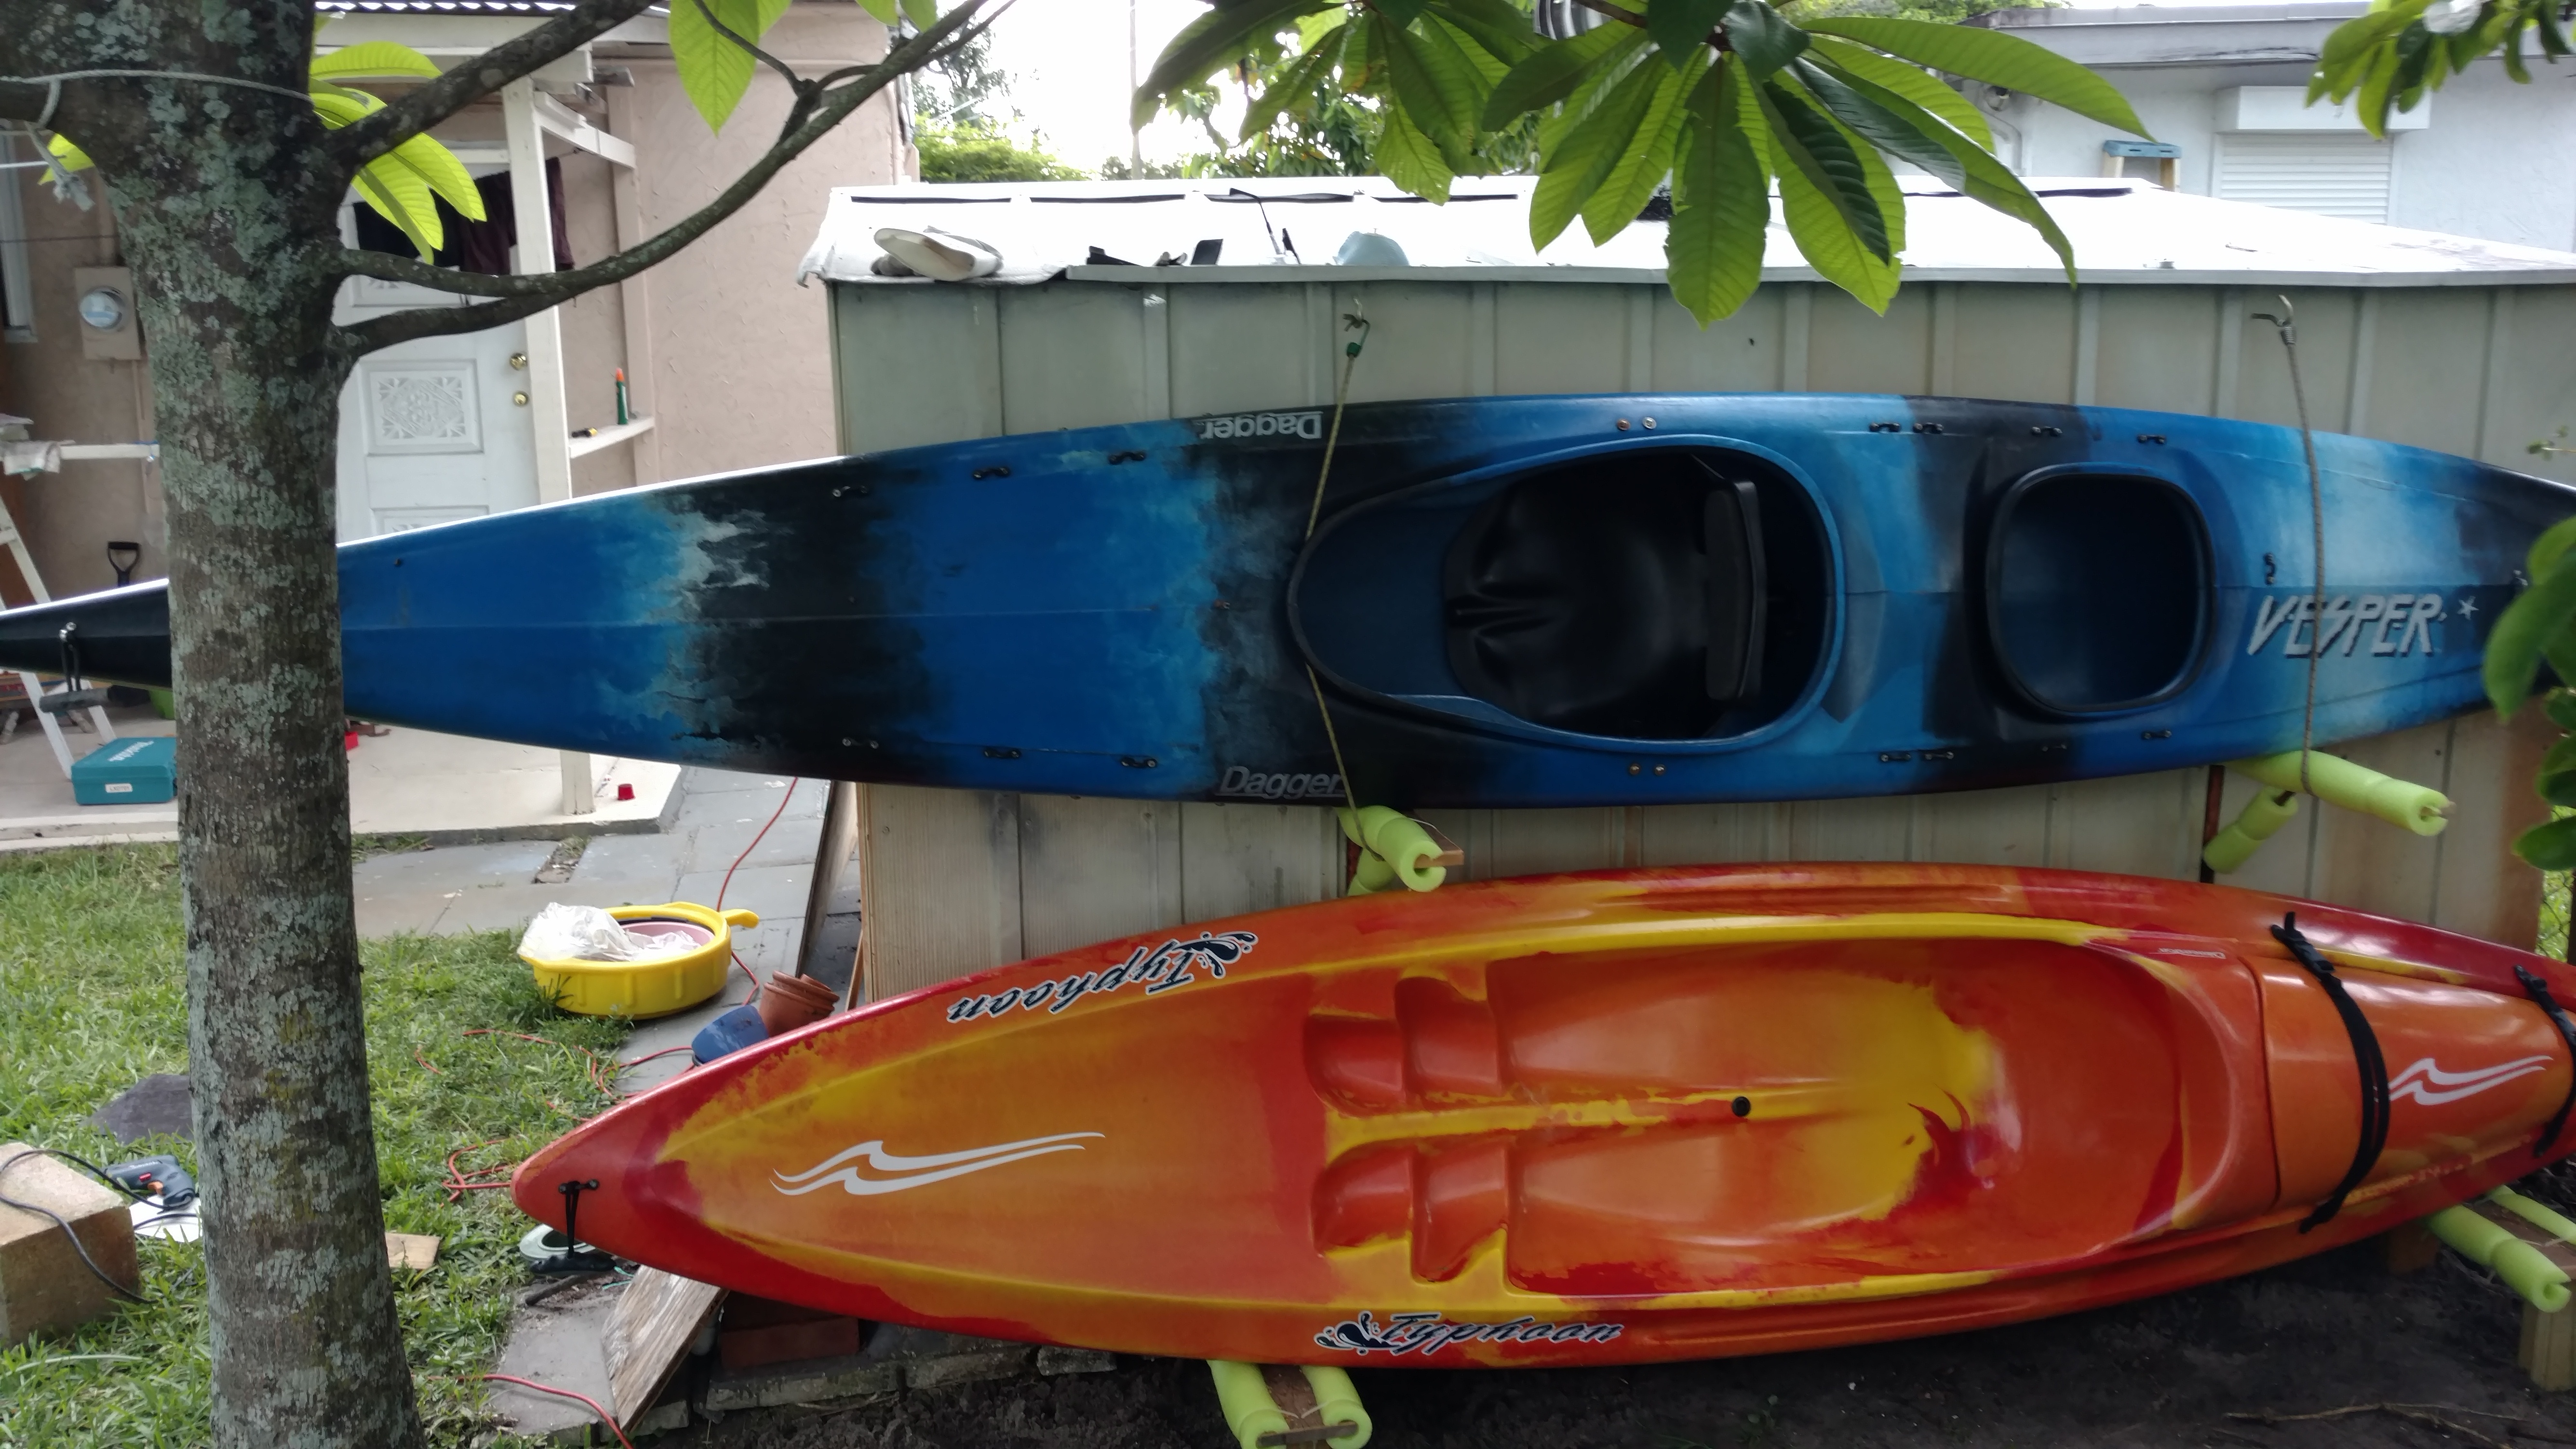
When I got it home, the first order of business was to clean it thoroughly as it had been stored under a tree on sawhorses. The picture above was taken after it was cleaned up. As you can see it is missing its rigging and its hatch cover, however its biggest issue was the oil canning.
Oil Canning, Soo much Oil Canning

A few hours with a heat gun, assorted weights and a small carjack was enough to remove the most of the oil canning.
Repairing the oil canning

Once I made the hatch cover out of blue tarp, tape, and bungee cord it was time to take the yak out on the water!
My first time out on my Dagger Vesper proved to be quite an experience, and not in the way I was hoping. The kayak was stable and sliced through the water, but was extremely difficult to control. At low speeds it veered sharply to the left, at high speeds it liked to “drift” out of control like a racecar taking a sharp turn. Ok, so something else is wrong.
Upon getting it home I realized that the oil canning had reappeared. After much research into HDPE and thermal forming I came to the conclusion that I had not applied sufficient heat for long enough to reform the plastic. So it was time to bust out the heat gun again, but this time I made certain to keep the plastic just below its melting point for 10 minutes. This was done by heating the hull until it began to look glossy and could easily be scratched (about 280F for this boat) and then using a IR thermometer to keep the plastic just below that temperature for 10 minutes.
Popping out the oil canning using lots of weight and a carjack.

My second time out on the water, the Vesper behaved slightly better but still proved difficult to control. After some more research I found out that production of the Vesper was stopped because the molds had become deformed and models produced in its last year (1999) had a tendency to turn sharply to the left…
I though to myself “That sucks, but I can probably fix it with enough time spent with the heat gun, if only I knew what was wrong wrong.”
After some time consulting with the members of this forum I was able to determine the centerline of the boat was off. This presented a problem as I could only heat up a small section of the boat at one time and therefore couldn’t thermoform the entire hull. Thankfully most of the bending seemed to be in the stern/keel area, something that I could thermal form with the use of the heat gun and a heavy weight.
Straightening the keel using a cinderblock and heat.

I knew my repairs were rough and would ameliorate, but not solve the tracking and control problems, so I set about seeing what else could be done. This forum proved to be invaluable in helping me understand the hydrodynamics of kayaks and what could be done to change them. After lots of back in forth on the message boards, I came to the conclusion that the tracking could be improved by adding a weight the stern so that the keel is slightly deeper in the water. It helped but, but the added weight was getting me close the Vespers, weight limit and the sluggish performance that comes with an overloaded kayak.
It was time to remove the weight and add a skeg. I had plastic laying around from unrelated projects and decided to fabricate the skeg myself rather than buy one and wait for it to be shipped.
Fabricating the Skeg: Templates and Sheet Plastic

Fabricating the Skeg: Rounding Edges

The Finished Skeg

The Finished Skeg, Mounted

A cord can be used to pull it out of the water for added maneuverability. It is held in the down position by small elastic bands that apply enough tension to keep the skeg down during normal operation, but allow it to flip up if it hits something underwater. The skeg is slightly bent in order to fully correct the kayaks tendency to turn to the left.
In summery, this project kayak required:
Repairing oil canning
** Straightening the hull**
** Adding a skeg (I fabricated one)**
** Making a hatch cover out of tarp and elastic cord**
** Adding Rigging**
The kayak is everything I though it could be! A fast, straight tracking kayak that can also turn on a dime.
The kayak in the water, handling like a dream

Last, but not least I would like to thank all of the users who provided advice and guidance on restoring this wonderful old kayak.