Seeking feedback on plan to restore a kevlar/fiberglass canoe

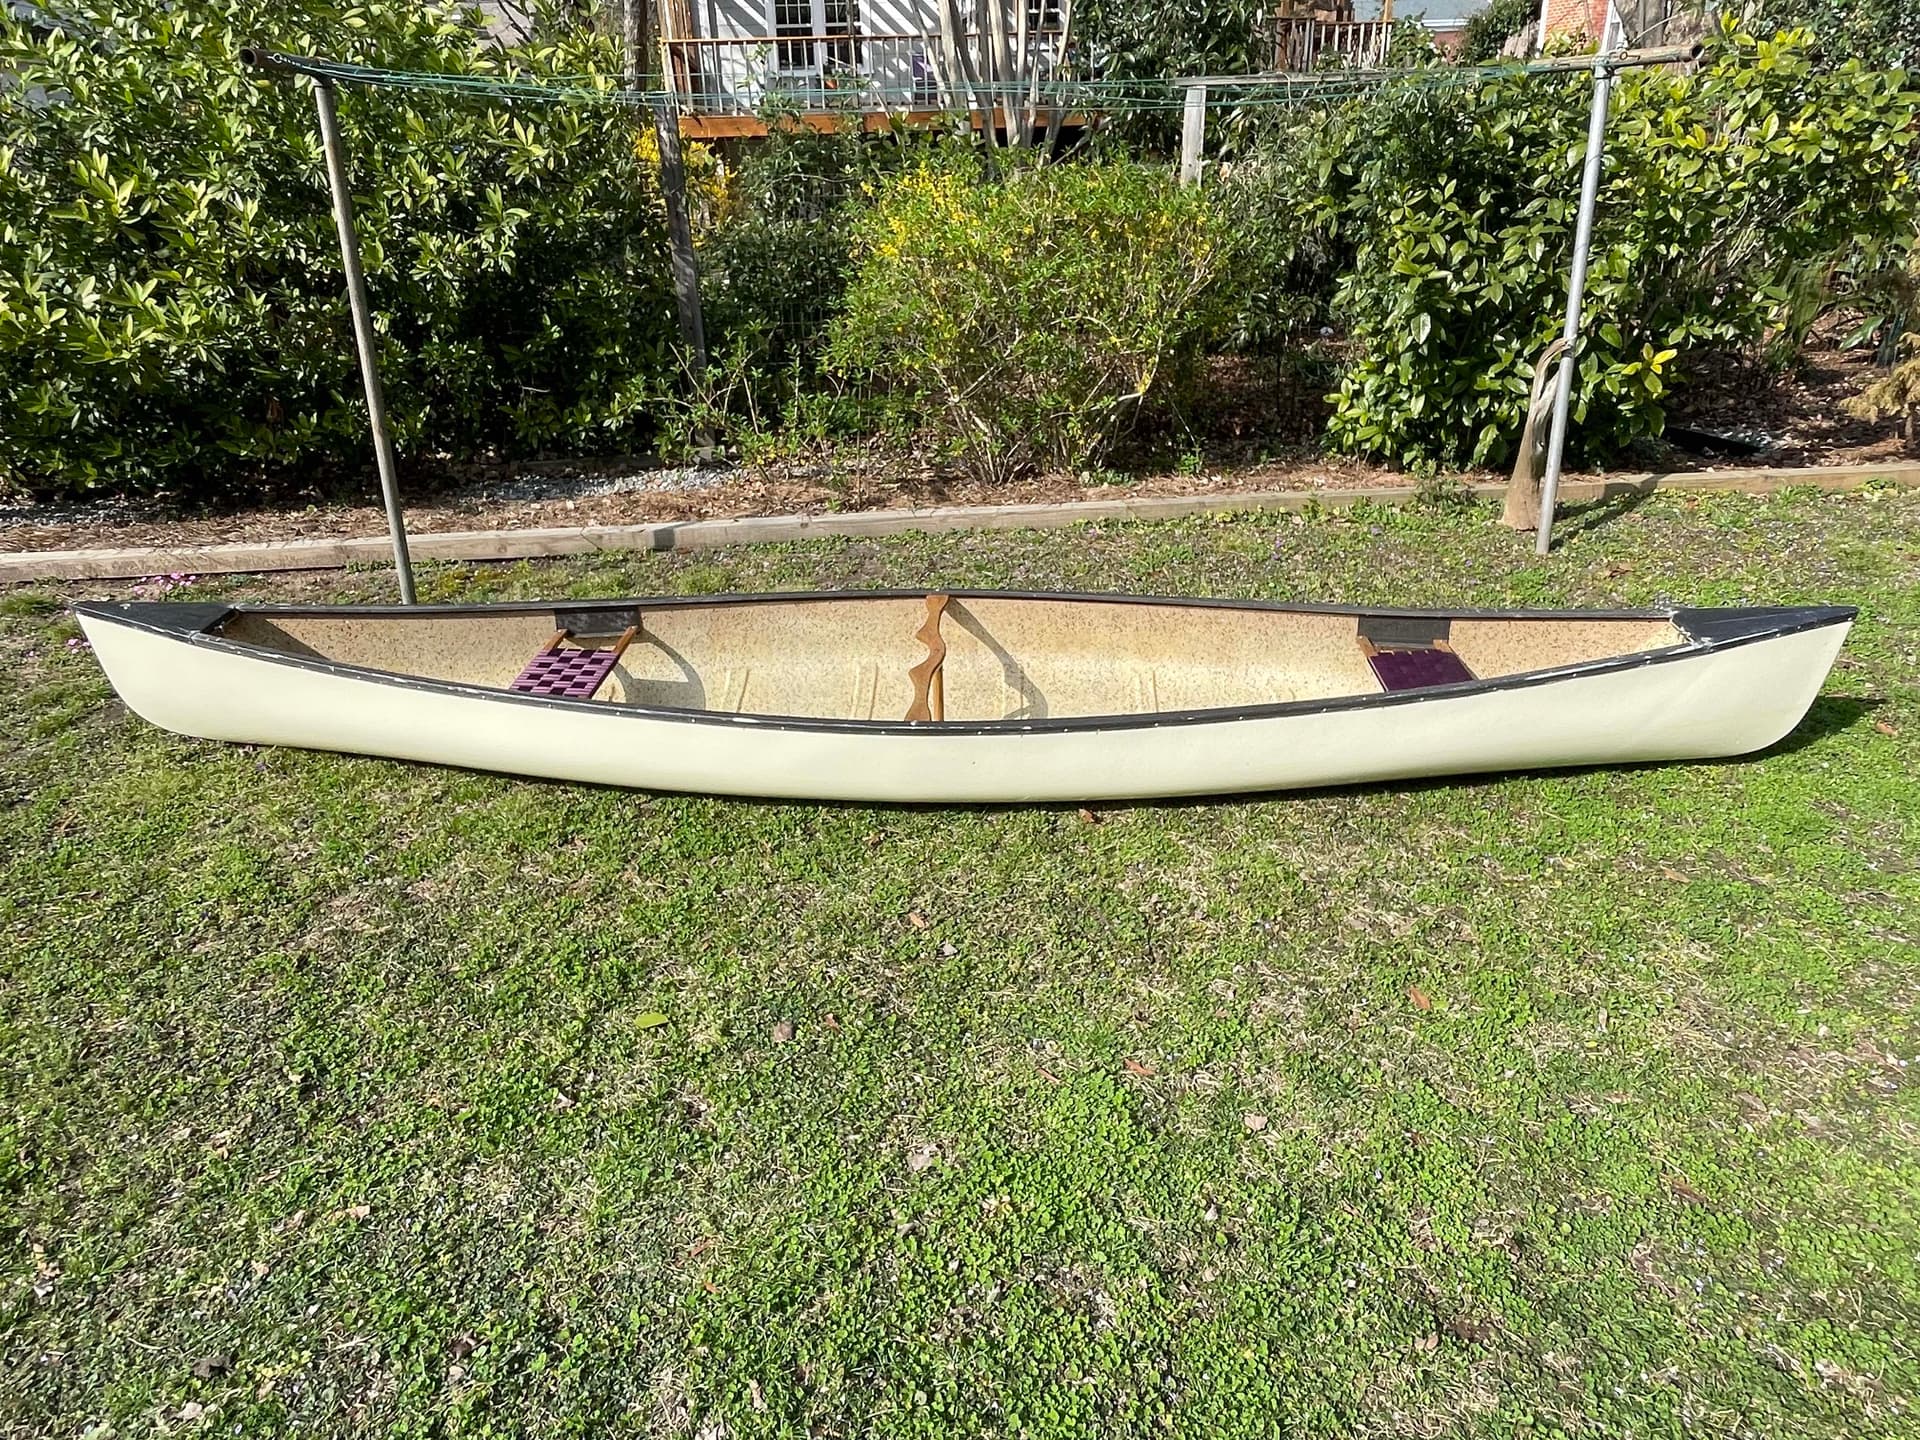
I recently bought a 1989 Mohawk Blazer with a kevlar (+fiberglass?) layup. It has a few issues—I think all should be relatively straightforward fixes, but I’m totally new to composite boat repair. Kudos to all of the helpful posters on this forum—I’ve learned a TON from the generous advice you’ve offered (especially @pblanc & @bnystrom for being so dedicated and clear).

I’ve laid out three problems below, each with a proposed fix that I’ve gathered from reading as many posts as I could find on each issue. I’d be most grateful for anyone who can offer their expert feedback on my proposed fixes. I’m super excited to use this opportunity to learn boat repair.

Problem #1: Pinholes on the freeboard

The bottom of the hull is in good shape structurally—no spongey spots, deep gouges, or previous patches. Above the waterline, the hull construction is thinner. There are several groups of pinholes that run all the way through. All are very small, and I don’t notice any other structural differences from the freeboard with vs. without holes. I suspect that the canoe may have been stored on its side, allowing water to pool in these patches—that would explain both the degradation and why the pinholes are bunched together rather than appearing everywhere along the freeboard.

Proposed Fix: Epoxy thickened with colloidal silica or fiberglass fibers (following Patching Kevlar? - #2 by pblanc). Will this work for pinholes, and any advice on getting it to fill such small voids? Do I need to cover with a full fiberglass patch?

View of freeboard from inside (gunnels is up):


Same patch from outside, showing cracks in gel coat and some exposed fabric (gunnel is down):

Largest hole to be patched on the exterior (~1/4" diameter, no sign of composite cloth but not soft/spongey):

Problem #2: Exterior re-finish

The exterior of the hull is chalky (=UV degraded gel coat, as I understand it) and has bright spots where lichen was growing. I’d like to prevent re-growth and dress up the appearance a bit. I don’t mind a bit of added weight to pull this off.

Proposed fix: Lightly sand the surface, clean, then apply a pre-colored gel coat. Fibreglast has some nice colored polyester gel coats and a styrene/paraffin wax additive for use outside of a mold. I think TotalBoat sells a similar pre-waxed gel coat that other posts have recommended, but only in white/neutral. I’m worried that trying to mix my own colorants will be hard to pull off in a consistent way in the short time before the resin starts to kick. I’d be grateful for advice on:

  • applying gel coat over the thickened epoxy used to repair pinholes (any special prep for these spots?)
  • feedback on Fibreglast colored gel coats or other vendor recommendations
  • surface prep (what sandpaper grit? wet or dry sanding? good cleaning solvents?)
  • the wax layer (leave it? remove it? replace/cover over with 303?)

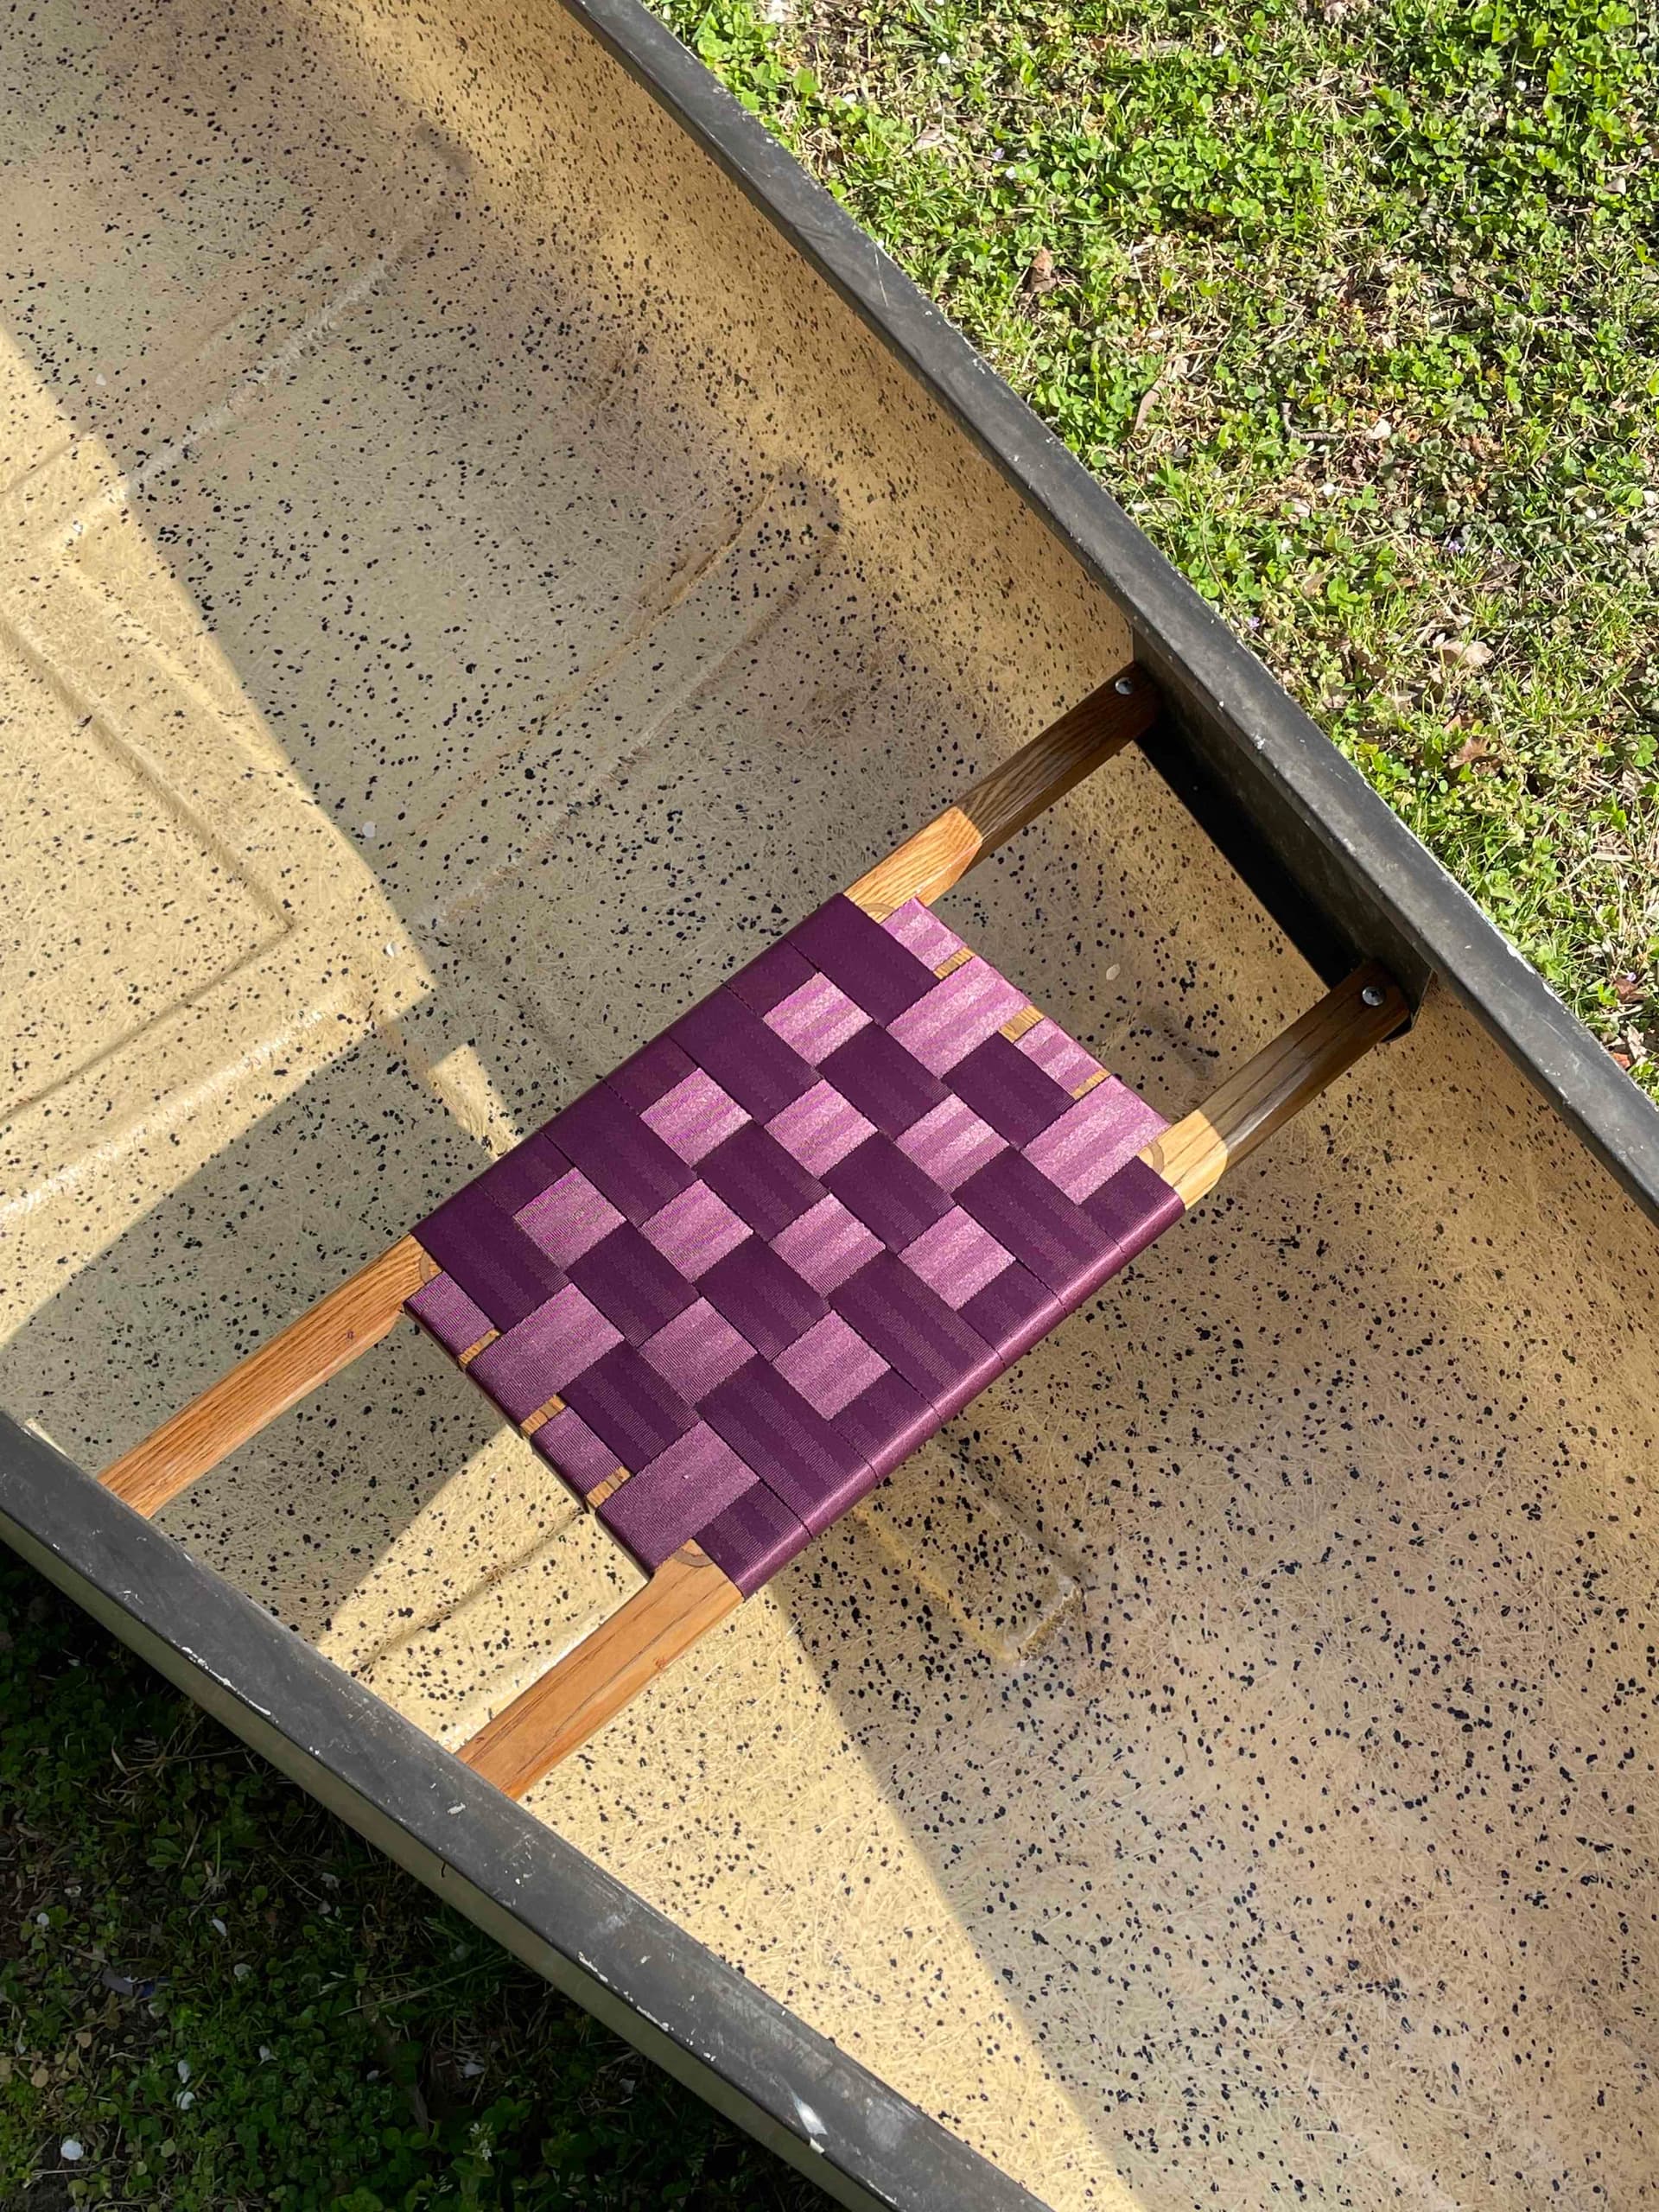
Problem #3: Exposed/fuzzing kevlar cloth on interior

The interior has some sort of sprayed-on fibers along the keel, but not along the freeboard. I suspect that a protective coating was then sprayed over these keel fibers and the freeboard kevlar/resin. The black dots are presumably to help the applicator see where they had already sprayed. I think the protective coating has worn off in places—the spray on fibers are starting to peel in one spot where they taper off along the freeboard, and there are places where I can just barely start to see fuzzing of the kevlar itself.

Proposed fix: Apply a thin coat of West System epoxy. I think this would hold everything down and seal it from water intrusion. My big questions are:

  • Can anyone confirm that the spray fibers didn’t originally cover the freeboard on this boat? If they originally covered the full freeboard, I may need to do more to protect this area.
  • How do you prepare such an unusual surface for epoxy? Sanding seems like a no-go, and how/what to clean it with seems tricky.

I really have not idea what the layup schedule for this canoe might be. I do know that Mohawk sold Blazers marketed as “Kevlar” but I don’t know what type of Kevlar material or where it was used.

Regarding the hull exterior, I suspect you will need to wet sand the hull to remove the chalky oxidation. But first I would give it a good cleaning to see if any of the existing discoloration comes off. If you do need to wet sand it, as I suspect you will, I would probably start with something around 600 or possibly 800 grit and work down in stages to 1500 to 2000 grit. You could use a gel coat repair putty to fill in the area where the gel coat is chipped away. Or you could fill in the depressed area with thickened epoxy, sand it fair and flush, and paint it to match as closely as possible the adjacent hull. I think you will find that attempting to re-gel coat the entire hull is more time, trouble, and expense than the boat is worth. After wet sanding if you are not satisfied with the appearance you could try applying a glaze such as 3M Finesse-it II and buffing with an automotive buffer, or you could hand apply a more aggressive automotive polishing or rubbing compound, then buffing.

As for the material on the interior it looks to me like chopped strand fiberglass mat, not something sprayed on. Some of the fibers may be delaminating from whatever resin was used to build the boat. I suspect it was used only on the hull bottom to add thickness, and therefore stiffness. You can sand this as need be and apply epoxy to try to bond it back down. I would seal the interior of the boat using unthickened epoxy. That should seal any pin holes. You may need to back up any actual through and through holes by applying clear tape to the exterior of the hull to prevent epoxy leaking out onto the hull interior.

Yes, re-gelcoating the entire hull is possible but best done with a sprayer (and the necessary expertise). As @pblanc said, start by thoroughly washing the hull, and then give it a good buffing with some rubbing compound followed by waxing. If after that you aren’t satisfied with the results, fill any necessary repairs, sand smooth and paint with a good quality marine paint. The quality of the results will be directly proportional to the quality of your preparation, but very high finish levels can be achieved this way with much less skill and investment of equipment.

Surprised to see both cloth layup and chopped spray on the same hull. Is that common? Seems like if a mfg spends the big bucks laying up cloth by hand to get a lightweight hull, they would add another layer of cloth instead of spoiling the weight with chopped. Any chance it was reinforced by the owner?

I’m no expert but if you are going to wax it, it’s critical to remove all the wax before covering with paint or gel coat.

1 Like

Good point. Wax or oil will interfere with the cure of polyester gel coat or epoxy and prevent a good bond and cure with many paints. I usually wash the hull pretty thoroughly with hot water with Dawn dish washing liquid added which is a good degreaser and rinse very well. There are also commercial products designed specifically to remove wax and oil.

Thank you all, this is enormously helpful! You’ve talked me out of gel coat, and the interior approach makes sense. I think @pblanc is right about sanding. I’ve cleaned already with dish soap and some baking soda as a mild abrasive.

Is it better to do the interior vs. exterior first? Naively, I’m thinking epoxy the interior using @pblanc’s tape suggestion. My hope is that any bleed through of the resin both fully fills the pinholes, stabilizes the exterior cracking around them, and will sand down evenly when the exterior is done next. But maybe it’s best to sand and fill from the exterior first? The rationale here would be that any part of the gel coat that would chip under sanding ought to be fully patched with gel coat repair putty. I guess this comes down whether small holes are better patched with gel coat putty vs. epoxy resin.

@Brodie, can you recommend a marine paint? I’m thinking of going for maroon if the clean/sand approach doesn’t pull the hull stains. Something I can roll on myself is much preferred, but I do live next to a bunch of auto paint shops if spraying would make a big difference. Might also be able to find a regular boat shop if that also would make a difference.

Re: layup (@pblanc & @Kevburg): Yeah it’s a weird one. I can’t find much information out there. The cloth fibers I can see have the characteristic golden color of kevlar (see last image in original post) and there’s an OEM sticker on the bow that reads “Kevlar 49”. I don’t think an owner sprayed the chop—the few, disappointingly low-res images I can find of similar “kevlar” Blazers look very much like mine:
fKevlar_49_Mohawk_Blazer_16_canoe__850_Mi_6089bc1581479
image from: https://www.shoppok.com/catskills/Kevlar-49-Mohawk-Blazer-16----canoe----850--Middletown--NY-,29,142651,image_large.htm

I’m not sure it makes a great deal of difference but I would probably work on the interior first as it could possibly affect the state of the hull exterior.

The strand like material is almost certainly chopped strand fiberglass mat (see photo below). This is a relatively inexpensive material that is used to build thickness (thickness = stiffness) relatively quickly but it is usually covered with at least one additional lamination of fabric. It is laid on like other fabrics, not sprayed on. I haven’t seen it exposed like this before, especially on a boat that calls itself “Kevlar”. Note that there is no rule about just how much Kevlar material a canoe had to incorporate to qualify for a Kevlar label.

As for paints I have had pretty good results with a one-part marine polyurethane such as Interlux Brightsides and with Pettit Easy-Poxy which adds some silicone to give it a gel coat-like sheen. A two part marine polyurethane would probably be a bit tougher still. These paints are easily applied using a foam roller to apply the paint and a small disposable foam brush to “tip off”.

https://www.jamestowndistributors.com/product/product-detail/2067

1 Like

Curious. I knew going in that this was not a fancy pure-Kevlar layup. It was a matter of right price, right size, good all-rounder hull design for my intended uses, and light enough for me to get it on and off the car roof myself.

I’ll move ahead with the interior first. West System with the 207 special clear hardener ought to do the trick. Thanks @pblanc for the paint suggestions. I’ve seen your advice on how color choice affects the appearance longevity of the finish (white can conceal the inevitable bumps and rubs a bit better). I’ll think on that.

I’m really glad this community exists, and I’m grateful for everyone’s generosity in sharing their knowledge.

I think that hull is from a time before the advent of such things a Nidacore. That can be seen as a bottom strengthening materiel on quite a few newer boats. The chopper glass was for that same purpose.

I second a vote for Interlux Brightsides as a a finish coat. Do nor apply it indoors, because it stinks for about a week.

Clean the boat, sand it and use thickened epoxy to level things out, then paint it. Inside and out. That will protect the epoxy from UV damage and give a second layer of water protection to the hull.

I would start on the exterior to protect the interior.
Repairing old gelcoat is not worth the trouble.
Marine epoxy can fix all or nearly all of your issues.
I think fine sanding is 220 grit. You want some tooth for the epoxy and paint to adhere to.
I paint old canoes and it makes them look like new.

Sure, if you are going to paint the surface there is no need to use anything finer than 220 grit. If you are trying to restore the appearance of oxidized gel coat you need to go down to at least 1500 grit to get rid of the sanding marks.

So, no primer needed for these one-part polyurethane paints—I can just go straight to paint after everything is patched and sanded with 220 grit?

Thanks @CraigF for the info on the layup materials, and @ppine for sharing your painting experience!

1 Like

Wash the hull down with acetone and you won’t need to prime it.

2 Likes

Blow off the sanding dust and clean the boat with a damp sponge and you don’t have to prime it.

Well, you need to wash the boat thoroughly to eliminate all sanding dust. I will usually give the boat a wipe down with denatured alcohol prior to painting.

You will be best off painting it with a white or off white paint such as Interlux Brightside white, off-white, or Hatteras off-white which will provide the easiest coverage of your off-white hull. Also scratches that go through the paint and/or gel coat of a composite canoe tend to be white and will show up a lot less than the do on a dark-colored hull.

You will need to apply at least two coats of paint. Allow the paint to cure at least a couple of days before removing any masking tape.

1 Like

Or use whatever you have on hand.
I don’t use masking tape.
White is a great color for canoes. My 1951 OT Guide 18 has been white for 30 years. Now the canvas is off of it. White shows up at long distances.
I have used epoxy paint, oil based enamel, marine paint, rattle can spray paint and latex house paint. All work fine. Paint canoes any color you want.

Totally outside of my expertise and I’ve not used it, but a lot of people on this site have recommended Captain Tolley’s for fine cracks and such. Might this be a good pretreatment to fix the pinholes before further refinishing? This assumes the pinholes are no more than 1mm in diameter.

1 Like

For fine cracks and pinholes you can just use a thin layer of epoxy and some sanding. A couple of coats of paint will do the same thing.

I finally got enough warm weekends to finish the bulk of the work (still going to touch up the gunnels and decks). I’m very pleased with how it turned out, and couldn’t have done it this well without all the great advice on this thread.

In case it’s useful for anyone in the future, I did the following:

  • Sanded down the hull 80 → 120 → 220 grit. This took off the stains well. I was worried the sanding taking chips out of the hull around the pinholes, but this didn’t end up being an issue.
  • Filled the larger holes and the denser pinholes in the exterior hull with Pettit EZ-Tex. As a complete novice, I found it surprisingly easy to work with. The color dried much brighter than the sanded white gel coat.
  • Painted exterior with Pettit EZ-Poxy (Hatteras Cream). I misjudged the weather on the first coat—too close to the dew point—and had some pocking. A light sanding and second coat under better conditions did the trick.
  • Rolled a layer of West System w/ 207 hardener onto the exposed cloth and chopped fiberglass mat. This worked beautifully, sealing down the fibers and strands that were frying.
  • Sanded down, stained, and varnished the wood.
  • Re-webbed the broken cane seats with 1.5" polyester seatbelt webbing from Strapworks (in burgundy) and tacked in place with stainless steel 1/4" staples. They’re very comfortable. I filled the spline grooves with a mix of sawdust and Titebond III.
4 Likes

Looks great. I have not used Pettit EZ-Tex epoxy but I am glad to hear about it. Does it cure clear or off color?

I have used Pettit EZ-Poxy paint on a number of canoes now and I have been very pleased with the results.

Polyester webbing is definitely the best material to use when webbing old wood-frame seats as it does not stretch as much when wet as nylon does, is relatively UV resistant, and usually has a softer texture than polypropylene. The 1 1/2" width usually works out best.

1 Like