Hey everyone, new user here. Just had a quick question regarding patching a potential small crack in the hole of my kayak.
Can I use any kind of epoxy to patch this small crack up or is there something special?
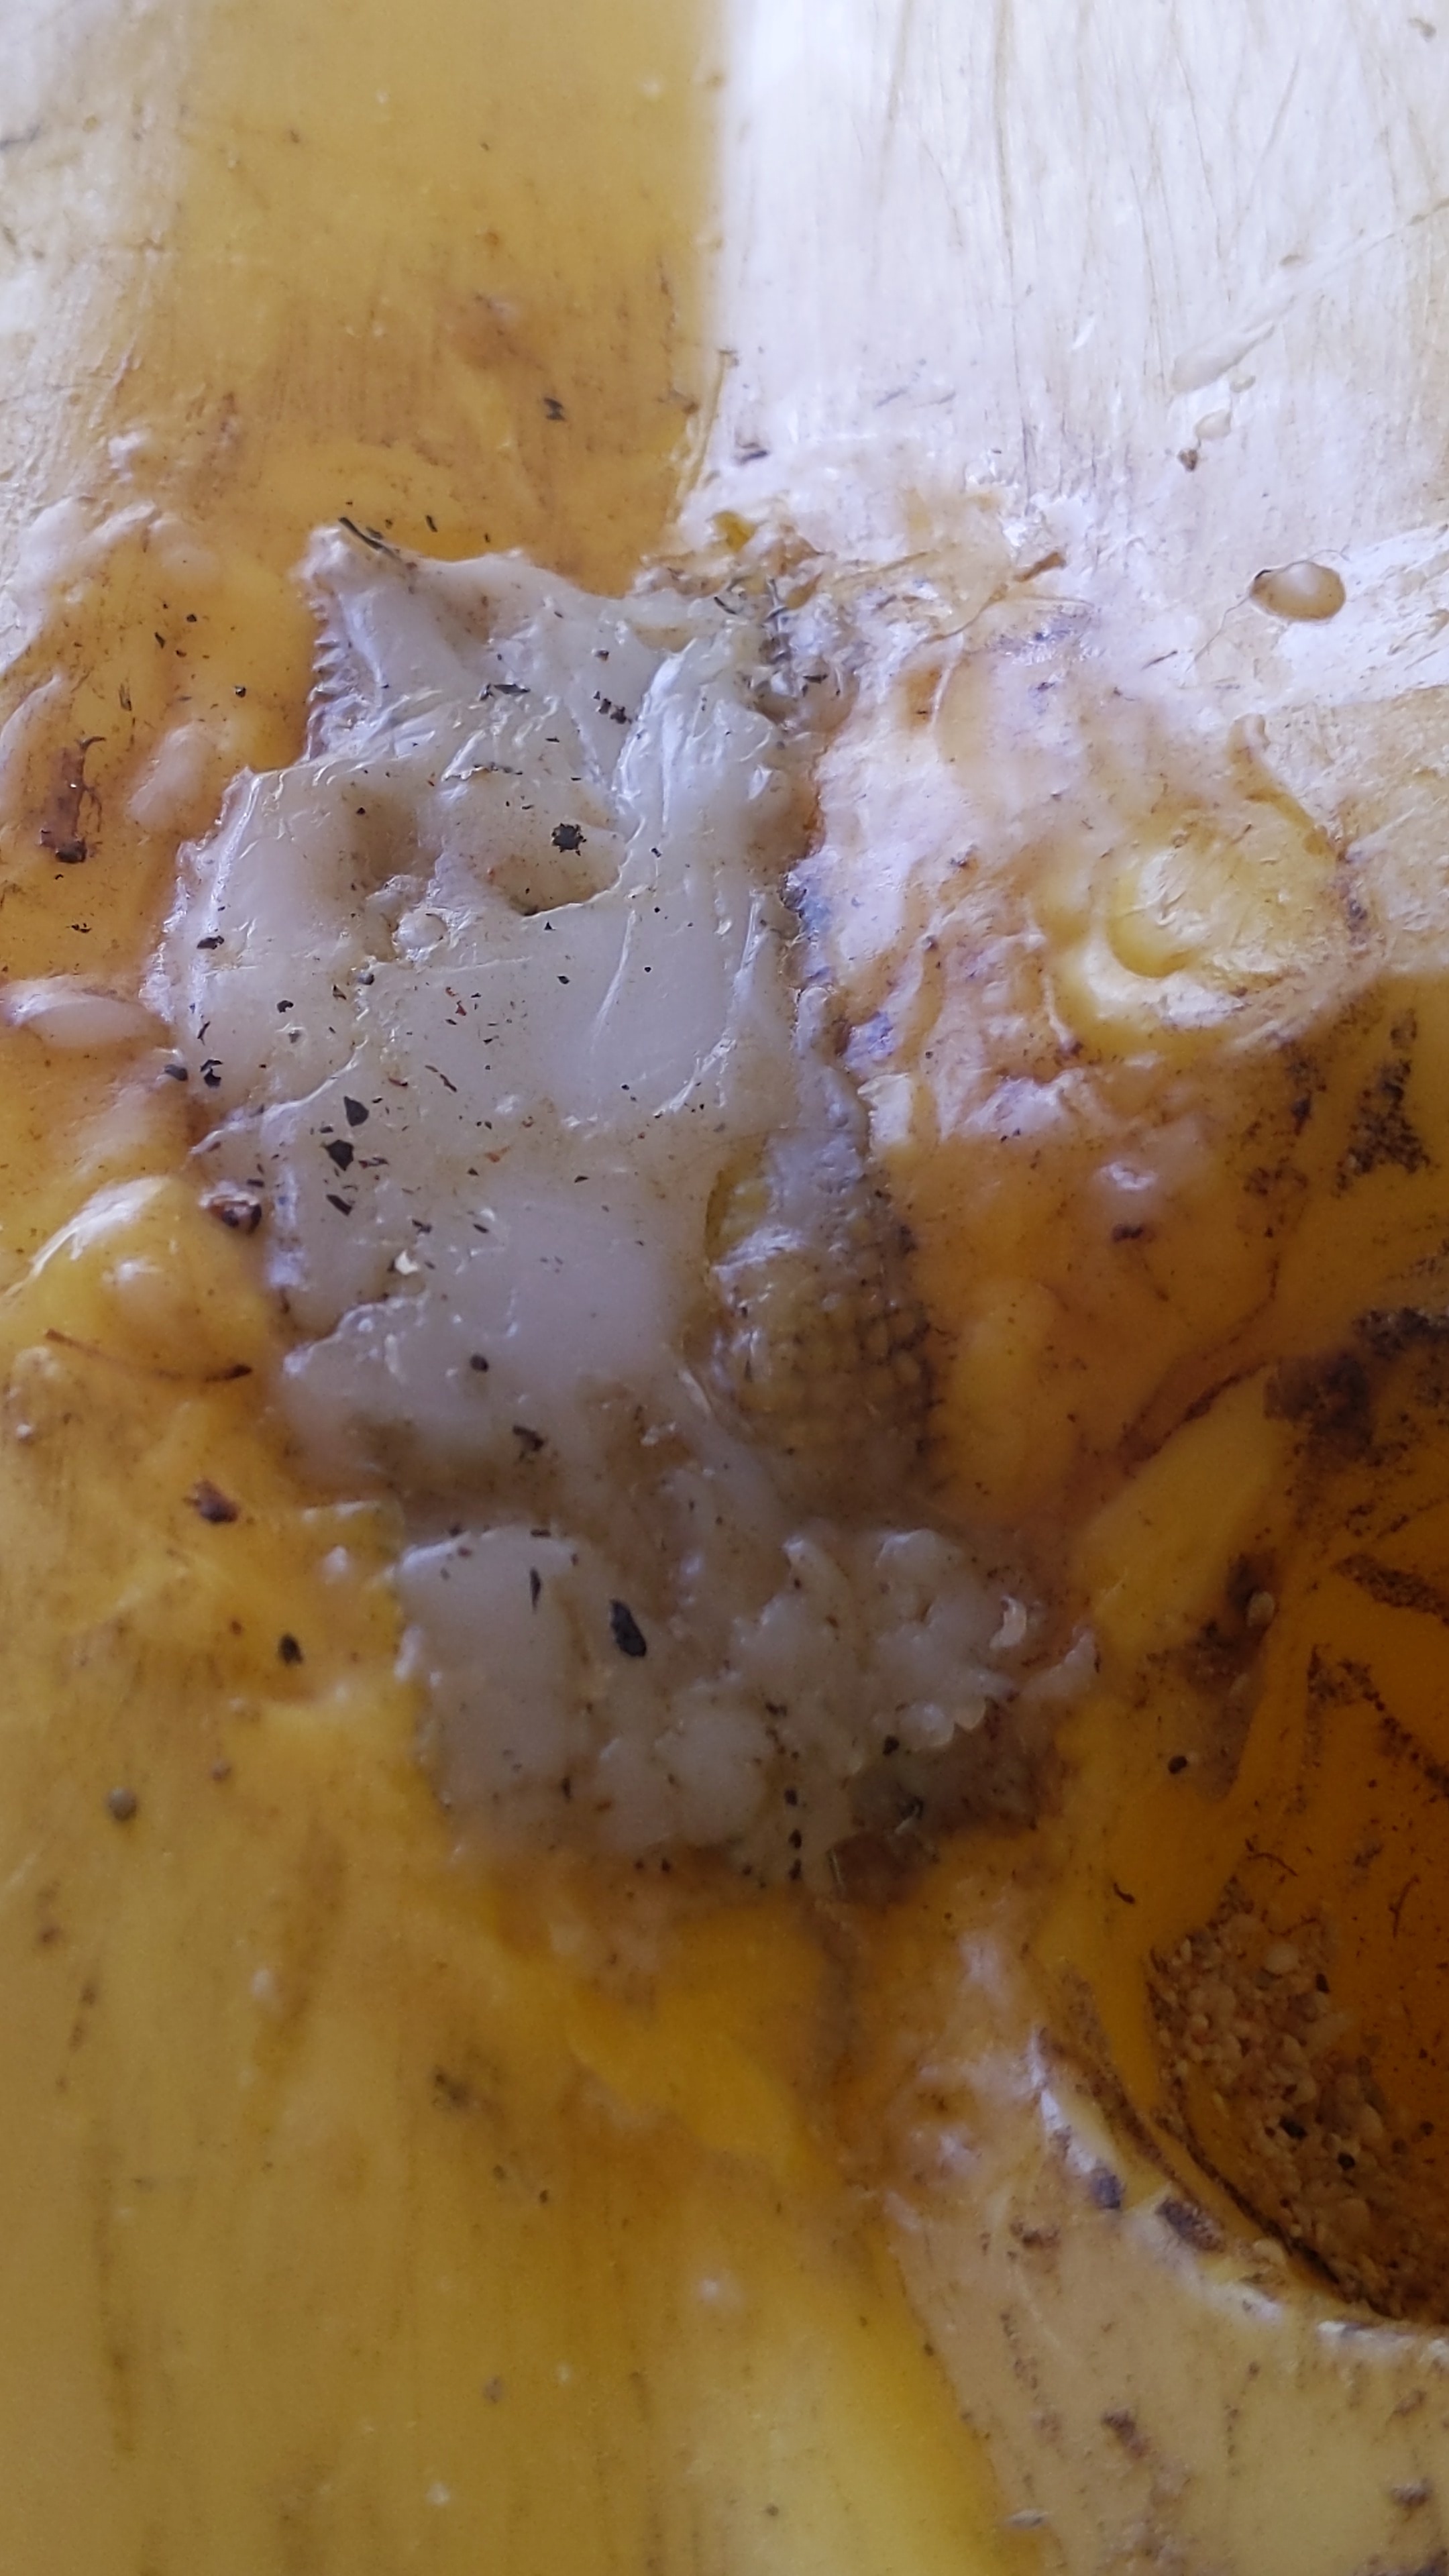
The previous owner said that they didn’t think it went to the other side but they did patch it with some kind of material that has since hardened and flaked off.
Is that an older kayak? These days most polyethylene boats, assuming that is what it is, are molded from high density linear polyethylene which can be thermal welded. In prior years some were made of cross-linked polyethylene which thermally welds poorly or not at all.
You can use G Flex epoxy to repair cracks in polyethylene boats. You must first prep the surface very well and flame oxidize it by passing the flame of a hand-held propane torch over it.
You are first going to need to get all that crap (patch material and resin residue) off to expose the crack. Sand off any resin residue that remains adherent to the hull. Read the directions that come with the G Flex very carefully. West Systems sells what they call an “Aluminum Boat Repair Kit” designated 650-K and despite the title, that is what you want. It contains 4 ounces of unthickened G Flex resin (what you want for bonding fabric) and 4 ounces of hardener which should be plenty. In addition you will get some mixing cups, plastic stir stick/application spatulas, a couple of “dental syringes” with drawn out tips (which can be useful for filling cracks), a couple of pairs of disposable gloves, and a small container of colloidal silica powder.
In addition you will need some denatured alcohol, some 150 grit sandpaper, and a hand-held propane torch. A rotary tool like a Dremel would also come in handy although not absolutely necessary.
Gutter out the crack over its full length so that it looks like a trench with walls that meet the surface at a 45 degree angle. This will make the crack look worse but will increase the bonding surface for your epoxy and will also help to insure that the crack is filled with epoxy to its full depth. A Dremel with an appropriate bit is useful for this but you can manage with a triangular cabinet scraper, a narrow wood chisel, or an old “church key” can opener with a sharpened tip.
You must pretreat the crack by passing the inner blue cone of your propane torch quickly over the surface. The instructions that come with the G Flex describe in detail how to do this. Fill in the crack with G Flex that is moderately thickened with the colloidal silica powder. It may be necessary to make a second small application to completely fill the crack. Once the epoxy has cured sand off any excess so that the surface of the filled crack is fair and flush with the adjacent hull.
At that point I would apply a fiberglass patch( 6 ounce/square yard plain weave fabric) that extends at least an inch (two would be better) beyond the edges of the filled crack in all directions. Mask off the area to be covered and sand to roughen the surface a bit with 150 grit paper. Clean the surface thoroughly with denatured EtOH and allow to completely evaporate. You must once again flame oxidize the surface as the oxidation effect is only temporary. Apply a thin coat of unthickened G Flex to the area the patch will cover and gently lay on your patch. Then wet the patch out with unthickened G Flex starting at the center and working out to the edges. Apply the epoxy gently especially at the edges to minimize distortion of the patch and fraying of the edges.
After patching let the epoxy cure fully then wash the surface with soapy water and rinse well. I would then cover your work with paint or a marine varnish with a UV blocker to prevent UV degradation of the epoxy over time.
Sand off all the old patching material.
If you can, see what was used to make the kayak. They don’t all use Epoxy.
Assuming it’s epoxy, I’d get a good marine epoxy from either System 3 or West System.
You’ll need protective equipment, a squeegee, mixing container with graduated markings, a tongue depressor or popsicle stick, and glass.
I use the double mix method. Measure everything in one container and mix it. Then scrape it into another container and mix it again.
Watch a video on wetting out the glass.
First drill a small hole at Both ends of the crack to stop it from getting worse. JB weld has a marine epoxy (I’ve used it on a fiberglass canoe) that bonds to multiple surfaces. When dry its rated up to 1300 psi and can be drilled and tapped if necessary. I believe I paid $7 for it. Works great.
Mac55
Lots of products that bond well to resin/composite fiberglass boats will not reliably bond to thermoplastic polyolefins like polyethylene and polypropylene.
According to this, JB Marine Weld: " It does not bond to Teflon, polyethylene, polypropylene, nylon, or Mylar. It bonds poorly to polyvinyl chloride, acrylic and polycarbonate plastics ."
This was the best I could do. Used a torch and a triangle shaped soldering iron.
I first cleaned out the crack, then dripped the melted PE into the crack let it cool then put on metal screen that came with it, and then melted plastic on top of that.
I heated both with a torch. I dripped liquid plastic into the crack but also was heating the crack with the torch. After it cooled I then put a second patch on it and heated it multiple times.