I have a Seaward Chinook touring kayak - about 18’ long and 24” wide. Just bought the Thule hullavator for solo loading and thinking it will work out BUT the weird humpy-bottomed cradles on the hullavator are dimpling the bottom of the kayak, which is quite flat and seemingly quite flexy. It is not strapped too tightly - it is the weight of the boat sitting on those bumps causing the dents. When I lift the kayak, the dents go away but it doesn’t feel right driving around with them like that. Has anyone run into this? Is it a worry? Possible work-arounds? It is hard to see in the pics. Thx!!

Not something l worry about, or the black marks. But if it bothers you, people have used minicell foam or similar to pad them more flat.
Carried boats on those for four years with no appreciable damage. This year I had some mini cell foam left from seats and thigh braces and contact cemented it to the racks.

I also find that to be a lousy part of the design. What I do is move the cradles closer together so that my kayak is held up higher by the sides of the kayak against the cradles, instead of being held against those 2 points underneath.
I would add some more padding. Repeatedly flexing gelcoat is not a great thing, especially with a light layup.
Yes it’s a terrible design and with wind stress and vibration it will damage your kayak.
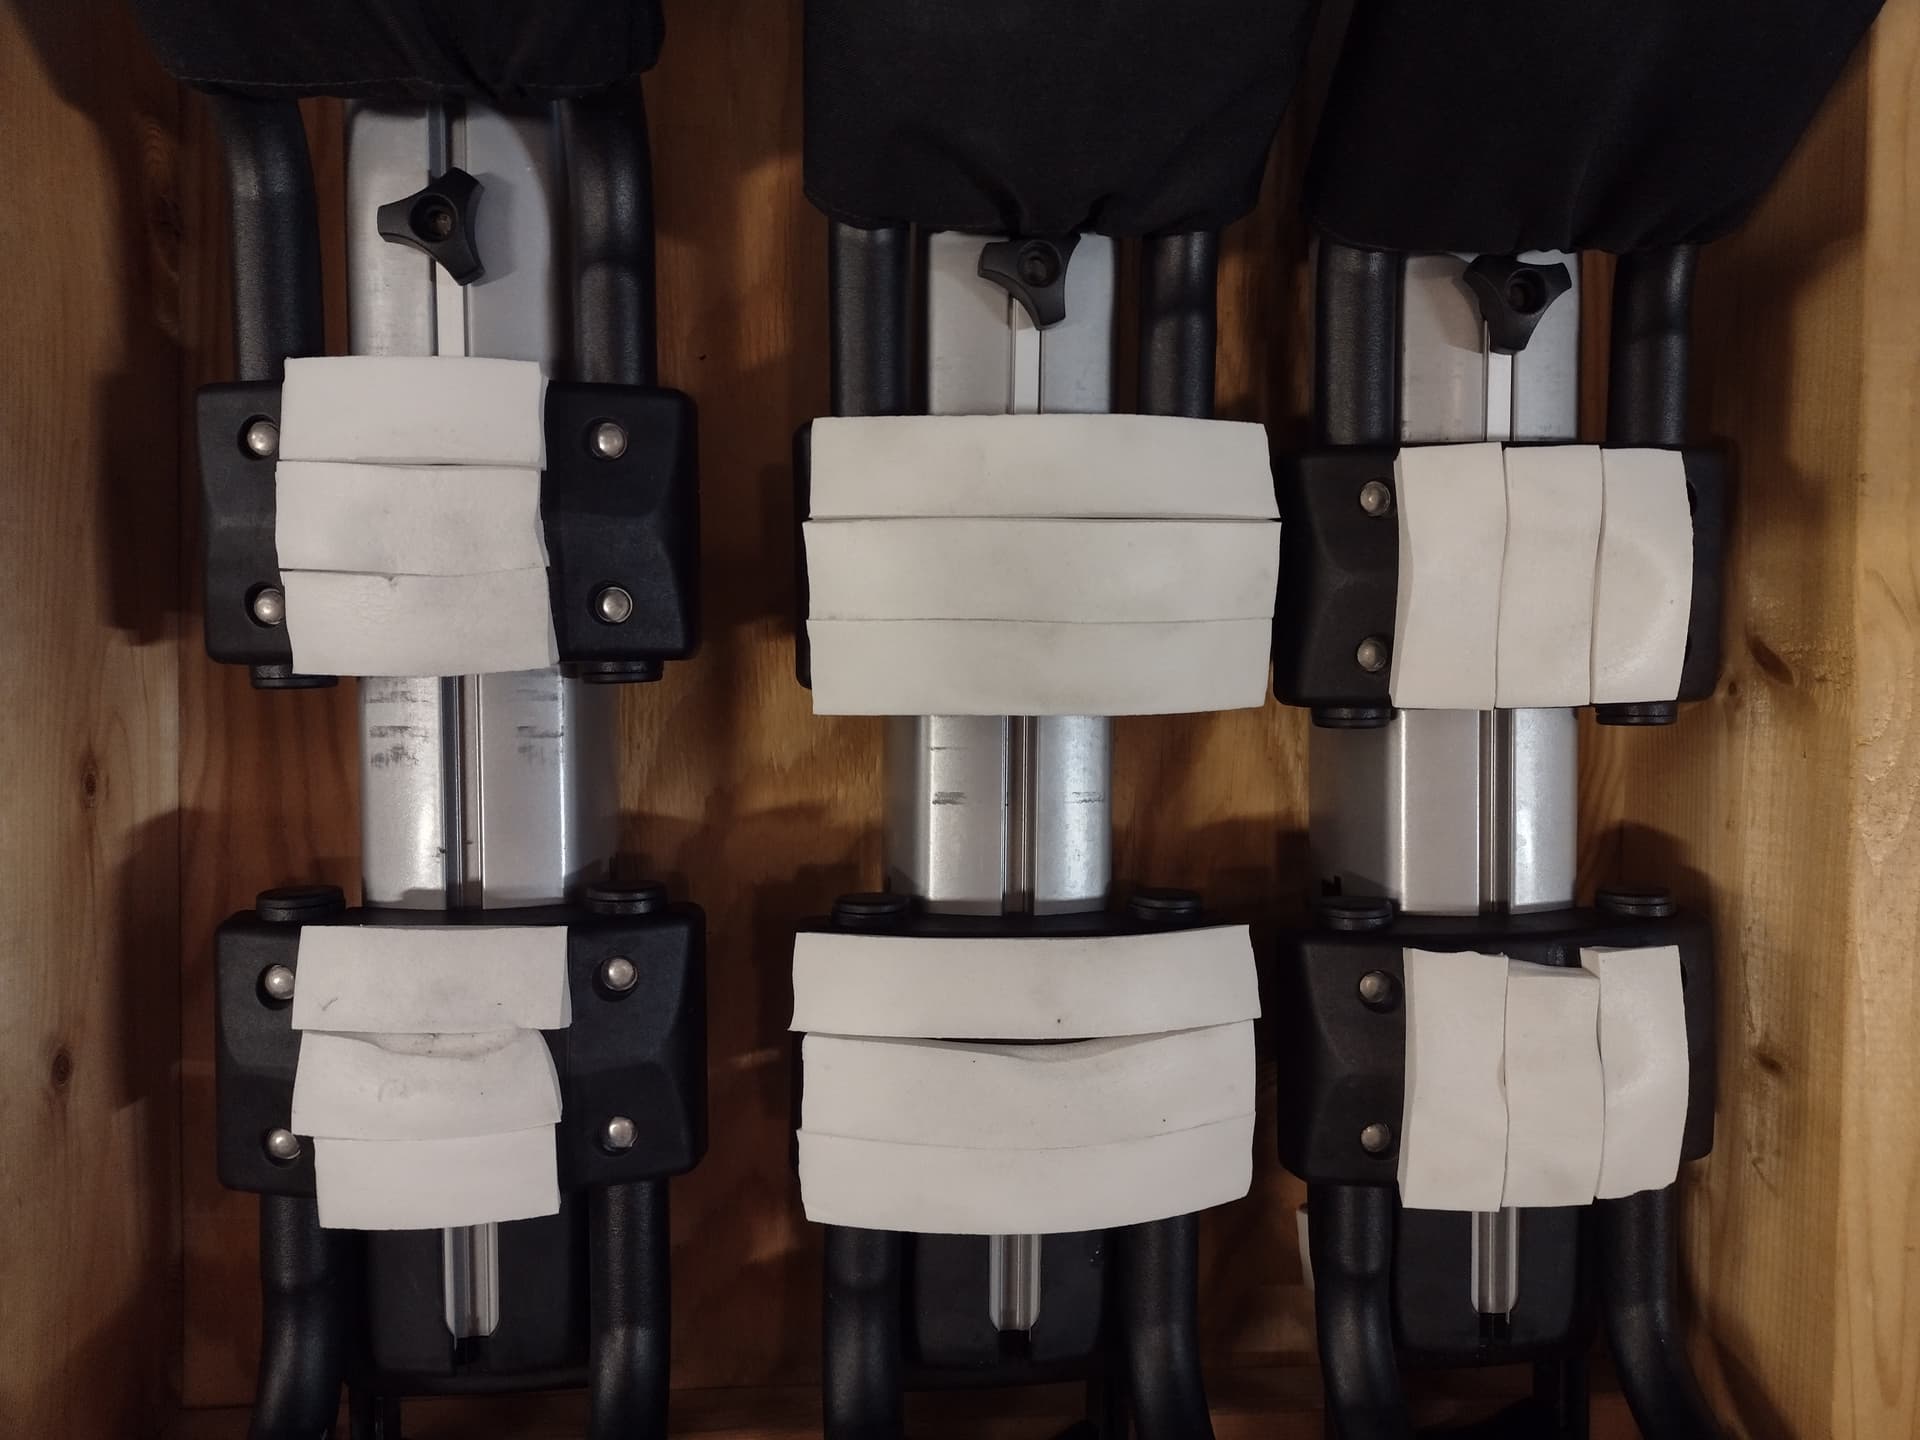
I intervened early and made Oak boards padding on them. I used a yoga mat that I purchased for 14 to cut up to make the padding
![]()
![]() I wouldn’t like that.
I wouldn’t like that.
Just had the same thing happen on a 14 day camping trip. We day paddled for 12 days. Got home and noticed dimples. We had added cushioning in the past. The padding got squished but now has sprung back up. It’s been 3 full days since we are back and the dimples are not going away. I wish these Thule pads were flat and not pointed. These are Stellar Touring Sea Kayaks with the lightweight honeycomb type material.
1 Like
Recycling this old thread because my OCD is flaring up! I have a Hullavator. I’ve read just about every post on this topic and a common suggestion is to slide the two cradles together to get the boat more on the cradles and less on the base AND to add mini cell foam to those little humps.
I’ve had the rack for well over a year now and can’t seem to get the positioning right. Boat always ends up on those (padded) plastic humps. Even the instruction manual shows the hull sitting on those humps.
It seems to me the only way to get the cradles “just right” is to hop up on the roof and adjust them with the boat in the cradles, on the roof. I’m also suspicious that the cradles drift from road vibration no matter how tight you make them. I’ve had the boat cradled by the padding in the driveway, and sitting on the humps when I arrive at my destination.
On a side note, I saw on a SKUK Facebook page a guy modified the rack to take Malone J Cradles. I bet the thing wasn’t designed to carry the load of two boats, which is the only reason I could see for wanting to carry the boat on edge like that.
I’ve been experimenting w/ the same thing. So far my best attempt at adjusting the cradles is to do it while the assembly is down on the side of the vehicle. I run a couple straps, loosely, over the top of the boats and can tip them away from the cradle while I adjust. Then if they sit right w/ it back on top of the vehicle I started marking where the adjustable cradle is so that I know if it slips.
Our yaks have to live on top of the rig for weeks, or sometimes months, so I have a real desire to work this out.
FWIW I’ve carried boats in my Hullavator since 2017 with not a single issue to the Thermoform or Kevlar hulls. The plastic pads are covered with padding.
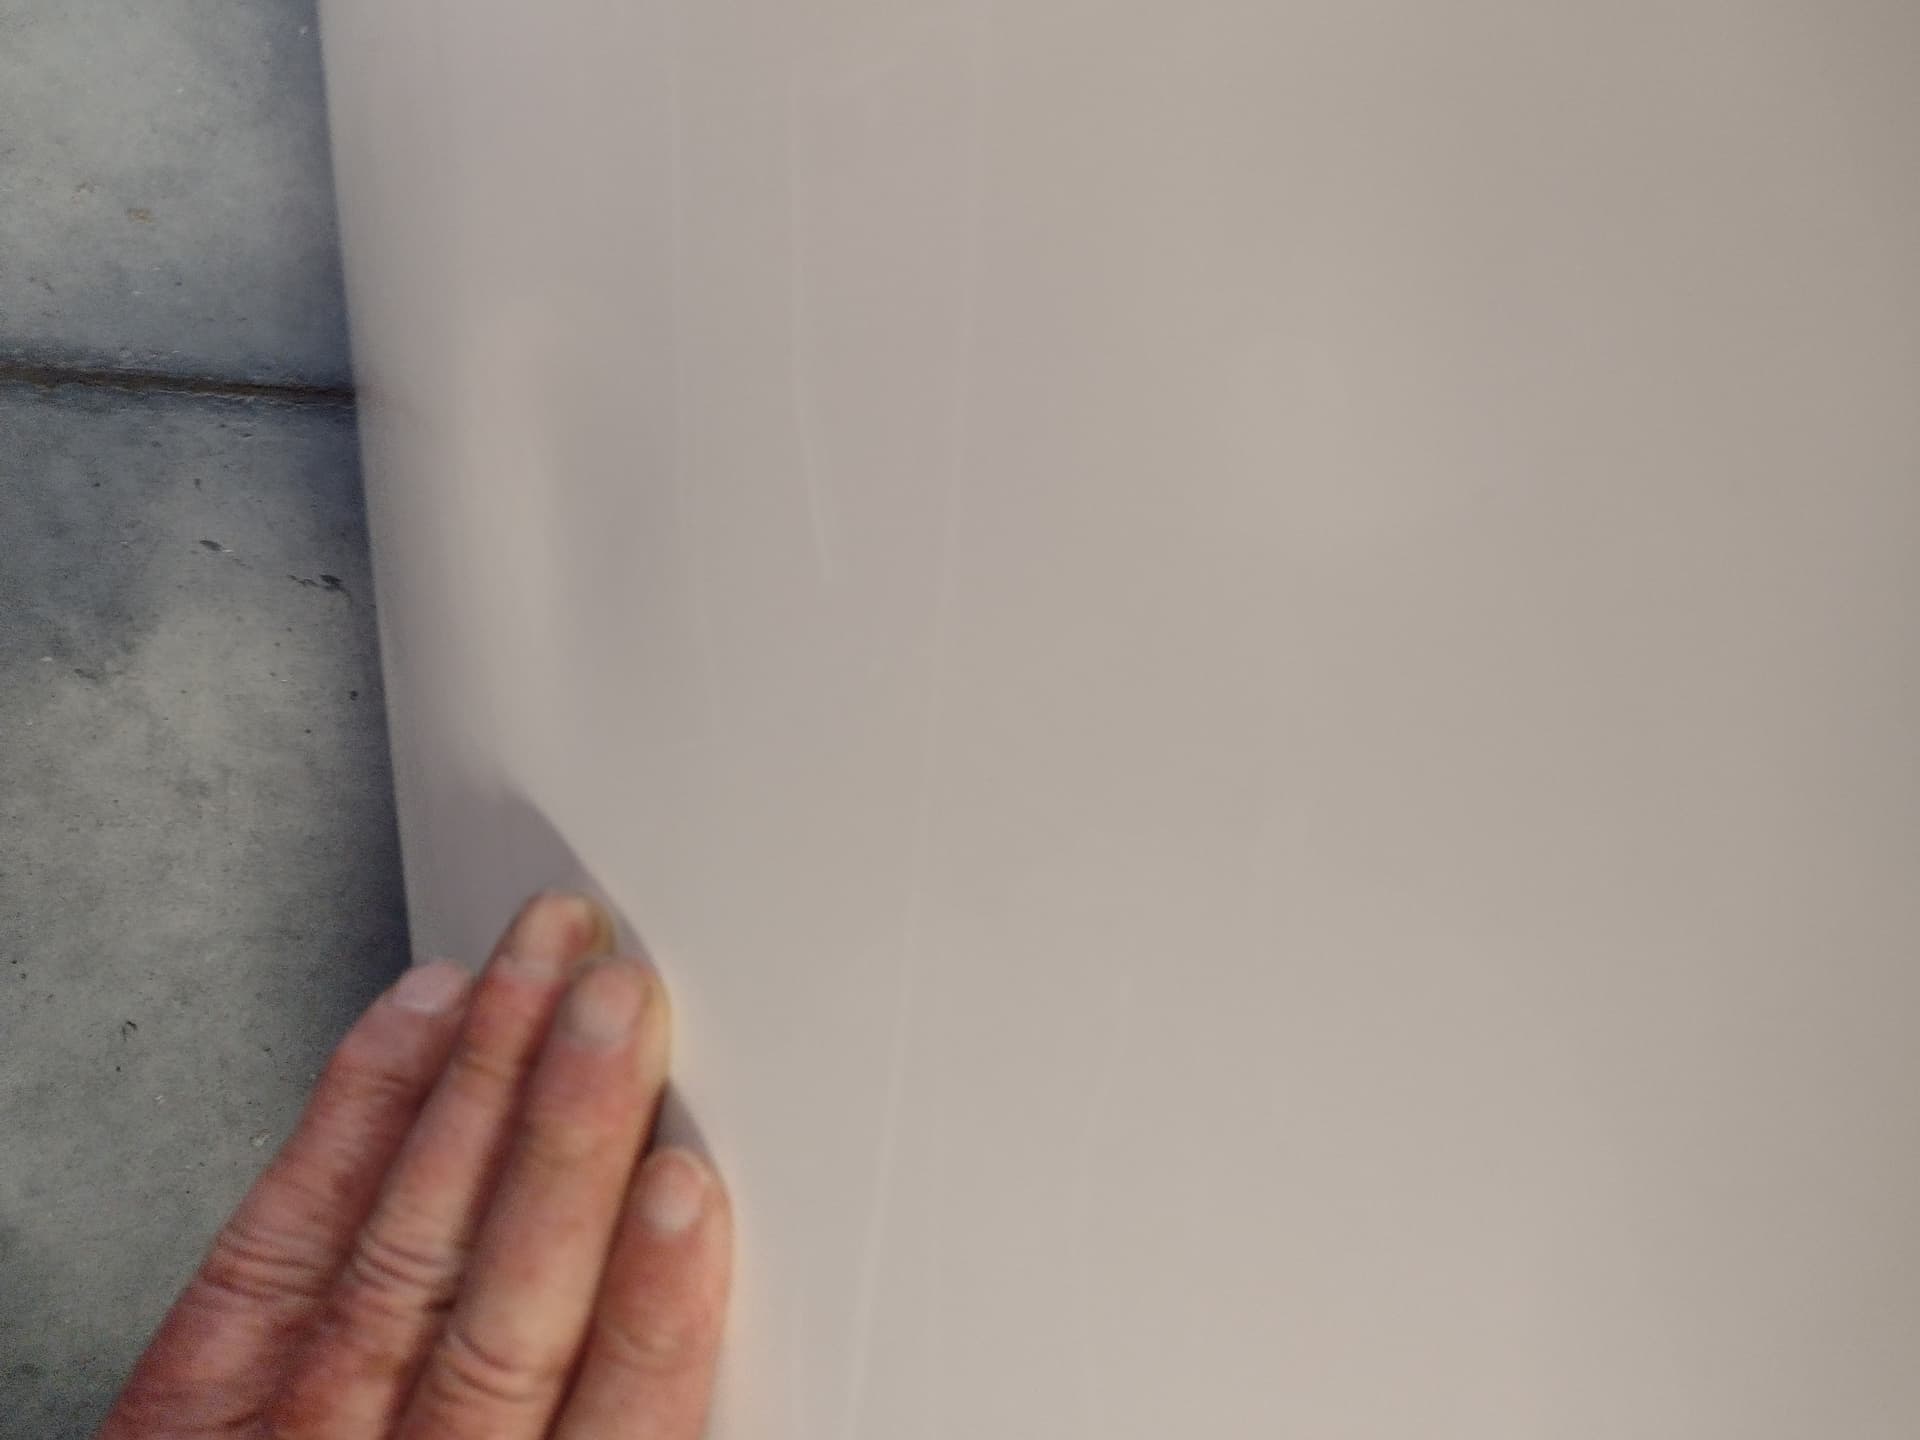
For starters I spared no expense (maybe close to $10) in gathering the needed materials. First I got a roll of garden edging, about 9 cm across (and there is plenty left over). I cut a length of the edging to span across the 2 lumps with some length to spare. Then I got some cheap plastic, cutting and then gluing to fit over the garden edging - just the length which spans the 2 lumps. This still leaves some exposed edging at one end. This assembly then bridges across the hullavator lumps, leaving a shorter length of edging uncovered by the plastic. This is discussed next.
How is it attached across the lumps? The spare garden edging at the one end is trimmed of its square edges so that end could slip into the hullavator sleeve. The rest extends across the lumps. The other end is free so the hullavator J-bars can be adjusted as needed. Of course the kayak helps hold it in place.
This may not be a sufficient explanation and I can take some photos if needed.
2 Likes
People who have large heavy boats should be very concerned. I saw some depressions in my fiber glass boat after a couple of trips. It is heavy and expedition weight. Now that I want to sell it, it irks me even more.
Most manufacturers recommend to not support a fiberglass kayak on the surface that goes in the water but only on the curved side.
Get some cradles that attach to t-slots and I’ll get a spare one of these in stock for you. Problem solved.
See you on the water,
Marshall Seddon
The River Connection, Inc.
9 W. Market St.
Hyde Park, NY. 12538
845-229-0595 main
845-242-4731 mobile
Main: [www.the-river-connection.com]
Store: [www.the-river-connection.us]
Email: marshall@the-river-connection.com
Facebook: [The River Connection, Inc.]
Instagram: Instagram.com/marshall.seddon
Which are these that fit the hullavator? J bar style or …?
Thule Hull-a-Port Aero. Older Thule 835 Hullaport PRO works but you need some parts. DM me for details on that. I’m sure Rhino Rack and Malone have things that fit t-slot bars.
1 Like
Thanks, Marshall.
That looks very British. I think folks in Europe figured out how to modify contractor ladder racks to carry boats like that shown in your video. The ones I’ve seen don’t have the crank mechanism which means you have to be able to bench press the weight of the boats and rack onto the roof…unless there is sim hydraulics that I can’t see.
I can’t justify a contraption like that for only one boat!
I can connect you with more boats. Then the Norwegian Crankenstein will be perfect.
3 Likes
